Perfected Everyday Orange Cake
Soft and fluffy orange cake with a tender crumb, melt-in-the-mouth texture, and bright orange flavor. Leave it plain for a simple, everyday snack, or drizzle with cream cheese glaze to turn it into dessert.
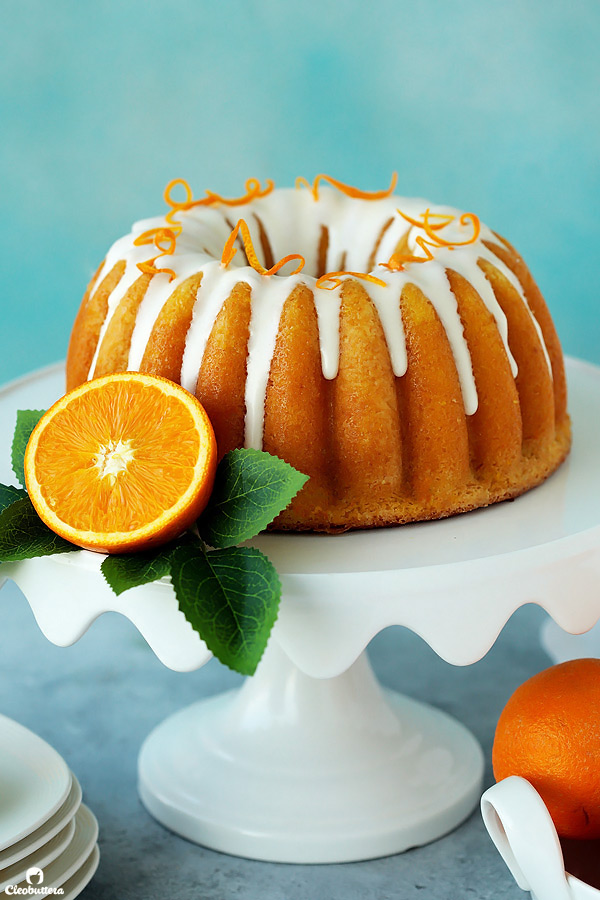
This cake recipe was purely developed for YOU, with no interest in it for myself.
That is…until I tasted it.
Amidst my usual cravings for chocolate, caramel, peanut butter, cinnamon, lemon and more chocolate, there has barely been any room for orange flavored things. So naturally, I’ve never been intrigued to bake with it.
But a lot of you guys have been asking if I’ve got a solid orange cake recipe up my sleeve and I just hated giving ‘no’ for an answer. Others were curious, if they could substitute the lemon in this much-loved Lemony Lemon Cake with orange and I honestly wasn’t sure.
But it wasn’t until a sweet reader DMed me on Instagram and made me promise to come up with “a simple, everyday orange cake, like the ones we grew up eating…but better” that triggered my buttons. I’m a sucker for nostalgia…what can I say. AND! a good challenge.
The thing is though…I think we were the only Egyptian household that never had orange cake laying around its counter. My mom was all for making marble cake on a weekly basis, which I think is the reason behind why chocolate runs in my veins. Orange cake on the other had…never made an appearance.
The orange cakes I’ve sampled at my friends’ and cousins’ houses were actually quite nice in flavor, and had a down-to-earth simplicity to them that made them an easy-going, everyday snack. Plain and unadorned, perhaps with just a light dusting of powdered sugar, it was ready to greet impromptu guests who dropped by and treat kids after a long day at school. The orange flavor in this type of nostalgic cake is not overpowering, and has a pleasant scent of vanilla which I love, but it was the texture that I remember was off-putting. The crumb being coarse and not as moist as we’ve come to love cakes, is probably why I was never interested in making orange cake.
But now that I am…I knew I wanted to build on the familiarly good flavor, and give the texture the makeover it deserves.
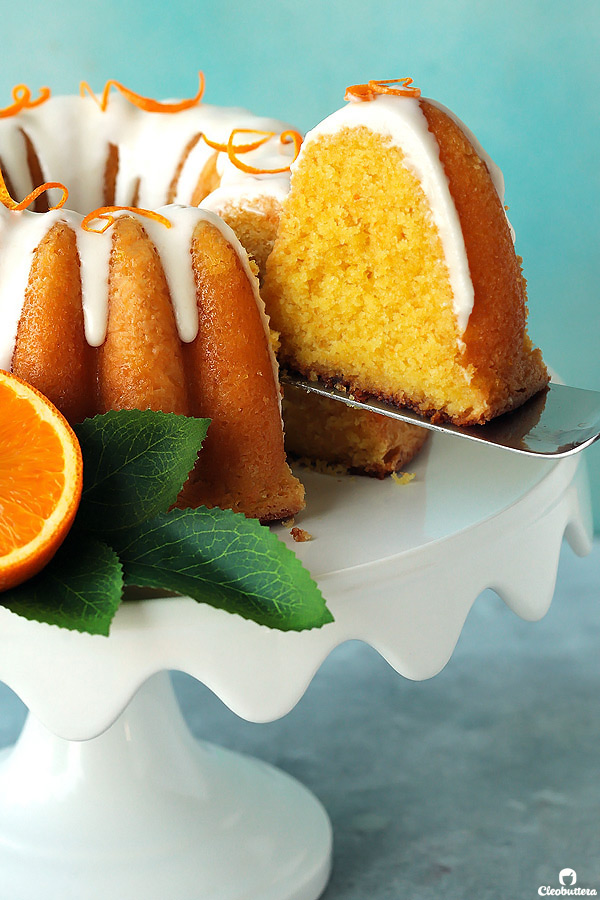
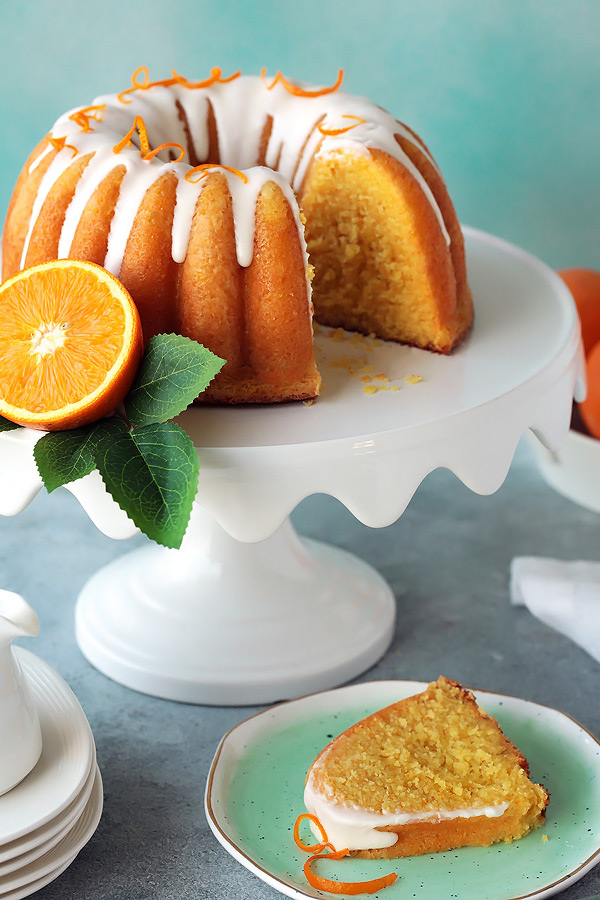
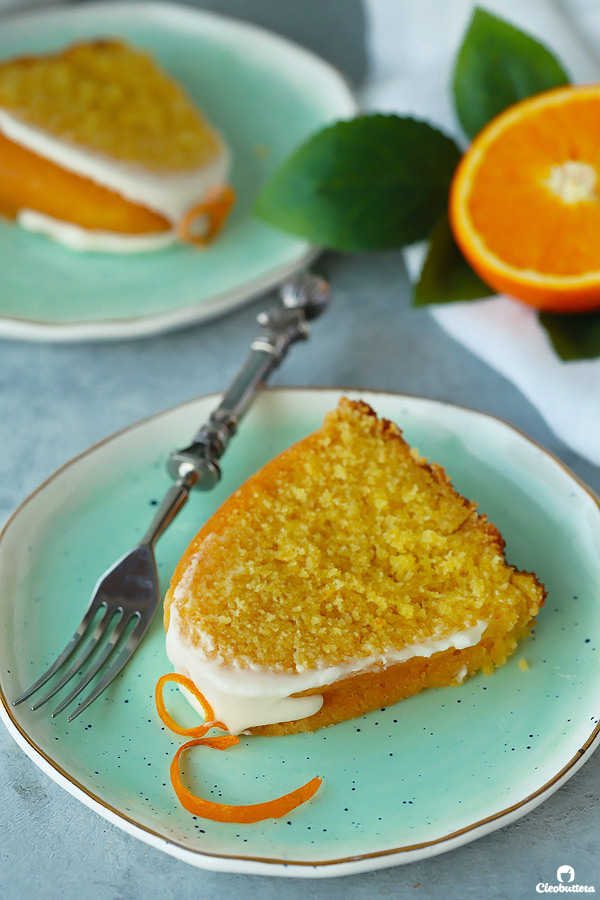
THE RESULT: A super soft and fluffy cake with a tight, but tender crumb, melt-in-the-mouth texture, a bright orange flavor with a perfect balance between sweet and zesty, that is just as good glazed, as it is left plain.
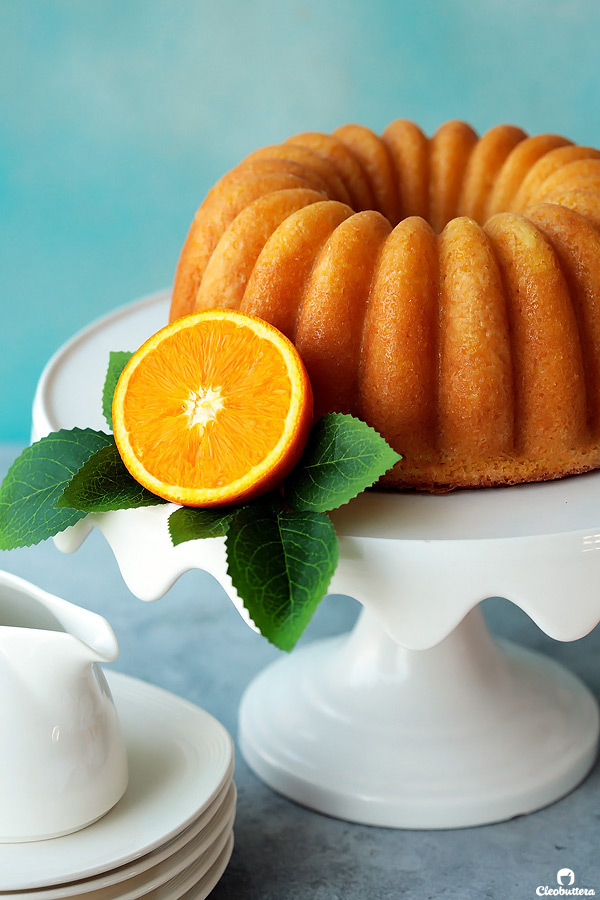
It is everything I had hoped for and more. I was literally moaning the first time I took a bite of it. It’s that good!
Simple, soft, tender, fluffy, flavorful and slices like butter. A serious upgrade from the orange cakes we grew up on.
And have I mentioned that it’s mmmmmmmmmoist?! That dreaded word that a lot of people hate. Sorry guys, but there’s no better way to describe it.
Now let me show you the ins and outs of this cake and what makes it one of the best orange cake recipes you’ll likely find on the internet.
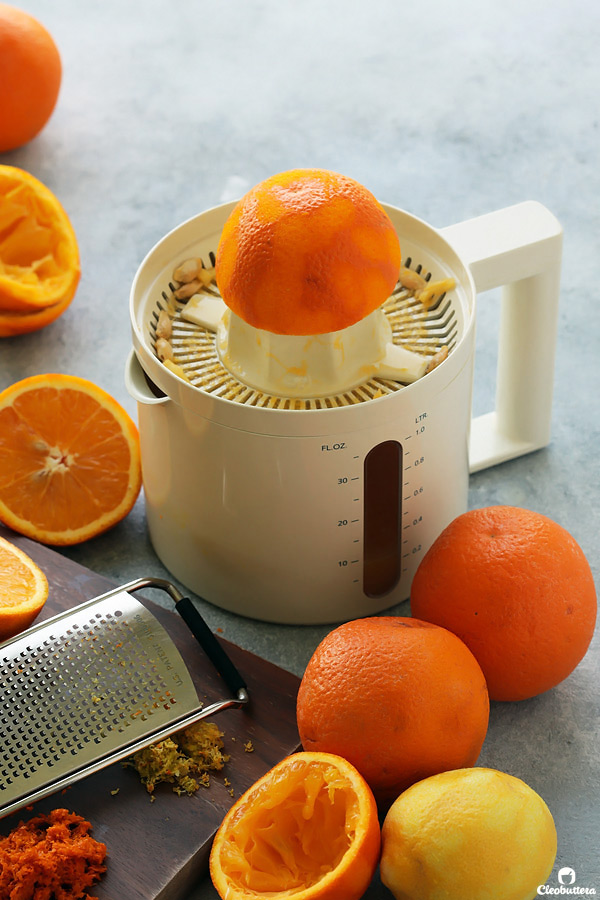
For an assertive orange flavor that shines beautifully into the cake, we’re going to be using both the zest and juice of fresh oranges. But that’s not only it! We’ll also be adding a tiny bit of lemon zest, which adds another dimension of citrus. I’ve found that orange zest alone, yields sort of a flat, one-dimensional citric note, while lemon brightens things up without making the cake taste lemon-y.
When zesting your fruit, make sure to only get the orange (or yellow) part and avoid the white layer which tastes very bitter.
I tried making this cake with oil as opposed to butter, as per traditional recipes, but the flavor was just…’blah’ for the lack of a better word. Due to the neutrality of oil, the cake tasted of nothing but orange and lacked interest and depth. So I quickly knew that butter was inevitable for the sake of flavor. It adds rich, buttery notes that nicely compliments the citrus ones. And do I really need to convince you that butter tastes better than oil?!
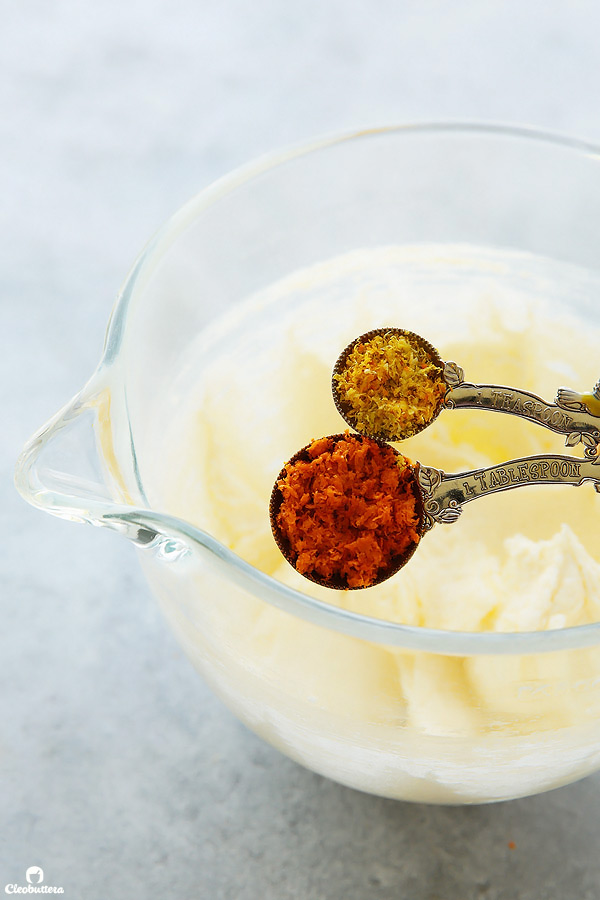
So we start the cake by creaming together the butter and sugar along with the 2 zests to release their flavor oils.
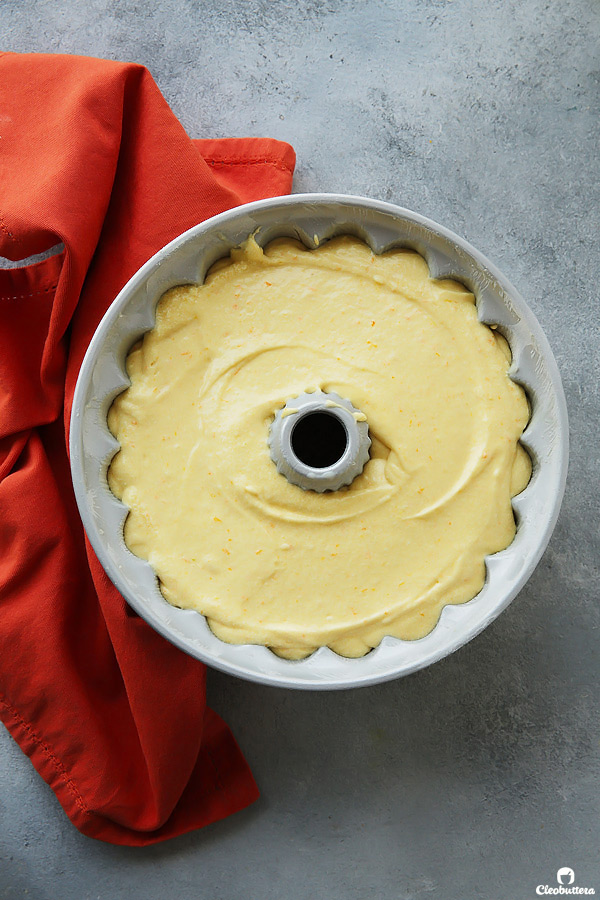
(Note: I doubled the batter here to fill this pretty 10-cup bundt pan, so you’ll notice that some of the amounts in the pictures, are more than those mentioned in the recipe. Sorry for the confusion. I later found out that the result of the doubled recipe turned denser than the original recipe I was testing with. For that reason, I don’t recommend doubling the recipe, unless you prefer dense cakes.)
After mixing in the eggs, comes my favorite cake moisturizing ingredient of all time: sour cream. I use it in most of my cake recipes and that is due to its magical ability to give unparalleled moisture and tenderness to cake, while adding a tangy flavor that offsets the sweetness. I just love what it does to cake.
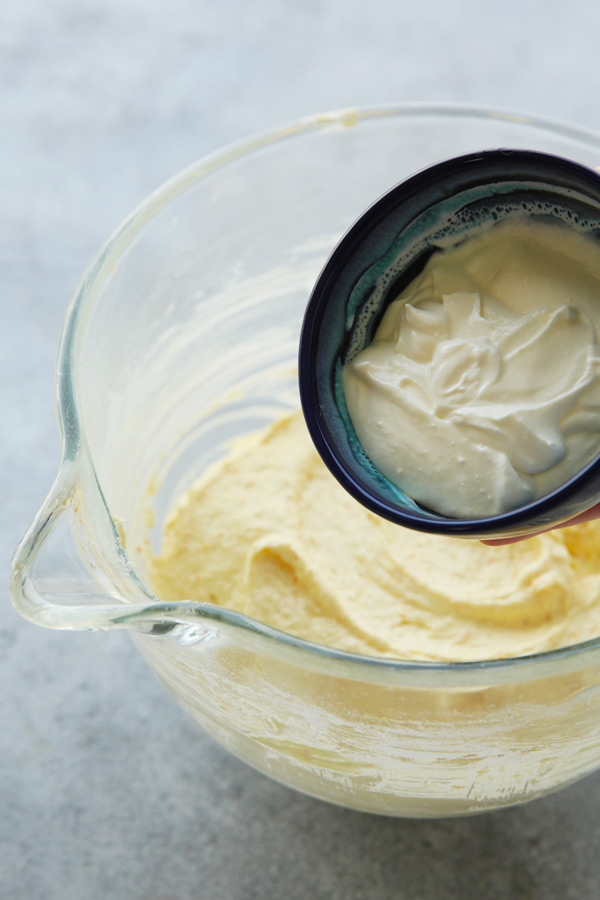
However, if you don’t have sour cream and/or would like to increase the orange punch of your cake, you could omit it and sub in more orange juice. I tested it both ways and personally prefer the orange juice/sour cream combo for the tangier notes it lends and for that ever-so-slightly extra moisture it adds.
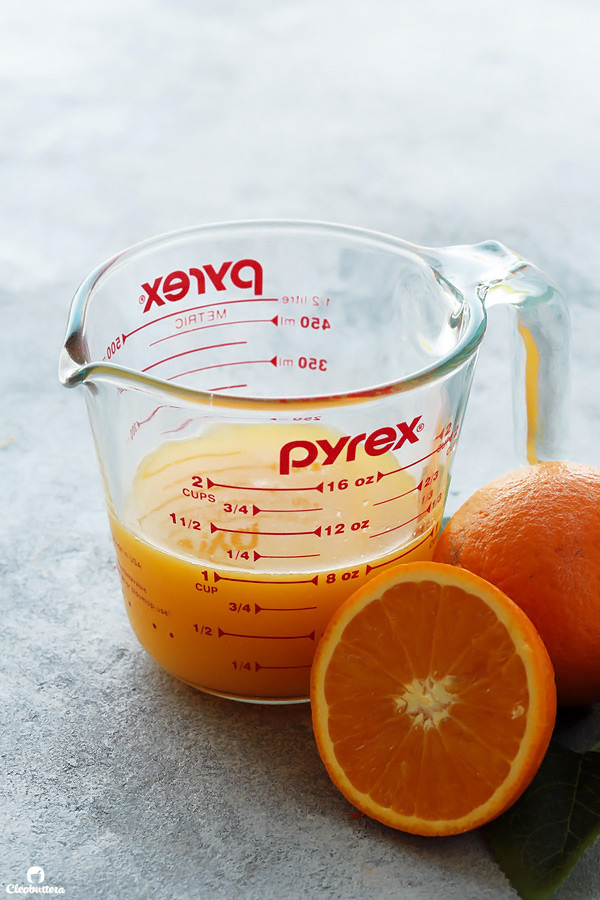
No worries though…if you do choose to go with the ALL orange juice option, it will still turn out very moist and fabulous; it will just lose the tangy dimension that sour cream adds.
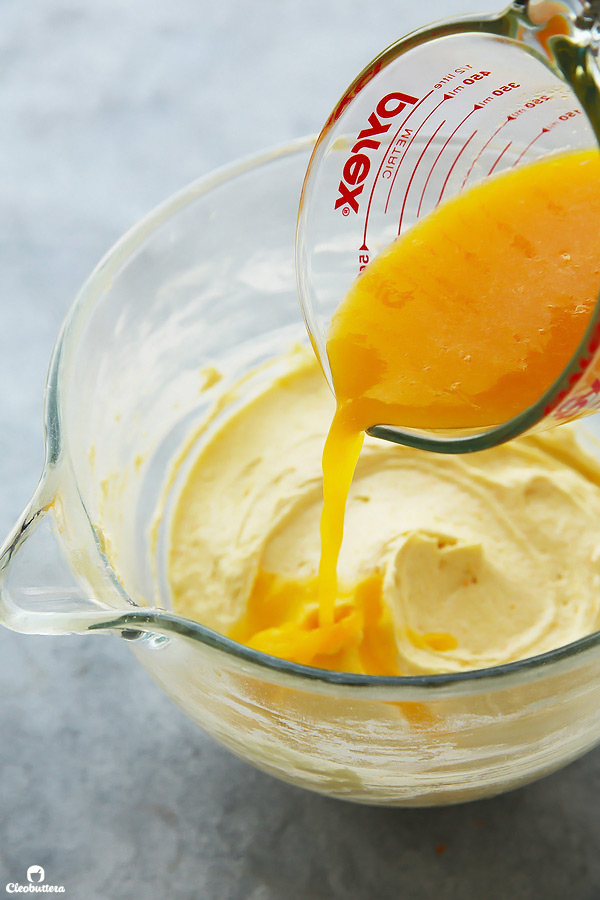
Either way, you’ll get one finger lickin’ good batter…
So when mixing the batter, we alternate between the orange juice and the dry ingredients. You’ll notice that I’ve used cornstarch (aka cornflour) along with the all purpose flour in the dry ingredients. That is a trick I love using whenever I want to produce a fork tender cake. Cornstarch lowers the protein content of the flour, so it doesn’t develop as much gluten, and in return makes for a finer crumbed cake. The cornstrach/flour combos sort of replicates the results of using cake flour, which I know many of us don’t have access to. If accessible to you, you can most certainly sub the cornstrach/flour for cake flour.
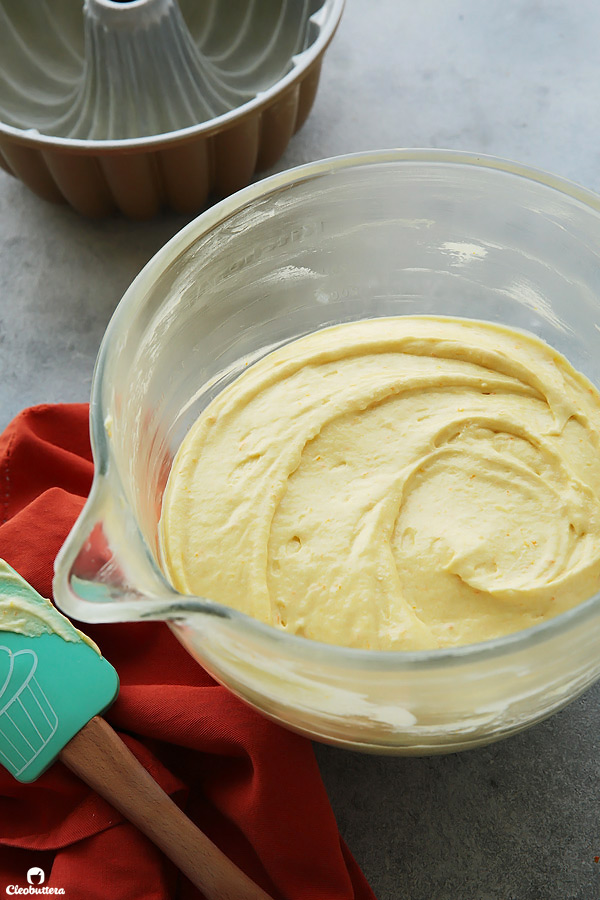
Now pour it into your pan before licking it all off…then bake and be prepared for your entire home to smell like oranges.
While still hot, you can choose to brush it with an orange syrup for an added layer of orange flavor, and a little extra moisture, but trust me…the cake won’t suffer one bit without it. It took me a while to decide whether I want it in the recipe or not, as the difference with and without is minimal. For some reason though, I think it’s better with it by just a hair. So feel free to skip this step if you’re all about simplicity.
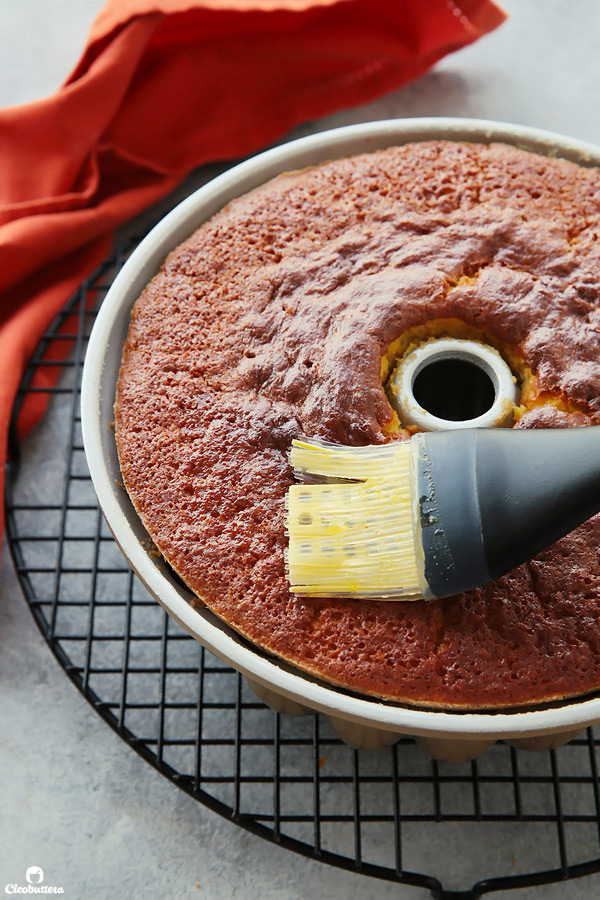
But if you’re like me and don’t mind complicating things for that little extra oomph…then go for it and brush the top as well while you’re at it.
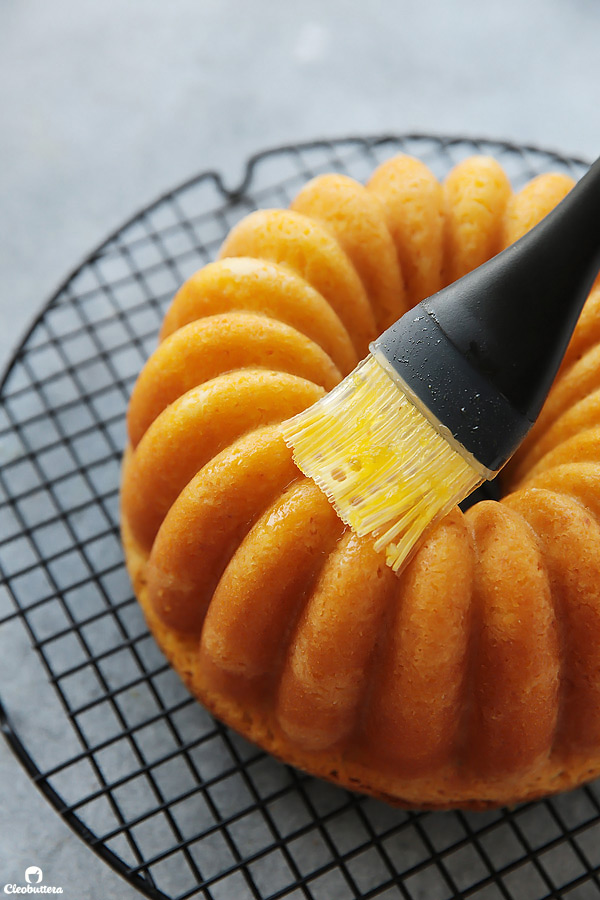
And ta-da! A perfectly simple, everyday orange cake that awaits your fork to dig in. FYI…its heavenly while still warm.
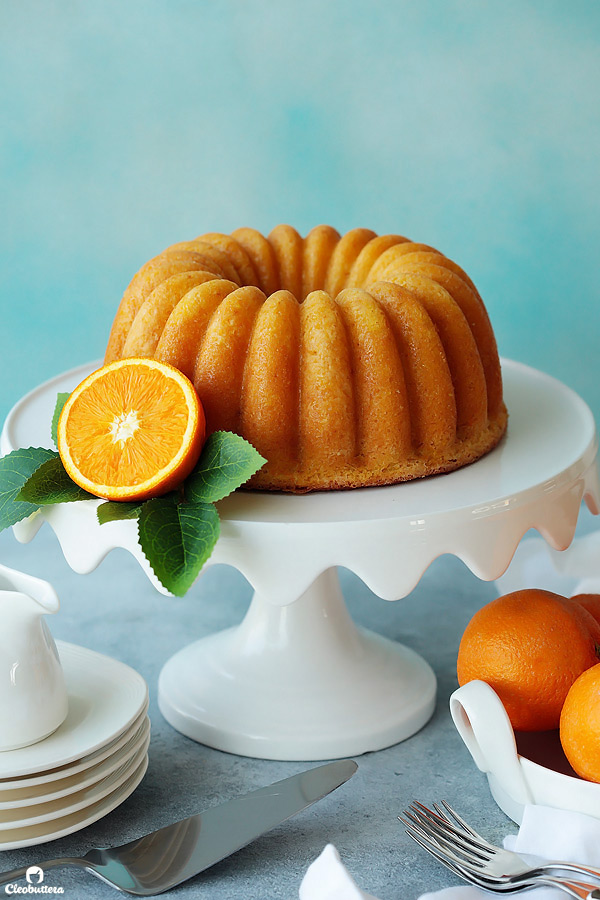
If you’d like to dessert-ify the cake, wait for it to cool, then drizzle with this amazing cream cheese glaze.
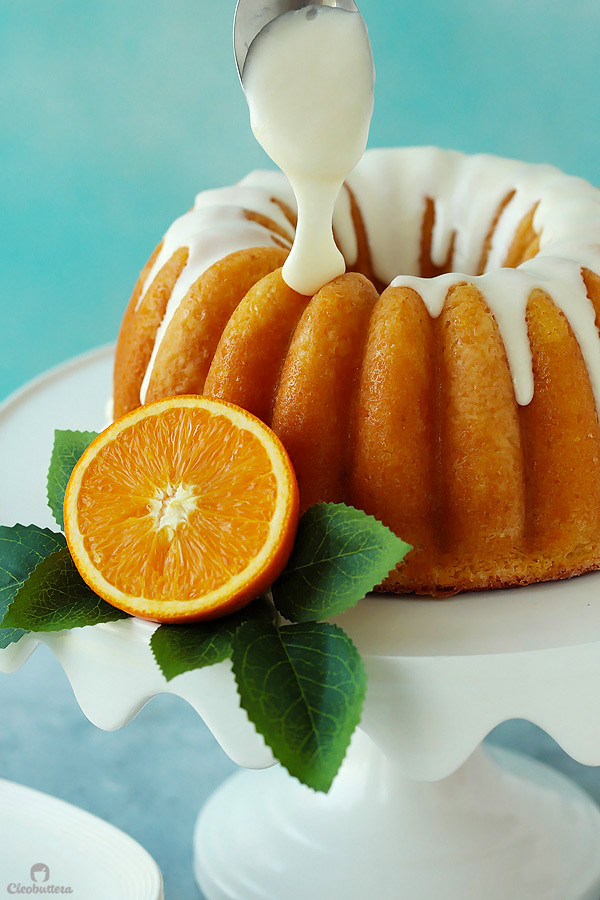
As much as I prefer its humbling taste without the glaze, I can’t deny that it makes it more picture perfect.
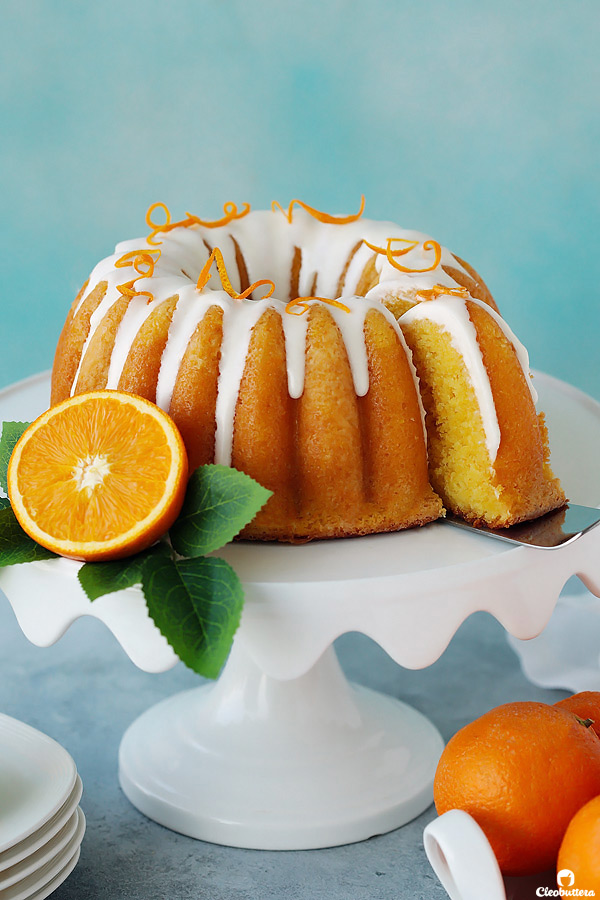
So yes…this cake is dedicated to all my wonderful readers who honor me by putting their trust in my recipes.
What began as a testing object driven by recipe requests, has now become my newly found cake flavor of choice. I’m now Team Orange with the rest of you! So thank you for pushing me out of my flavor comfort zone.
Perfected Orange Bundt Cake

Soft and fluffy orange cake with a tender crumb, melt-in-the-mouth texture, and bright orange flavor. Leave it plain for a simple, everyday snack, or drizzle with cream cheese glaze to turn it into dessert.
Ingredients
For the Cake:
- 1 1/3 cup (160 grams) all purpose flour (preferably weighed for accurate results)*
- 3 tablespoons (20 grams) cornstarch*
- 1 1/2 teaspoon baking powder
- 1/4 teaspoon baking soda
- 1/4 teaspoon salt
- 1/2 cup (114 grams) unsalted butter, softened to room temperature
- 3/4 cup plus 2 tablespoons (175 grams) granulated sugar
- 1 1/2 teaspoons (3 grams) orange zest (may be increased for a stronger orange flavor)
- 1/2 teaspoon lemon zest (optional, but recommended)
- 2 large eggs (100 grams), at room temperature
- 1/2 teaspoon vanilla extract (or 1 teaspoon if using imitation vanilla flavoring)
- 1/4 cup (57 grams) sour cream*, at room temperature
- 1/2 cup (118ml) freshly squeezed orange juice (may be increased to 3/4 cup (177ml) for a stronger orange flavor. Omit the sour cream if doing so)
For the Orange Syrup: (optional, but recommended for added moisture & deeper orange flavor)
- 2 tablespoons freshly squeezed orange juice
- 1 1/2 (18 grams) tablespoons granulated sugar
For the Cream Cheese Glaze: (optional)
- 2 tablespoons (28g) cream cheese, softened (I used 4 squares of Kiri)
- 3/4 cup (85g) powdered sugar
- 1 to 2 tablespoons heavy cream
Instructions
To Make the Cake Batter:
- Adjust oven rack to lower middle position and preheat the oven to 350F/180C (325F/160C if using a dark pan).
- Generously grease and flour (or spray with a non-stick cooking spray) a 6-cup bundt pan* (*see note). Set aside.
- In a medium bowl, whisk together the flour, cornstarch, baking powder, baking soda and salt. Set aside.
- In the bowl of a stand mixer fitted with a paddle attachment (or in a large bowl and an electric hand mixer), beat the butter on medium speed until creamy, about 1 minute.
- With the mixer running on medium-low speed, gradually add in the sugar, followed by both orange and lemon zest. Raise the speed to medium-high and continue beating together until lightened up in both color and texture; 4 to 5 minutes. The color should turn very pale (almost white) and texture should look fluffy.
- Add the eggs, one at a time, beating well after each addition. Add in the vanilla and sour cream, mixing until well incorporated.
- On lowest speed, add in one-third of the flour mixture and mix until mostly combined. Add in half of the orange juice and lightly stir until almost mixed in. Continue with adding another one-third of the flour mixture, followed by the remaining orange juice and ending with the last third of flour mixture. Mix until just combined and a smooth batter forms. Do not overmix. With a rubber spatula, give the batter one good, final stir to make sure that everything is well incorporated. Transfer the batter to the prepared pan and smooth the top.
- Bake for 25 to 30 minutes, or until the center of the cake springs back when lightly touched, and a wooden skewer inserted between the tube and sides comes out clean or with a few cooked crumbs attached.
- Transfer the pan to a wire rack and cool slightly. Meanwhile, make the orange syrup, if using.
To make the Orange Syrup:
- In a tiny saucepan over very low heat, bring together the orange juice and sugar to a simmer until the sugar is dissolved. Remove from the heat once it reaches a simmer. Using a thin skewer, poke tiny holes all over the cake. Brush the surface of the cake with about one-third of the syrup. Let the cake cool in the pan for 10 minutes, then invert onto a serving platter. Brush the top and sides of the cake with the remaining syrup. Allow the cake to cool slightly before serving, or wait until its barely warm before glazing (if using); at least 40 more minutes.
To make the Cream Cheese Glaze:
- In a medium bowl, whisk the cream cheese until smooth. Add in the powdered sugar, and whisk together until no longer lumpy. Whisk in enough heavy whipping cream to get the mixture to a thick, yet pourable consistency.
- Pour the glaze all over the cake then give it enough time to set. Garnish with strands of orange peel, if desired.
- Cut into slices and serve. Store leftovers in an airtight cake dome at room temperature for 3 to 4 days.
Recipe Notes
- This recipe makes a small bundt, enough to fill a 6-cup bundt pan, which is different from what is shown in the pictures. I doubled the batter for the pictures to fill up this 10-cup bundt pan, because let's be honest...it's a looker and I wanted to use it so bad. I later found out that the results of the doubled recipe turned out a lot denser than the original recipe I was testing with. For that reason, I don't recommend doubling the recipe, unless you prefer dense cakes. If you don't have a 6-cup bundt pan, you may use the more traditional 10-cup bundt pan (like that shown in the pictures), but note that it will be shorter in height, yet equally delicious. Alternatively, a 9" round cake pan or 8" square pan may be also be used, yet baking time may vary. With that said, the bundt pan in the pictures is by Nordicware.
- Weighing ingredients, especially flour, is ideal in baking due to its consistency. If you don't have a kitchen scale to weigh the flour, use the Spoon & Sweep method: Use a spoon to lightly fill measuring cup with flour until required amount is obtained, then sweep access with the back of a knife.
- Cornstarch is used in combination with all-purpose flour in this recipe to imitate the results of cake flour, which produces a finer and more tender crumb. Cake flour could be hard to find in some countries, so this trick works like a charm. If you have cake flour on hand, feel free to use that instead of the all purpose flour/cornstarch combo. You will then need to use a total of 1½ cups (180g) cake flour.
- If you don't have sour cream and/or would like to increase the orange punch of your cake, you could omit it and sub in more orange juice. I tested it both ways and personally prefer the orange juice/sour cream combo for the tangier notes it lends and for that ever-so-slightly extra moisture it adds, but it's still amazing with the ALL orange juice option.
- The orange syrup adds another layer of orange flavor, and a little extra moisture, but the cake won't suffer without it. It took me a while to decide whether I want it in the recipe or not, as the difference with and without is minimal, which is way I kept it optional. Personally, I think it's better with it by just a hair. So feel free to skip this step if you're all about simplicity.
Recipe is a Cleobuttera Original.
Measurements Note: All recipes of this site have been developed using weight measurements. Although US volume measurements have been included for your convenience, it is highly encouraged that you weigh your ingredients using a kitchen scale to get the best possible results. Due to the sensitive nature of baking, kitchen scales are proven to yield more accurate and consistent results than measuring cups. Enjoy!
This post may contain affiliate links.
All images and content are owned by Cleobuttera® and are copyright protected. Please do not use my images without prior permission. If you would like to republish a recipe, please rewrite it in your own words and link back to the recipe page on my site. Original recipes and creations of this site are intended for personal and home use. Commercial replication or media consumption are only allowed with a written consent and agreement with Cleobuttera owners. Otherwise it is considered a violation of intellectual property. Thank you for respecting and appreciating the amount of time and effort that goes into creating free, unique recipes that make people happy.