Ricotta Kunafa Rolls
Creamy ricotta cheese wrapped inside golden, crunchy strands of sticky sweet kunafa. A sprinkling of vibrantly green pistachios add the finishing touch to this handheld delicacy. Plus…recipe VIDEO included!
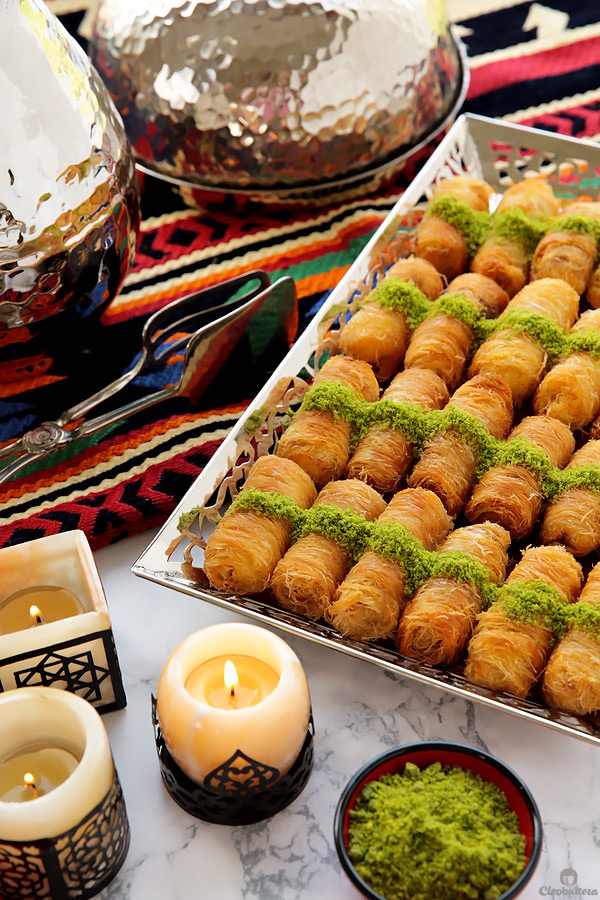
Can the world ever have enough kunafa recipes?
Please say ‘no’, because I have 5 more coming up this Ramadan, and 7 others that I’m brainstorming for next year.
Some would say I’m mildly obsessed with this glorious pastry…but I would defend myself and say: That’s NON SENSE! I’m beyond obsessed. I’m in love. I’m infatuated. I’m forever hooked.
Kunafa is far and beyond my favorite Middle Eastern treat, that I never ever bore of. How could I? The variations are endless and the fillings are only limited by your imagination.
I’ve filled kunafa with all sorts of delicious things, from mozzarella cheese, to ice cream and Nutella and even sandwiched it between a New York style cheesecake. But something about the simplicity of ricotta cheese that makes it hard to stop at one.
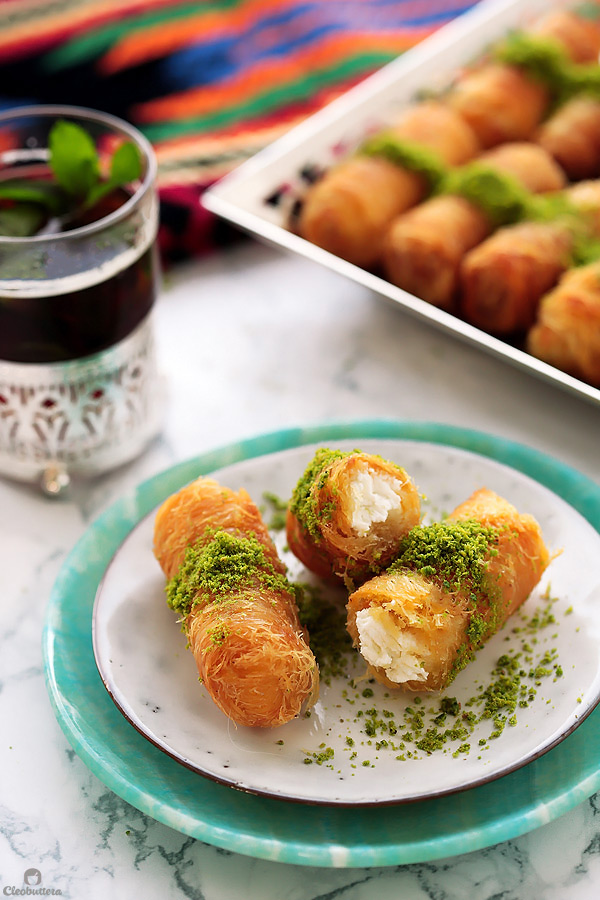
Could be the fact that they’re a finger food, that makes me go for one after the other.
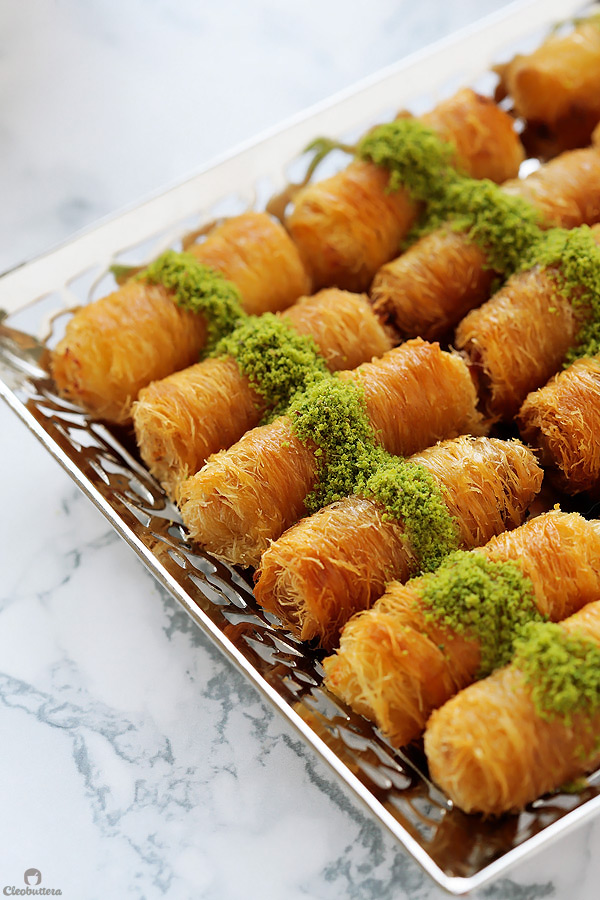
Or that they’re not as sweet as most kunafas, thanks to the clean, undisturbed taste of milky ricotta.
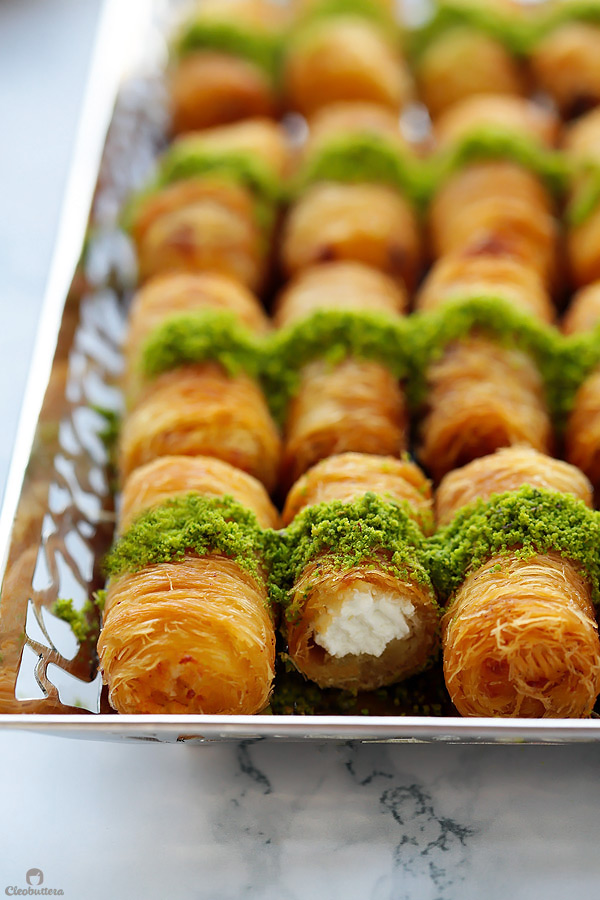
Or due of their Grab ‘n Go appeal that’s ever so inviting. Or that textural contrast between the crunchy outside and creamy inside that makes me weak in the knees.
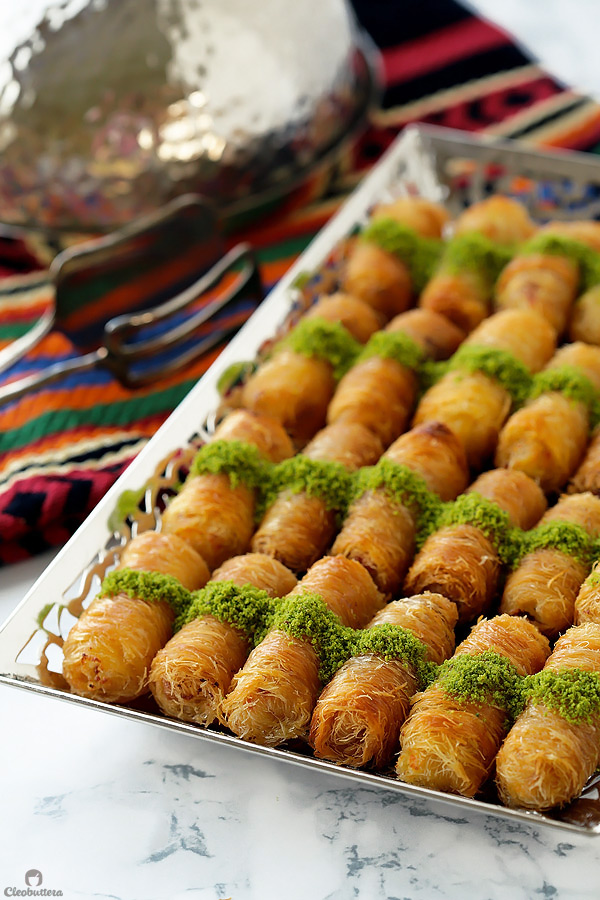
But I’m thinking its probably because my mom would regularly have these on our iftar table ever since I was a teenager.
Every Ramadan, my mom’s friend, Gigi would so kindly gift her a huge frozen platter of these to last us the entire month. All my mom had to do was drench them with ghee, bake them, syrup them and serve for us to polish off. My brothers and I might or might not had fought over them. They’re that addictive.
So when I was brainstorming the recipes I wanted to include in this Ramadan’s posts…I knew I had to include this one. So much nostalgia, so many memories, but more importantly, so much deliciousness.
So…I called dearest Gigi up, asked for her tips and tricks for mastering these crunch bombs, and she so graciously pour them all out, so I could share them with you.
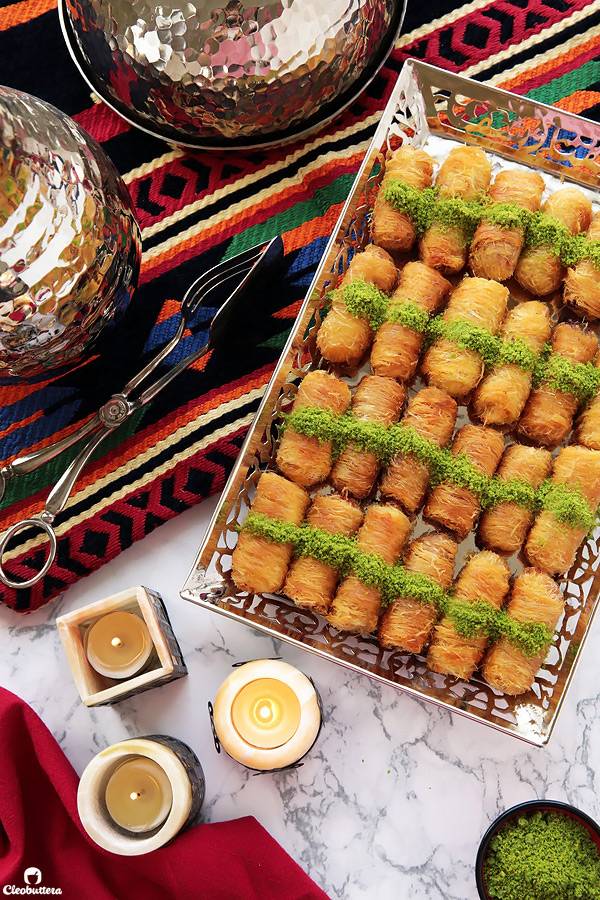
So…here we go!
You’ll need 4 ingredients:
- Fresh Kunafa: Only FRESH soft kunafa that comes in long, neat strands will work for this recipe. This kind is known as Kunafa Torah (tora7) and is sold in Middle Eastern countries at the Kanafani (the konafa maker). Frozen kunafa has the tendency to break as you roll them, and are too frizzy for this job, so they are not recommended. Make sure to always keep the kunafa covered to prevent from drying out.
- Ricotta Cheese: It is naturally sweet and beautifully neutral. There’s no need to sweeten or flavor it with anything, as the syrup’s sweetness and flavor is more enough for the job. Plus, the cheese’s savoriness against the kunafa’s sweetness is nothing short of amazing. Also adding cream or any liquid to it will thin it out, increasing the chance of it oozing out while baking.
- Ghee or Clarified Butter: Kunafa and ghee have always went hand in hand and this recipe is no exception. If you can’t find ghee or absolutely can’t stand it, you could use clarified butter instead. That is removing the milk solid from the butter, so it doesn’t burn in the oven. DO NOT be tempted to use straight up butter, or you’ll end up with what resembles charcoaled kunafa that anything else.
- Sugar Syrup: I always have this Big Batch Sugar Syrup on hand, so I get to save the step of making a new batch of syrup. Who can say no to a shortcut?! I love adding orange blossom water to my syrup for this recipe, but rose water or vanilla would also work great here. You could also flavor your syrup with cinnamon sticks and cloves for a kick of warm spice.
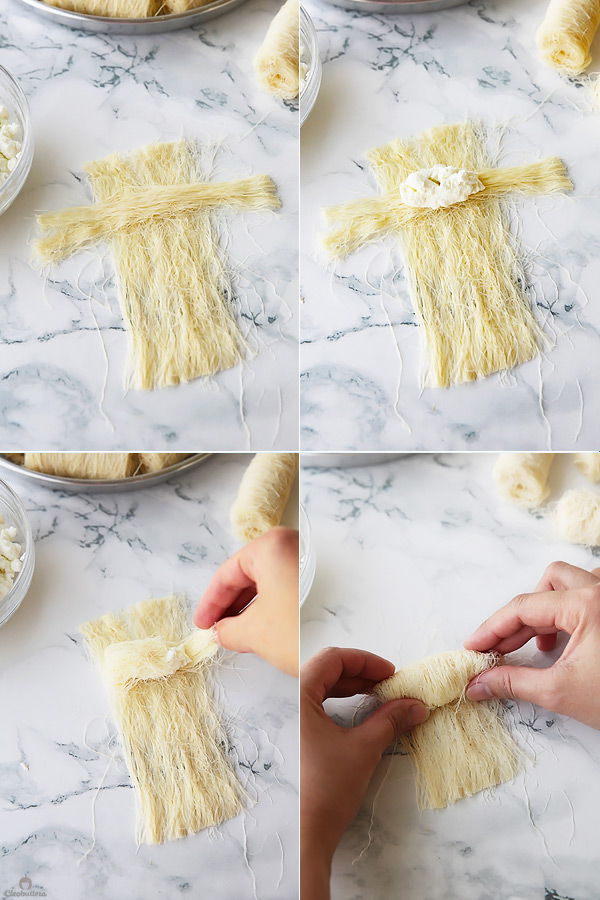
Here’s a quick look of how they come together:
Details time!!!
Using kitchen scissors, cut strands that are about 12cm and 5cm wide. Then remove a 1cm wide strand from the 5cm one and place it horizontally across the upper side of the wider strand.
Then place 2 teaspoon of ricotta cheese over the thin strand and fold the sides over the ricotta, making sure the sides are well sealed and that no cheese is peeking out. Then start rolling, making sure the cheese is well cradled inside, sealing the end with water.
Then you’re gonna arrange them in a baking pan like so and leave them out for about an hour to air dry. This step helps the rolls maintain their shape during baking and sticks the ends shut. At this point, you could freeze them for later use, or bake right away.
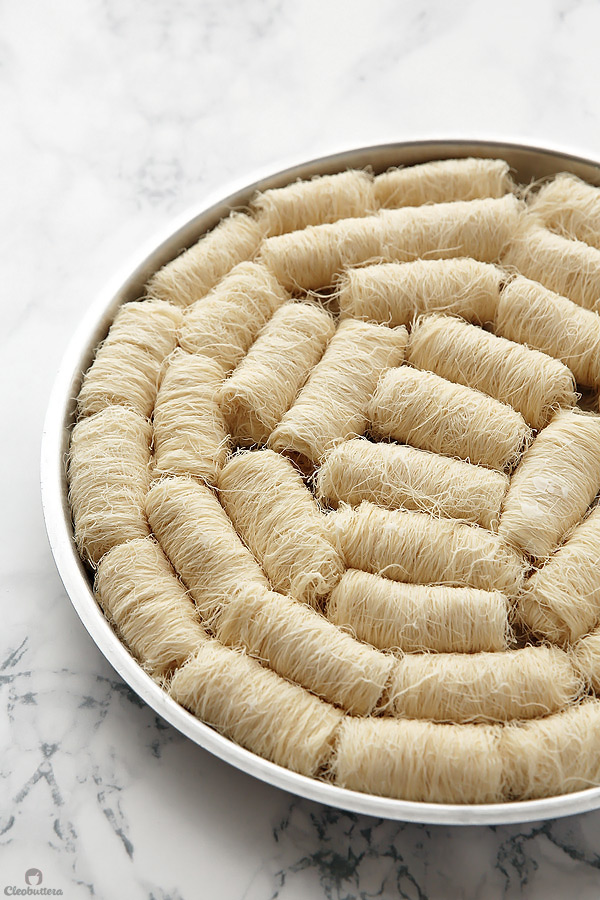
Here I saved half for the freezer and baked the rest.
To bake, you’re gonna want to pour the melted ghee all over the rolls to saturate. Then place in the oven, flipping them once or twice during baking, for even browning.
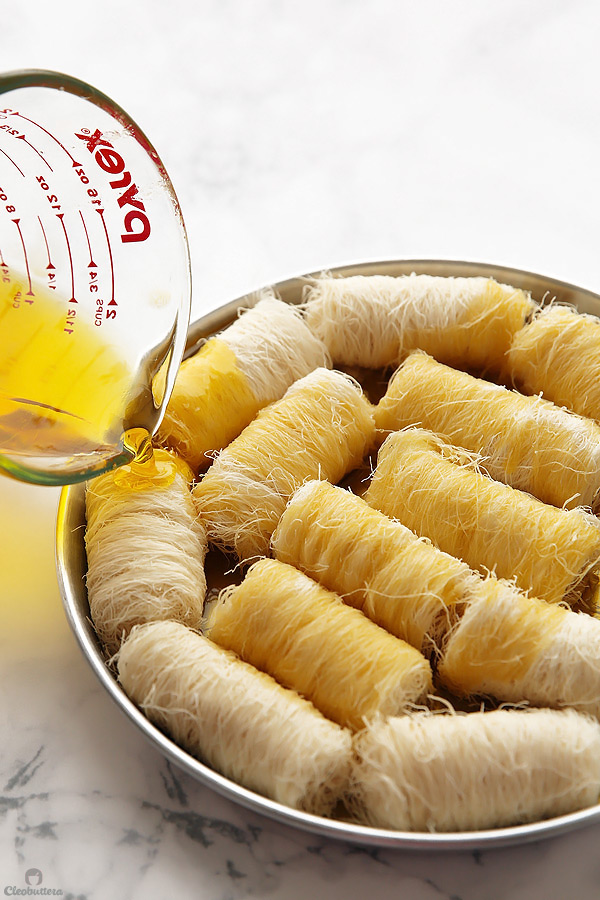
While they’re super duper hot, drench these babies with syrup.
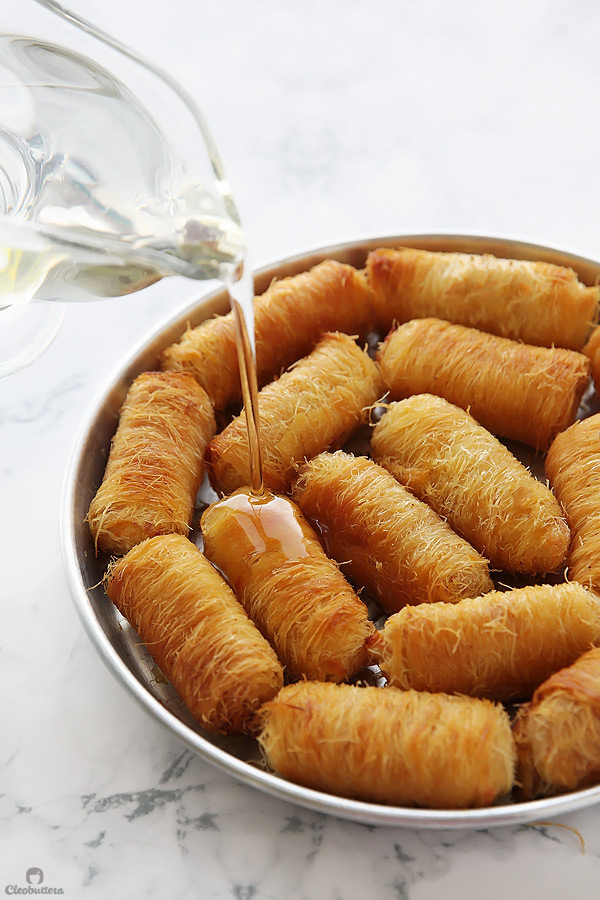
Once its soaked in…transfer to a fancy platter.
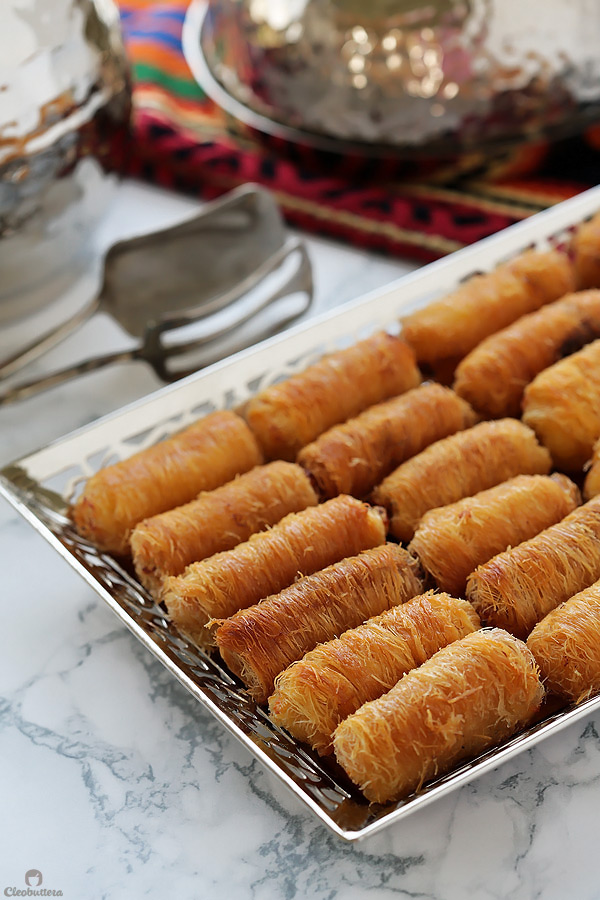
Sprinkle with your favorite nut…but hello? Nothing beats the color of pistachios over EVERYTHING! You’ll be seeing a lot of it throughout the Middle Eastern desserts palooza.
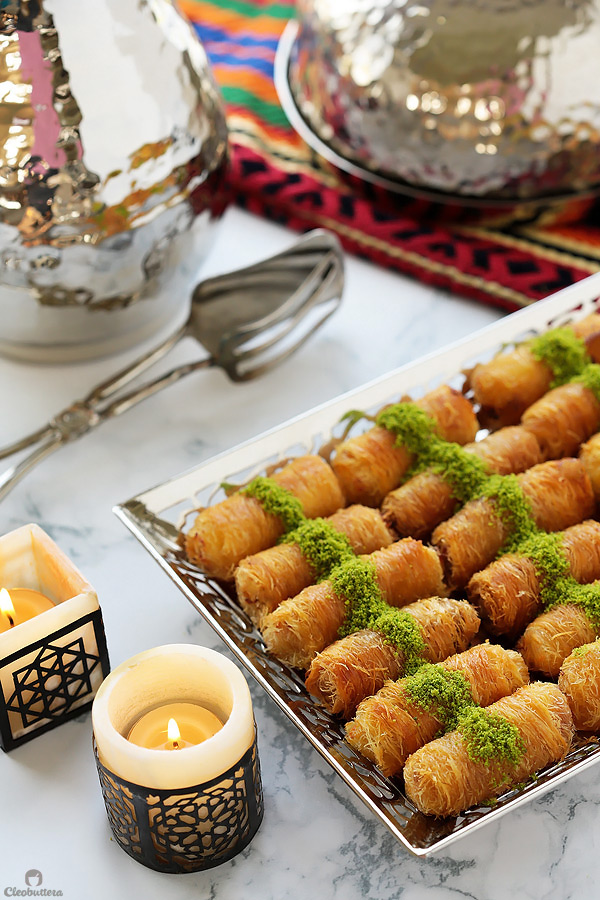
Serve and be ready to get hooked.
Ricotta Kunafa Rolls

Creamy ricotta cheese wrapped inside golden, crunchy strands of sticky sweet kunafa. A sprinkling of vibrantly green pistachios add the finishing touch to this handheld delicacy.
Ingredients
For the Sugar Syrup: (*see note)
- 2 cups (14 oz /400g) granulated sugar
- 1 cup (237 ml) water
- A squeeze of fresh lemon juice, about 1 teaspoon
- 1 tsp orange blossom water (optional, maybe be substituted with your favorite flavoring like cinnamon or vanilla)
For the Kunafa Rolls:
- 1lb/ 500g FRESH kunafa sold in long organized strands (known as kunafa torah)
- 14oz/ 400 ricotta cheese
- 1 1/2 cups (12oz/ 340g) melted ghee or (or 2 cups (1 lb/ 450g) unsalted butter, clarified per instructions below, melted, and cooled slightly) (1 1/2 cup clarified)
- Ground pistachios, for garnish (optional)
Instructions
To make the Sugar Syrup:
- In a medium saucepan, combine together the sugar, water and squeeze of lemon juice. Set on the stovetop over high heat. Try to avoid stirring it as it heats to prevent crystallization from happening, but if the sugar is not dissolving, then help it out with a few stirs. Once it comes to a boil, STOP stirring.
- Bring to a rolling boil, then immediately reduce the heat to low and let it simmer for 10 minutes. Set a timer! The syrup will thicken, and have a consistency similar to corn syrup.
- Remove from heat and stir it the orange blossom water or flavoring of your choice. Transfer to a liquid measuring cup with a spout or gravy boat and allow to cool to room temperature before using.
To make the Kunafa Rolls:
- Unwrap the kunafa from its packaging. Take out a thin layer of kunafa and rewrap the rest with a damp towel to prevent drying out. Using kitchen scissors, cut strands that are about 12cm long and 5cm wide.
- Working with one strand at a time, keeping the rest well covered, remove a 1cm wide strand from the side of the 5cm one. Referring to the photos above, place the 1cm strand horizontally over the upper side of the wider strand, to form sort of a lower case 't' shape.
- Place 2 teaspoon of ricotta cheese over the thin strand. Fold the sides of the thin strand over the ricotta cheese, making sure the sides are well sealed and that no cheese is peeking out. Pat a little bit of water on the upper side of the wider kunafa strand, then start rolling, making sure the cheese is well cradled inside. Pat the end of the strand with more water and roll all the way through. Place the kunafa roll, seam-side down, in a baking pan; I used a 28cm round pan, but any shape or size will work. Repeat with the remaining kunafa strands, until you run out of ricotta cheese, arranging all the rolls in the pan.
- Leave the kunafa rolls uncovered, at room temperature, for about an hour until the kunafa dries out slightly. At this point, you could either freeze the rolls for later use or bake right away.
- Preheat the oven to 200C/ 390F. Pour the melted ghee all over the kunafa rolls, to saturate. Bake for 35 to 40 minutes or until the kunafa is deep, golden brown in color, flipping the rolls once or twice to the other side during baking.
- Remove from the oven, and using tongs, transfer the rolls to kitchen towels to drain the excess ghee. While still super hot, return to a clean pan and pour the cooled syrup all over the rolls. Allow the syrup to soak into the rolls, then transfer to a serving platter. Sprinkle each roll with ground pistachios if desired. Kunafas in general, are best served the same day they're made, better yet within a few hours.
To Clarify the Butter (if using instead of ghee):
- Melt the 2 cups (1 lb/ 450g) butter slowly over medium low heat until the milk solids have separated from the butterfat. and collected on the bottom of the saucepan. Remove the pan from heat, let the butter settle for 10 minutes, then carefully skim the foam from the surface with a spoon. Slowly pour the clear butterfat into a bowl, leaving all the milk solids behind in the saucepan. You should end up with about 1 1/2 cup (340g/ 12oz) clarified butter.
Recipe Notes
- If you have syrup hanging around from this Big Batch Sugar Syrup recipe, you may use 2 cups of it, instead of making the recipe above.
- Please note that only FRESH kunafa that comes in long strands will work for this recipe. This kind is known as Kunafa Torah (tora7) and is sold in Middle Eastern countries at the Kanafani (the konafa maker). Frozen kunafa has the tendency to break as you roll them, so they are not recommended. Make sure to always keep the kunafa covered to prevent from drying out.
- The kunafa rolls freeze really well, which makes them a very convenient make ahead dessert. Once stuffed, rolled and air dried, they could be frozen for up to month. To freeze, lay the rolls in a single layer over a parchment lined baking sheet. Cover with plastic wrap and freeze for a few hours until they harden. Transfer to a zipper lock bag then store in the freezer, until ready to bake. Thaw before baking.
Recipe inspired by my mom's friend Gigi.
Measurements Note: All recipes of this site have been developed using weight measurements. Although US volume measurements have been included for your convenience, it is highly encouraged that you weigh your ingredients using a kitchen scale to get the best possible results. Due to the sensitive nature of baking, kitchen scales are proven to yield more accurate and consistent results than measuring cups. Enjoy!
This post may contain affiliate links.
All images and content are owned by Cleobuttera® and are copyright protected. Please do not use my images without prior permission. If you would like to republish a recipe, please rewrite it in your own words and link back to the recipe page on my site. Original recipes and creations of this site are intended for personal and home use. Commercial replication or media consumption are only allowed with a written consent and agreement with Cleobuttera owners. Otherwise it is considered a violation of intellectual property. Thank you for respecting and appreciating the amount of time and effort that goes into creating free, unique recipes that make people happy.