Classic Cream-Filled Konafa
A Middle-Eastern favorite and a month of Ramadan tradition. This variation of Konafa is made from crunchy shredded phyllo pastry, sandwiching a creamy, pudding-like filling, and soaked with a scented simple syrup.
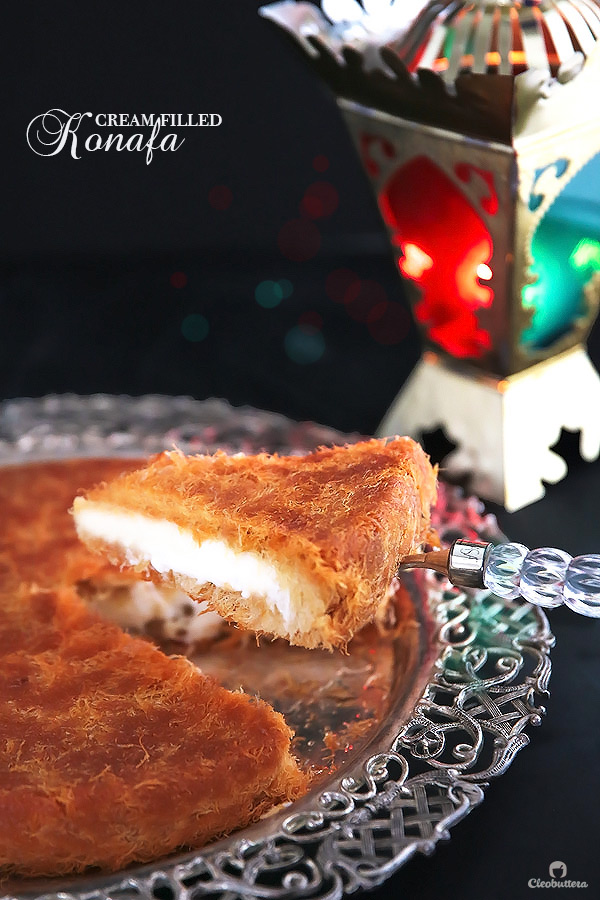
This cream-filled konafa means a lot more to me than just a ridiculously good dessert.
It’s been there for EVERY first day of the month of Ramadan for as long as I remember.
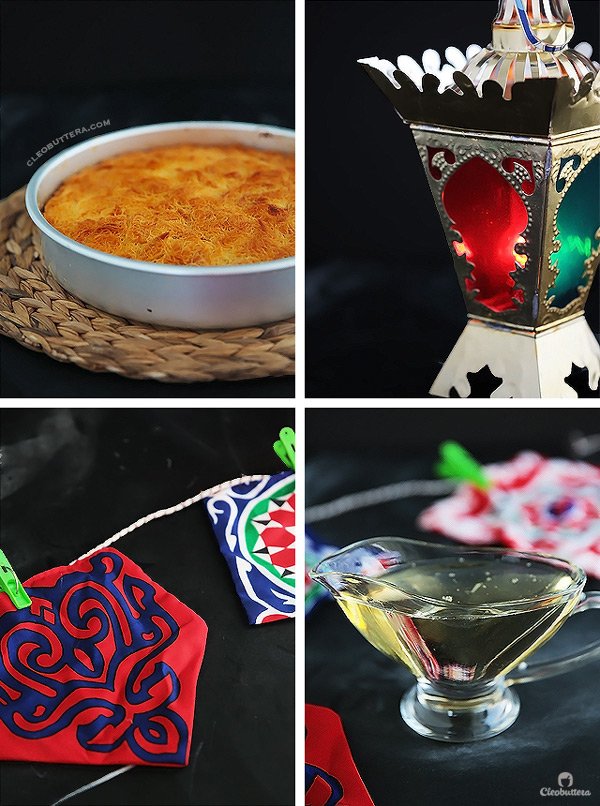
It attended all the crowded family gatherings, witnessed all the festivities, the big smiles, the loud greetings, the best TV shows and new commercials, the hung decorations and the lit lanterns. But most of all, it was what awaited us after a long day of fasting.
I’m just very fond of Ramadan and everything it brings with it. The spirituality is unparalleled and the serenity is something I look forward to each year. I can’t help but love the food too:) I try to keep it to a minimum though as to not defy the whole purpose of fasting. Pinky swear.
Just in case you’re unfamiliar, in a nutshell, Ramadan is the holy month for Muslims. We fast from sunrise till sunset. Which means no food or drink throughout the day, and then break our fast with a meal by sunset. Ofcourse there’s a lot more to it, like charity, doing good deeds and soul purification, but you’re here for the konafa, so let’s get to it:)
In Egypt, Middle Eastern food is the highlight of the table in Ramadan, especially when it comes to dessert. So much so that we call them “Ramadani Sweets.” We rarely eat any American or European desserts, which we love year round, and if we do, then it has to have this “Ramadani” touch to it. Chocolate is not big either this time of the year…sigh.
So with today marking the first day of Ramadan, I found no better dessert to share with you than the one I grew up eating every first day of every Ramadan.
My love for konafa or kanafeh is no secret. I only made 3 Middle Eastern desserts here on the blog, all of which are konafa. Check them out here and here. So yeah…I’m quite obsessed. But I promise there’s more…much much more to Middle Eastern pastries. During this month, I’m hoping to get out of my “konafa bubble” and show you a few other desserts, with some crazy twists along the way.
Cream-filled konafas are a staple in every household I know. So getting THE perfect recipe should be easy peasy lemon squeezy, right?
Wrong!
You see…I’m this annoyingly meticulous kind who measures grains of salt, gives exaggerated attention to oven temperatures, pan sizes and how different brands result in different outcomes. I take baking very seriously and think of my kitchen as my science lab.
So when I asked around my aunts and older relatives for the recipe, all I got was the “add some of that, stir in a little of this, eyeball a handful of that and bake until done” kind of recipe. Oh Gosh!
So I had to combine all the snippets of tips I got, along with a lot of testing, and came up with a reliable, “measured” recipe that anyone could follow and get consistent, delicious results every time. It’s actually really easy too!
Just to recap, konafa (kanafeh) is a Middle-Eastern, as well as Eastern European, pastry made from shredded, vermicelli-like phyllo dough that crisps up into this beautifully golden dessert when baked. There are so many variations of it, but the cream-filled one is perhaps the most popular in Egypt. And one that gets me all nostalgic and fuzzy on the inside.
This one is super crunchy on the outside, and lusciously creamy of the inside with a pudding-like filling. As soon as it comes out of the oven, it gets drenched with a sweet vanilla-scented simple syrup.
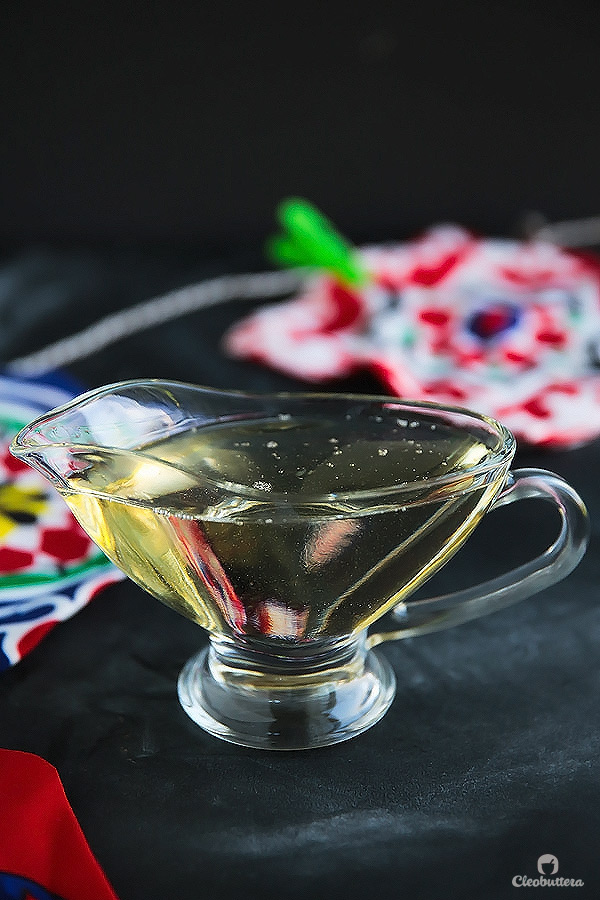
So begin with making the syrup before anything else because you’re gonna need to let it cool completely. I’ve been told, that hot syrup with soften the konafa, and I like to do what I’m told:)
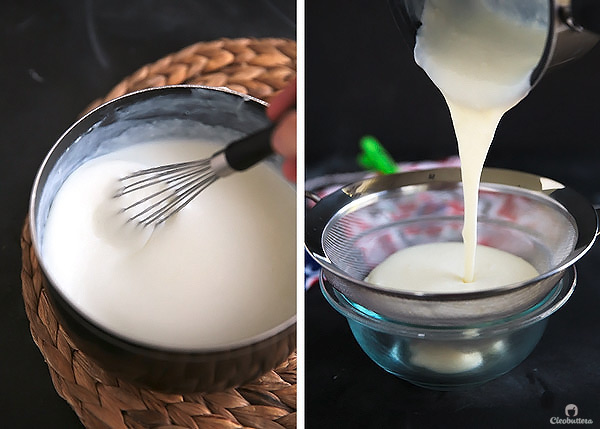
After that, you’re gonna make the cream filling by bringing a milk and heavy cream mixture to a boil with a touch of sugar and cornstarch to thicken it up. I like to run my pudding through a fine mesh strainer to get rid of any lumps that may have happened, but you don’t have to if it looks smooth.
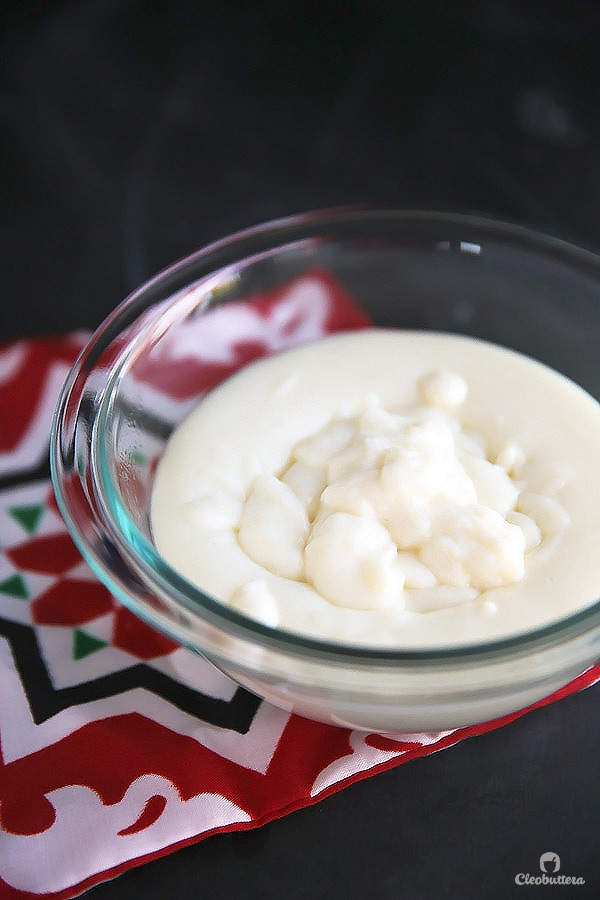
Then I let it hang around just a little while I prepare the konafa crust. The cream filling is just perfect. I went through maaaaany trials to nail down the consistency. Not too runny nor too gloppy. Just stable enough to hold its shape while the konafa gets cut, yet creamy enough that it doesn’t feel like jello.
Now for the konafa itself. What do we coat it with?
Do you use ghee? butter? or clarified butter?
I tried them all!
Ghee is by far the most traditional and produces excellent results, but I know how some people are not a fan of the taste, and/or it can be difficult to find in some countries.
So here’s the bottom line:
Using melted unsalted butter works really well only if using thicker, Greek/Turkish-style, frozen konafa/kadaifi/kunefe dough. It crisps up and browns just as good as ghee.
However, when used on the extra thin, Arabic-style konafa, I highly recommend clarifying the butter, because the milk solids and extra moisture in the butter will prevent the konafa from crisping up like it should.
How? Take a look.
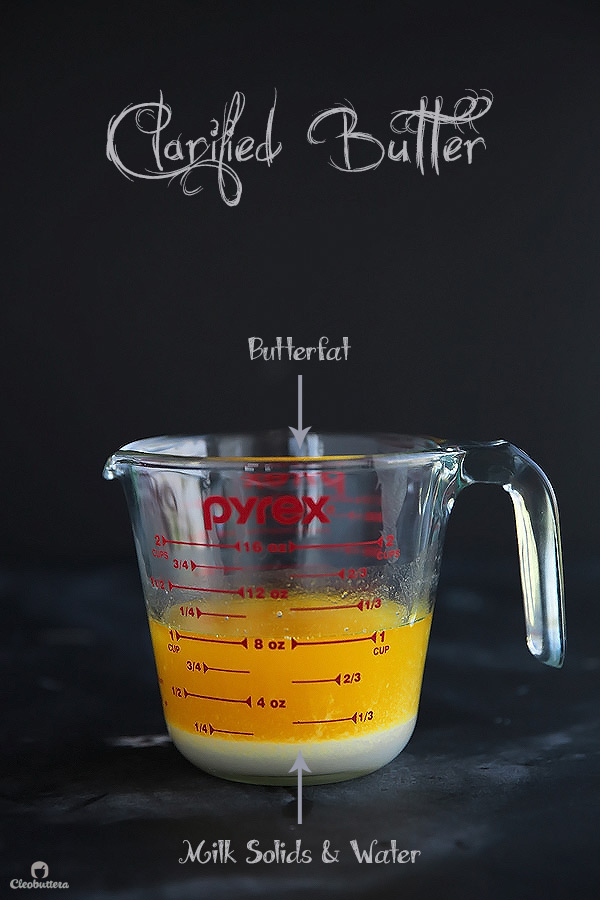
Butter is made up of 2 things: butterfat and milk solids/water. What we want here, is the butterfat (the yellow liquid). There are other ways of clarifying butter, but I use a really simple approach by melting it, then let it sit for a few minutes until it separates like this. The milk solids/water will sink down and the butterfat will float up. That’s it! All you gotta do, it just use the yellow liquid and leave behind the white gunk.
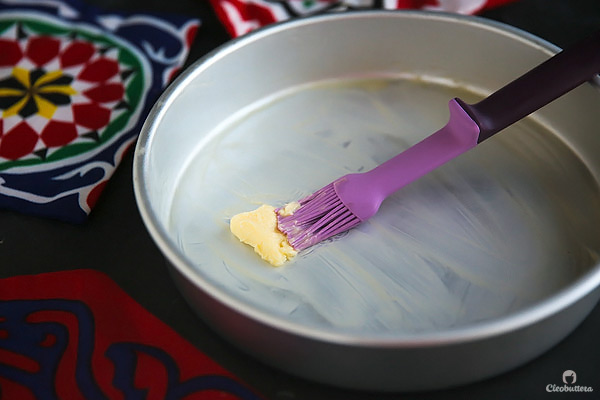
While that’s happening, you’ll need to HEAVILY butter/or ghee the bottom and sides of your pan.
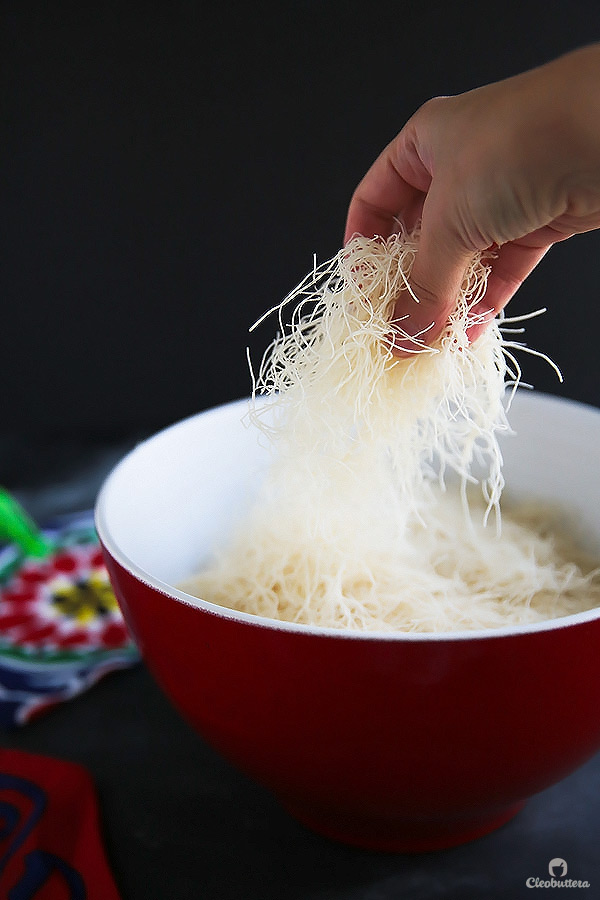
Then shred the konafa into small pieces; about (1 inch/ 2.5cm) long. I’ve found that cutting the konafa while semi frozen, makes for the easiest way to break it.
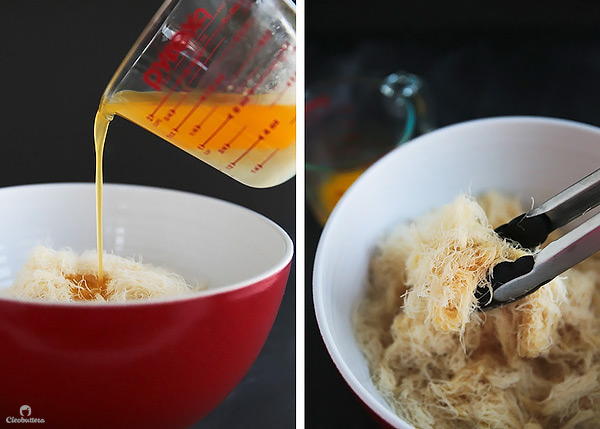
Now pour on that butterfat (or melted ghee). Don’t worry if you pour some of the milk solids in…its no biggie!
Now toss the konafa until the butter (or ghee) coats every strand and its all nice and glistening. Forget the tongs; go in there with your hands. I just didn’t want to dirty my hands while holding the camera. You’ll want the konafa to be just greasy enough, but not wet or soggy.
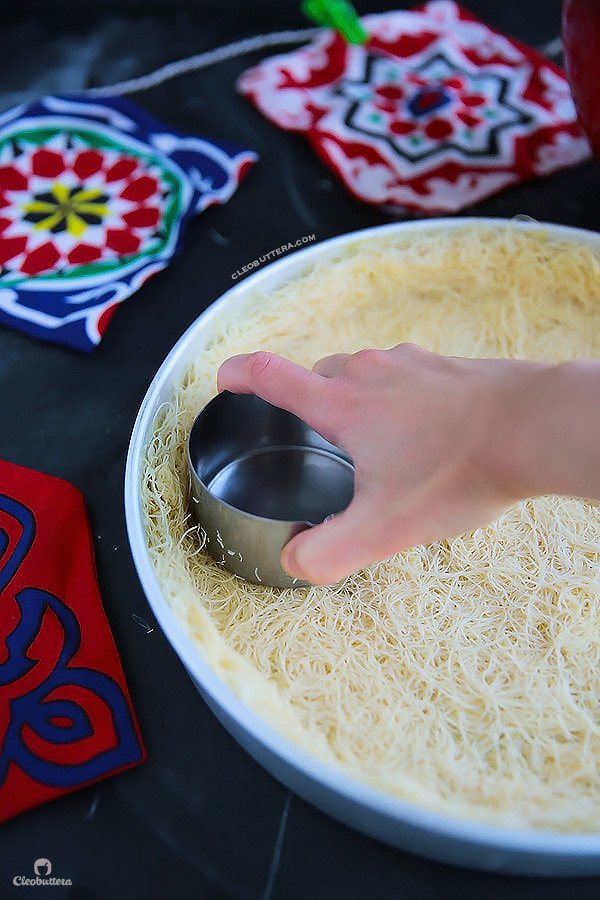
You’ll then take two-thirds of the konafa, and firmly press it on the bottom and around the sides of the pan. Using a measuring cup really helps compress it and gets the konafa well up the sides.
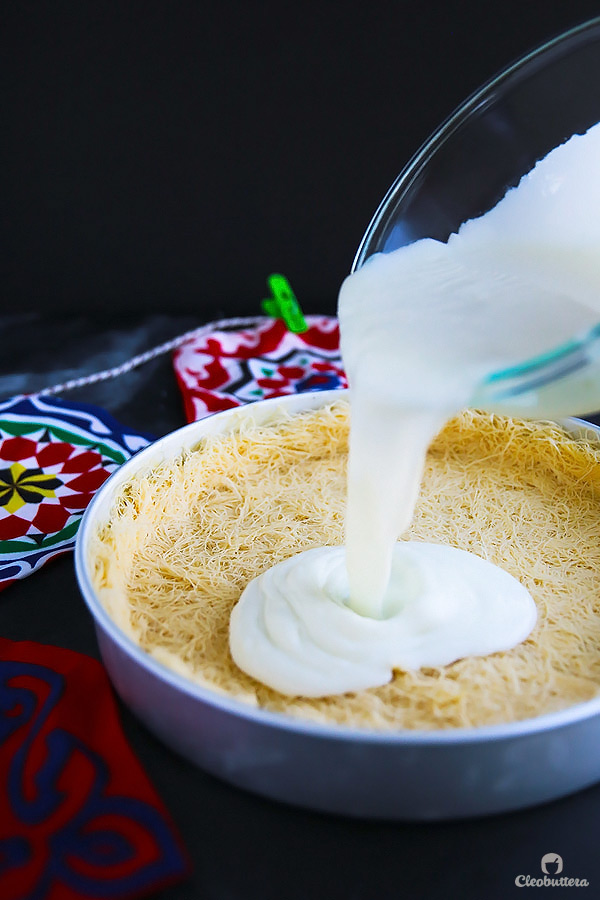
Then throw in your cream filling…or in this case, the white flubber:)) It just got too cold on me this time as I was photographing. It shouldn’t look so goopy when using while warm.
Scatter on the remaining konafa to completely cover the filling. This time, be gentle.
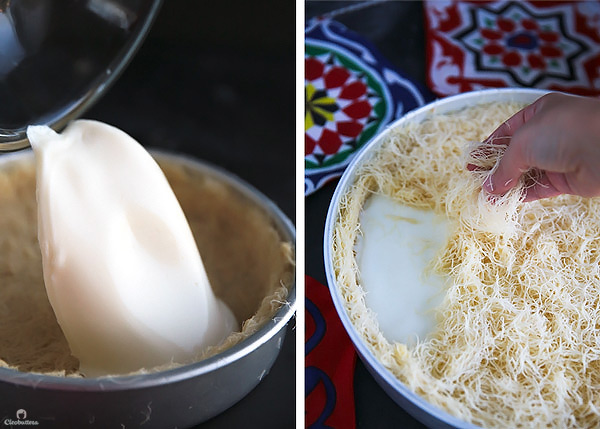
Lightly press it on to adhere. Then bake until deep golden brown. Crunch, crunch, crunch!

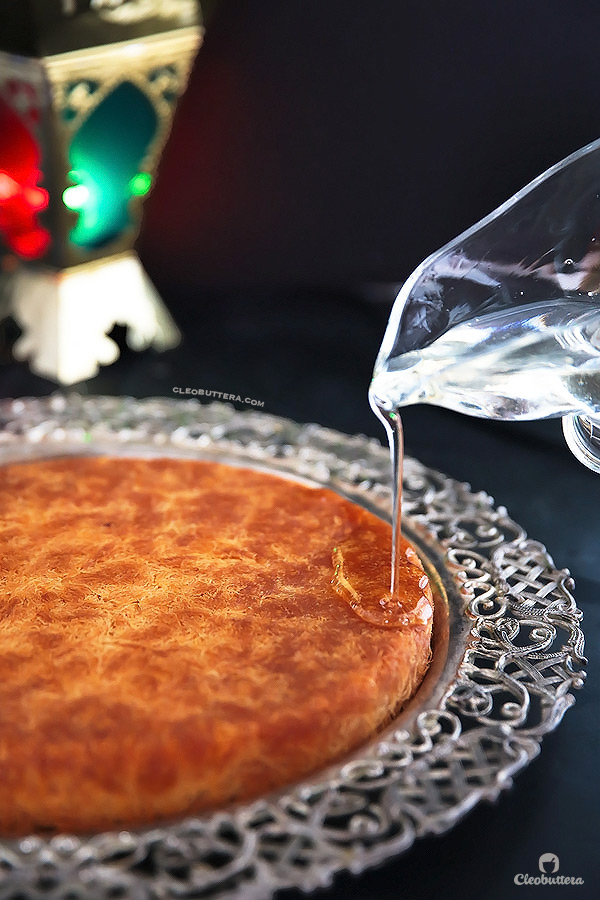
While still screaming hot, pour on the syrup, moving around in circles. Let it rest for 10 minutes, to make sure that all the syrup gets absorbed.
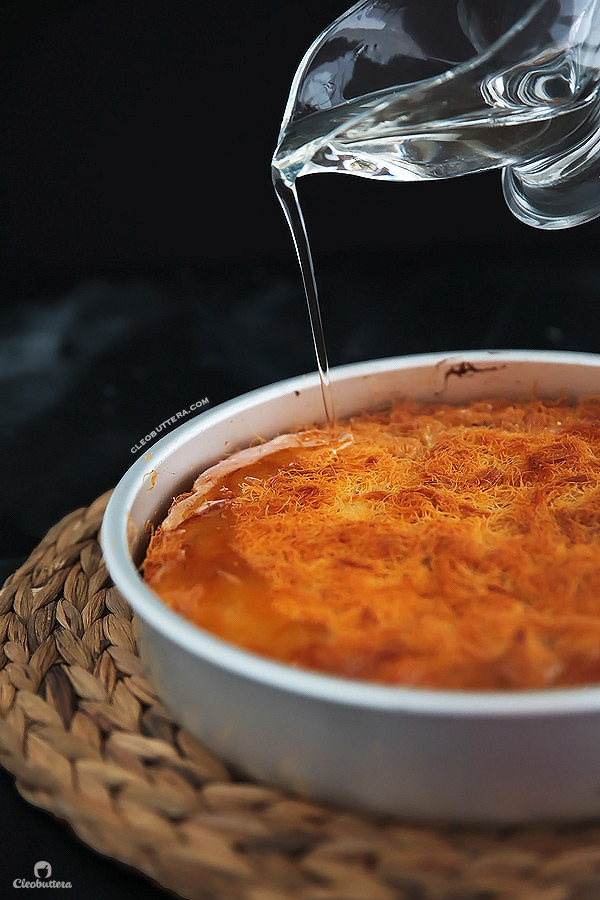
Then flip onto a gorgeous platter and swoon.
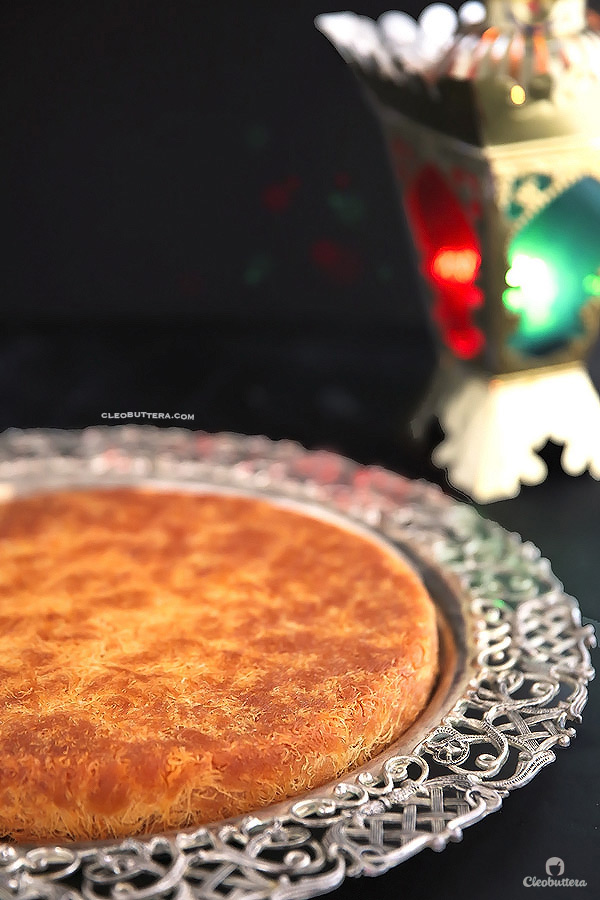
Not gonna cut it this time because I’m fasting. LOL!
Have a blessed Ramadan everyone.
For those of you who are new to the idea of Ramadan, please do stick along, as I’m so excited to show you more of the delicious food this month brings along:)
Classic Cream-Filled Konafa

A Middle-Eastern favorite and a month of Ramadan tradition. This variation of Konafa is made from crunchy shredded phyllo pastry, sandwiching a creamy, pudding-like filling, and soaked with scented simple syrup.
Ingredients
For the Scented Simple Syrup:*
- 2 cups (400g) granulated sugar
- 1 cup (237ml) water
- Squeeze of lemon
- 1/2 teaspoon orange blossom water, optional*
- 1/4 teaspoon rose water, optional*
For the Cream-Filling:
- 1 1/2 cup (355ml) whole milk
- 1 1/2 cup (355ml) heavy whipping cream*
- 3 tablespoons (38g) granulated sugar
- 5 tablespoons (35g) cornstarch
- 2 small or 1 medium piece of mastic (mistika), ground into fine powder (optional)*
- 2 teaspoons orange blossom water, optional*
- 1 teaspoon rose water, optional*
For the Konafa Crust:
- 1 lb/ 500g konafa (kataifi/kadayef dough), fresh or frozen. If using fresh, freeze for an hour for easier cutting. If using frozen, thaw slightly*
- 1 cup (227g) melted ghee (or clarified butter)*
Instructions
To make the scented simple syrup:
- In a medium saucepan, combine together the sugar, water and squeeze of lemon juice. Set on the stove top over medium high heat. Try to avoid stirring it as it heats to prevent crystallization from happening, but if the sugar is not dissolving, then help it out with a few stirs. Once it comes to a boil, STOP stirring.
- Bring to a boil, then immediately reduce the heat to low and let it simmer for no longer than 10 minutes. Set a timer! The syrup will thicken slightly, and have a consistency similar to hot pancake syrup. If it simmers for longer it could thicken too much and become candy-like and not pourable. Stir in the orange blossom and rose water, if using.
- Transfer to a medium bowl or gravy boat and allow to cool to room temperature before using.
To make the cream filling:
- In a small saucepan, off the heat, whisk together the milk, cream, sugar and cornstarch until well combined and the cornstarch has dissolved completely without any visible lumps.
- Set the saucepan over medium high heat and bring to a full boil, whisking constantly. Continue to boil for about one minute until the mixture thickens and large bubbles form around the surface.
- Remove the saucepan from the heat and whisk in the ground mastic, orange blossom and rose water, if using.
- Set the cream-filling aside to cool slightly as you prepare the konafa crust.
To make the Konafa Crust:
- Adjust the oven rack to lower-middle position and preheat the oven to 200C/390F. Heavily grease with ghee or butter a 28cm/11-inch cake pan. Set aside.
- Over a large bowl, shred the konafa/kataifi dough into 1inch/ 2.5cm long pieces. I've found that cutting the konafa while semi-frozen, makes for the easiest way to break it. So even if using fresh kunafa, stick it in the freezer for about an hour before cutting it.
- Pour the melted ghee (or clarified butter) over the konafa. Rub the ghee (or clarified butter) with you hands, into the konafa shreds, making sure they're well coated and every strand is glistening.
- Transfer two-thirds the amount of konafa in the prepared pan and firmly press it on the bottom and up the sides. Make a wall with the konafa around the sides of the pan; this will help contain the cream filling during the baking process and prevent it from burning. Pack the konafa as tightly as possible. Use the bottom of a drinking or measuring cup, to help pack it tightly and smooth out the konafa.
- Pour the cream filling into the konafa crust. I like to strain it in through a sieve to smooth out any skin or lumps that might have developed as it was cooling down. Spread the filling with a spatula or the back of a spoon into an even layer.
- Scatter on the remaining third of the konafa over the cream filling, lightly press it on to adhere. At this point, you can cover the konafa and refrigerate until you're ready to bake; up to 24 hours or bake right away.
- When ready to bake, transfer the pan to the oven and bake for 35 to 45 minutes, or until the top and sides of the konafa are deep golden brown in color, and has pulled away from the sides of the pan. Use a knife to push the side of the konafa, to check the color. The longer it bakes, the crunchier it will be. So bake it for less time if you prefer a softer crust.
- Remove the konafa from the oven and immediately pour on the room temperature syrup, starting from the edge and moving towards the center, in a circular motion, making sure to cover the entire surface. Reserve about a 1/4 cup of the syrup.
- Let the konafa rest for 10 minutes to allow for the syrup to soak in, then flip on to a serving platter. Use the reserved syrup to drizzle over any dry spots on the surface of the konafa.
- Cut into wedges and serve right away or while it's still warm. Konafa is best enjoyed warm.
Recipe Notes
- This recipe also make 2 (8-inch round) konafas, or 4 (6-inch round) konafas.
- Sugar syrup can be substituted with about 2 cups of the Big Batch Sugar Syrup.
- If using thin, Arabic-style konafa dough, it is preferable to either use melted ghee or clarified butter, to ensure a crunchy, evenly browned crust. If using thicker, Greek/Turkish style kadaifi/kadayef, you can use the butter in its entirety; milk solids and all. Unlike thin konafa, thicker kadiafi dough can handle the extra moisture, while still crisping up.
- To make clarified butter you need to separate the butterfat from the milk solids and use the butterfat only. To do so, melt 1 1/4 cups (340g/ 10oz) butter slowly over medium low heat until the milk solids have separated from the butterfat. and collected on the bottom of the saucepan. Remove the pan from heat, let the butter settle for 10 minutes, then carefully skim the foam from the surface with a spoon. Slowly pour the clear butterfat into a bowl, leaving all the milk solids behind in the saucepan. You should end up with about 1 cup (227g/ 8oz) clarified butter.
- I love the combination of milk and cream for making the filling. It makes the filling rich and luxurious. However, if you prefer a leaner filling, you can substitute the cream with more milk.
- I've found that the tiniest splash of orange blossom and rose water in the syrup and the filling, adds a wonderful subtle flavor, that makes the konafa a little extra special without being overpowering. If you don't have them and/or don't like them, you can omit them and use 1/2 teaspoon vanilla in the syrup instead. No need to substitute anything in the filling; just omit them.
- Mastic (mistika) adds a hint of wonderfulness, without being too in your face. Don't worry if you don't have it; you can omit it and still have a great tasting filling.
- Konafa freezes really well before baking. Assemble the konafa in the pan, don't bake, and cover with a double layer of plastic wrap and one layer of foil. When ready to bake, let it thaw, then bake as normal.
- In non-Middle Eastern countries, Kadaifi/kataifi/konafa dough can be found in the frozen Greek section of most big supermarkets, or in Middle Eastern speciality stores.
Measurements Note: All recipes of this site have been developed using weight measurements. Although US volume measurements have been included for your convenience, it is highly encouraged that you weigh your ingredients using a kitchen scale to get the best possible results. Due to the sensitive nature of baking, kitchen scales are proven to yield more accurate and consistent results than measuring cups. Enjoy!
This post may contain affiliate links.
All images and content are owned by Cleobuttera® and are copyright protected. Please do not use my images without prior permission. If you would like to republish a recipe, please rewrite it in your own words and link back to the recipe page on my site. Original recipes and creations of this site are intended for personal and home use. Commercial replication or media consumption are only allowed with a written consent and agreement with Cleobuttera owners. Otherwise it is considered a violation of intellectual property. Thank you for respecting and appreciating the amount of time and effort that goes into creating free, unique recipes that make people happy.