Favorite Classic Crème Brûlée
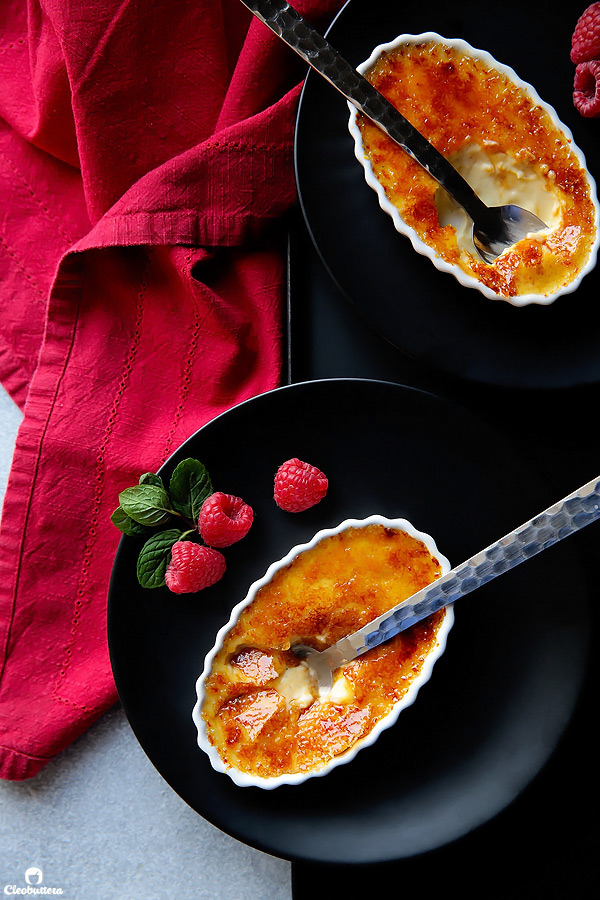
Search no more…this is THE perfect recipe for the timeless classic. It also happens to be the simplest to make! It’s decadently rich and smooth, infused with fragrant vanilla beans and topped with a brittle, paper-thin sheet of caramelized sugar.
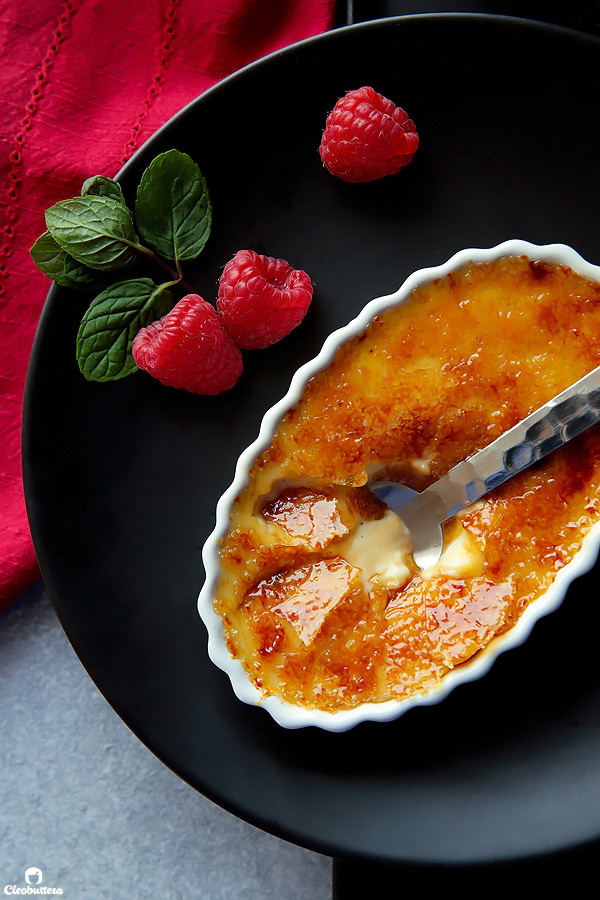
You just can’t go wrong with the classics. They’re golden.
As much as I love playing in the kitchen and coming up with new recipe ideas, I always find myself coming back to the solid basics. They’re timeless and no one ever gets tired of them.
I don’t know about you, but I’ve never met anyone who can turn down a warm plate of Molten Lava Cake, or Apple Tarte Tatin.
Cheesecake? Never gets old. Carrot Cake? Can have it everyday.
Crème Brûlée on the other hand? It’s something else.
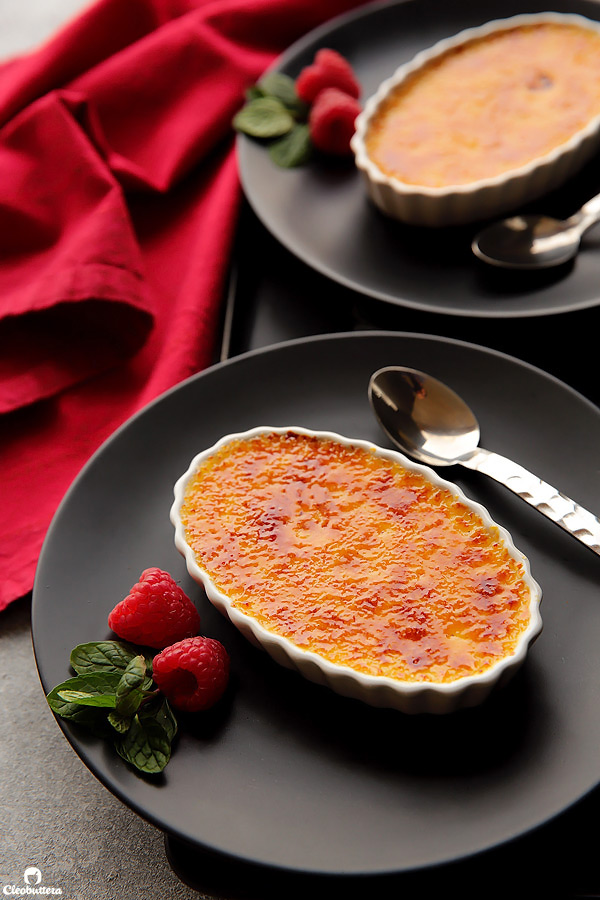
It’s that little fancy schmancy dessert with the big reputation.
The crème de la crème of all classic desserts and the staple that jewels every other 5 -star restaurant menu.
But I’m here to tell you that creme brûlée has been bluffing all along, because dude! it’s so simple to make.
Whoever told you that you need to dress up exquisitely, go to a dim, over-priced restaurant, and struggle to maintain your indoor voice to enjoy a small dish of crème brûlée, has ulterior motives.
Because you my friend, can keep those sweatpants on, be the couch potato you need to be, and get a crème brûlée that rivals the best of restaurants, in the comfort of your own living room. Messy bun, fuzzy socks and Netflix included.
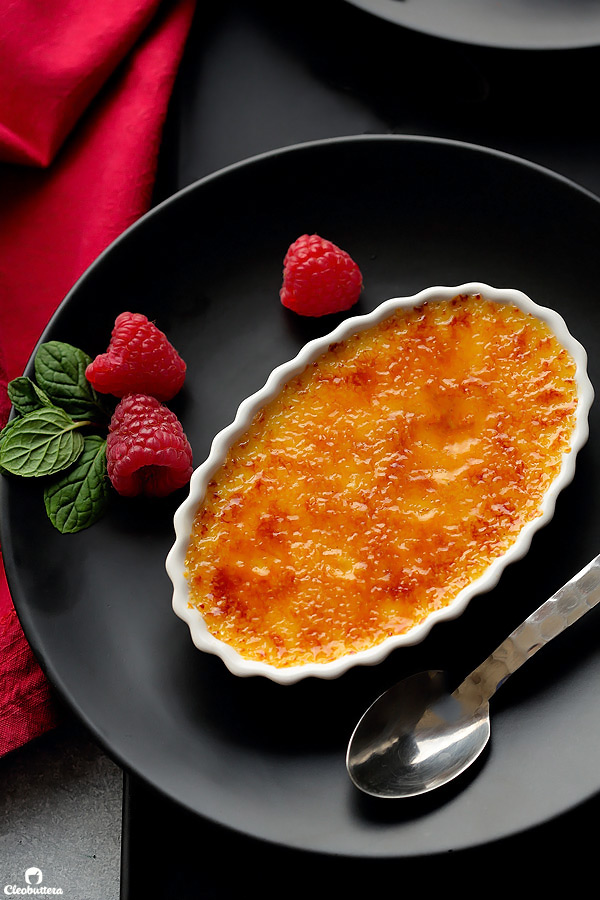
Crème brûlée is as simple in taste, as it is simple to make. The flavor is gentle enough to pair beautifully with any meal, yet sophisticated enough to tickle the finest palate. The custard should be silky smooth, rich, without being too lean or runny, and rounded with vanilla bean flavor and tempered sweetness. The topping on the other hand, should be the complete opposite; sweet, brittle, yet paper thin, and doesn’t require a hammer to crack.
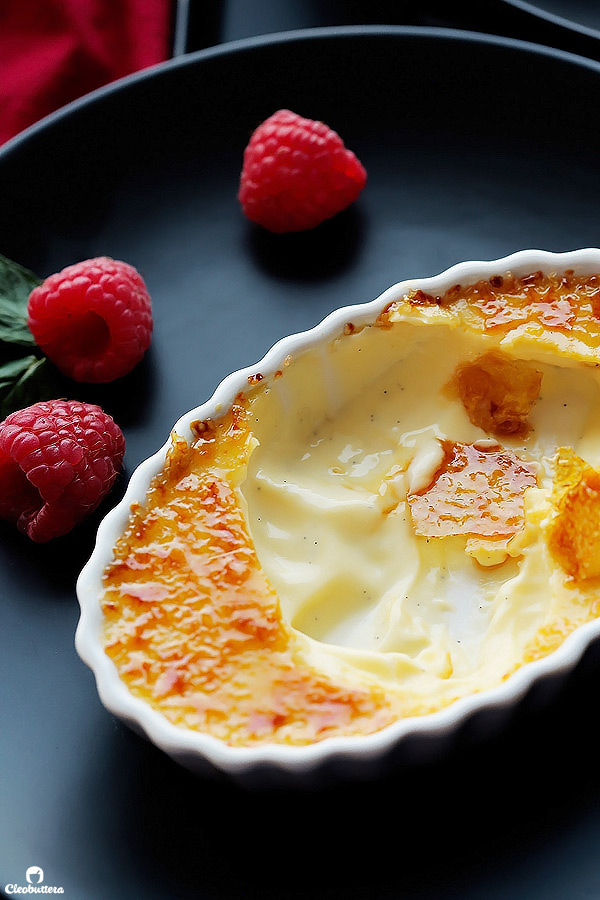
When done right, it’s the ultimate elegant indulgence, but when done wrong, it’s reminiscent to what can be best described as sweet scrambled eggs.
Have you ever had curdled, eggy crème brûlée? I have! And eewwww, biggest food turn off ever.
That’s where this recipe comes to the rescue. I’ve adapted it from from Cooks Illustrated, who are known for taking recipe testing so seriously like its their job. As someone who have had multiple successes with their recipes, I’m the first to admit that they’re not kidding. So yes! The crème brûlée they have come up with, is the best (and easiest) I’ve come across.
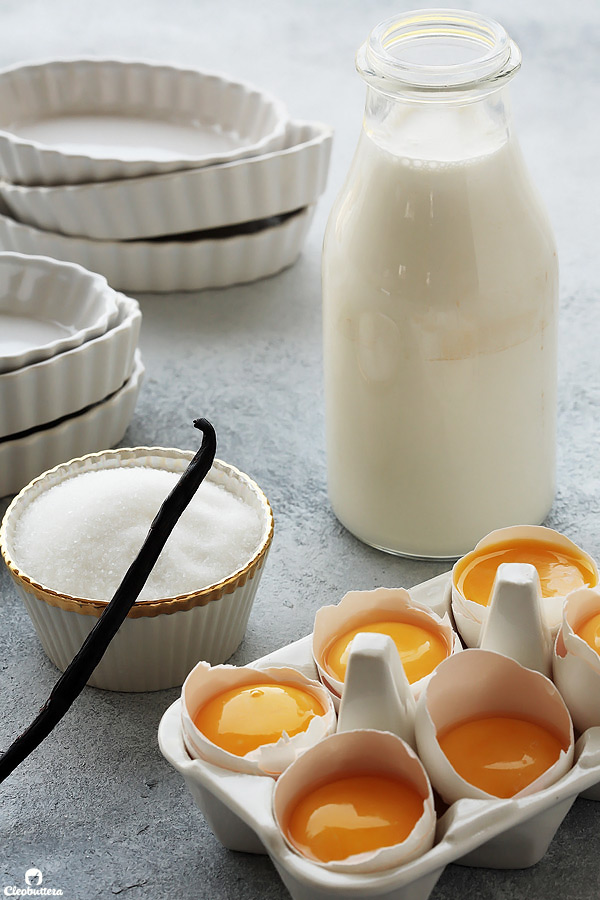
This version adheres closely to the classic recipe, but adopts a few unconventional techniques and alters ingredient ratios that makes it superior to others. Like every good crème brûlée, its made with only 4 ingredients; 5 if you count a pinch of salt. There’s heavy (whipping) cream, egg yolks, sugar and a vanilla bean.
I know I know…the ridiculously expensive vanilla bean. Not gonna lie, these things do come with a big price tag and if you live in Egypt like I do, they’re extremely hard to find. But trust me when I say, that these things are flavor bombs, and will elevate your dessert to a whole other level of deliciousness and depth. They’ll also mask any hint of egginess that might come through from the yolks. Plus, we’ve saved money from not going to the 5-star restaurant remember?
But hey! If you can’t find it/can’t splurge, whatever the reason may be, its totally ok to use vanilla extract or bean bean paste instead.
Here’s where this recipe strays from the mainstream. Traditionally, egg yolks will get beaten with the sugar until pale and fluffy, then slowly add hot cream to it. Not only is this method more labor intensive, but it stands a higher risk of cooking the eggs. Not here though! Cooks Illustrated discovered that starting with a cold custard actually makes the final dessert silkier in texture.
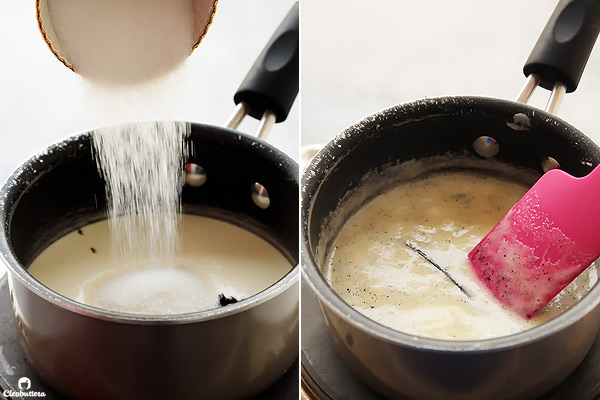
So here’s what we do instead. We actually add the sugar into half the amount of cream and vanilla seeds and pod and let them simmer together, instead of beating it with the yolks. Remember when I said earlier that we want to start with a cold custard? So why are heating the cream here?
Two reasons: 1) To dissolve the sugar, 2) To infuse the cream with maximum vanilla bean flavor. We’ll cool down the mixture later, so don’t worry. You’ll want to occasionally stir the mixture to ensure that the sugar is dissolved.
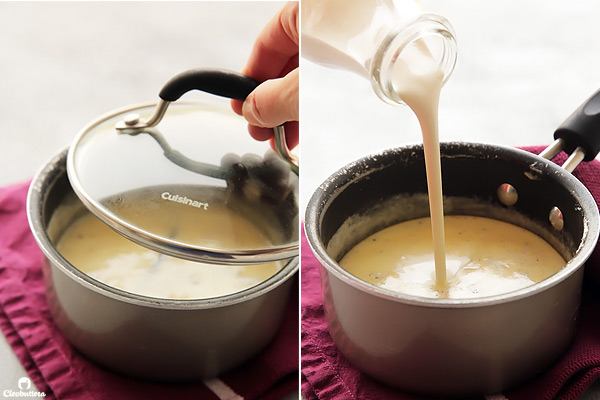
As soon as the mixture comes to a boil, you’ll want to take the saucepan off heat, cover it and let the cream steep for 15 minutes. Steeping ensures that all the vanilla flavor is extracted from the vanilla pod and seeds, giving the custard a full, complex flavor. Now its time to cool down the mixture as promised, so pour in the remaining half of cold cream. Simple as that!
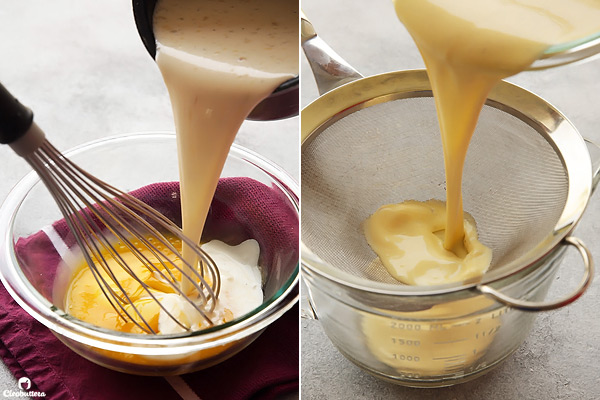
Now that the cream is relatively cool, you can now add it to the egg yolks without worrying that it will cook them. Speaking of egg yolks…this recipe uses more yolks than most, because it was learned that extra yolks makes for a smoother, richer custard that isn’t too lean or runny. Another take off from the traditional method!
You’ll want to strain the mixture through a fine mesh strainer to get rid of the vanilla pod and any woodsy pieces, and to ensure a flawlessly smooth filling.
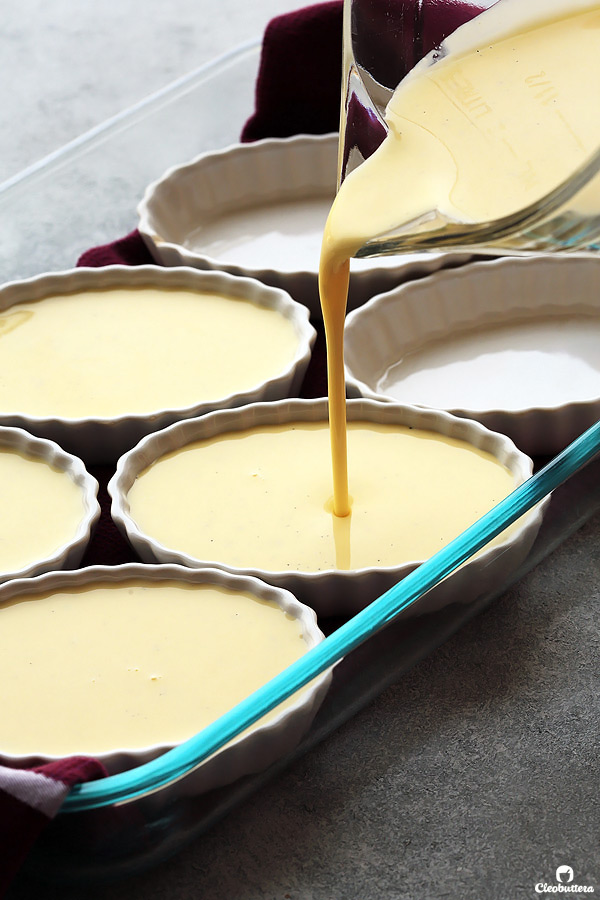
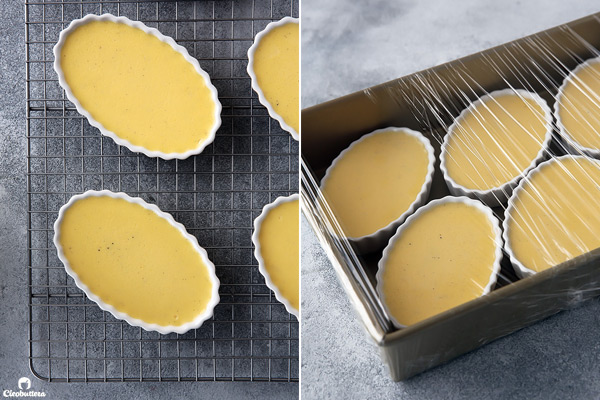
Now fill your dishes or ramekins, or whatever oven-safe serving vessel you have with the custard. Notice that the dishes are sitting atop a towel-lined baking dish. This is because we’re gonna bake the custards in a water bath. The water bath ensures that the custards will bake slowly and gently. The towel is just there, to keep the dishes from moving around.
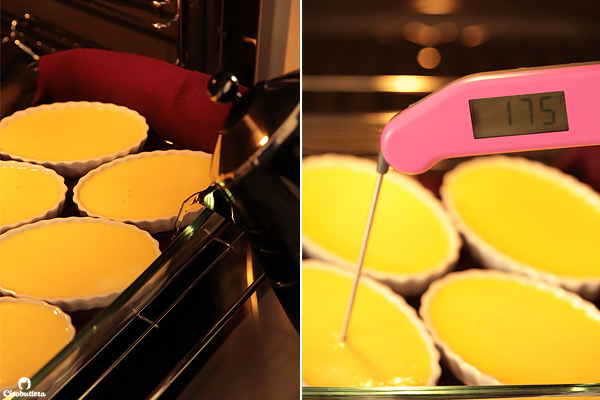
Now carefully place the baking dish over the oven rack and gently pour boiling water into the dish, taking care not to splash water into ramekins, until water reaches two-thirds height of ramekins.
You’ll want to bake the custards until the centers are barely set and jiggles slightly when the dish is shaken. A bulletproof way to know that they’re done, is to use a digital food thermometer. It’s one of my most indispensable kitchen gadgets and can’t recommend it enough. Inserted in the center, it should register between 170F to 175F (77C to 80C).
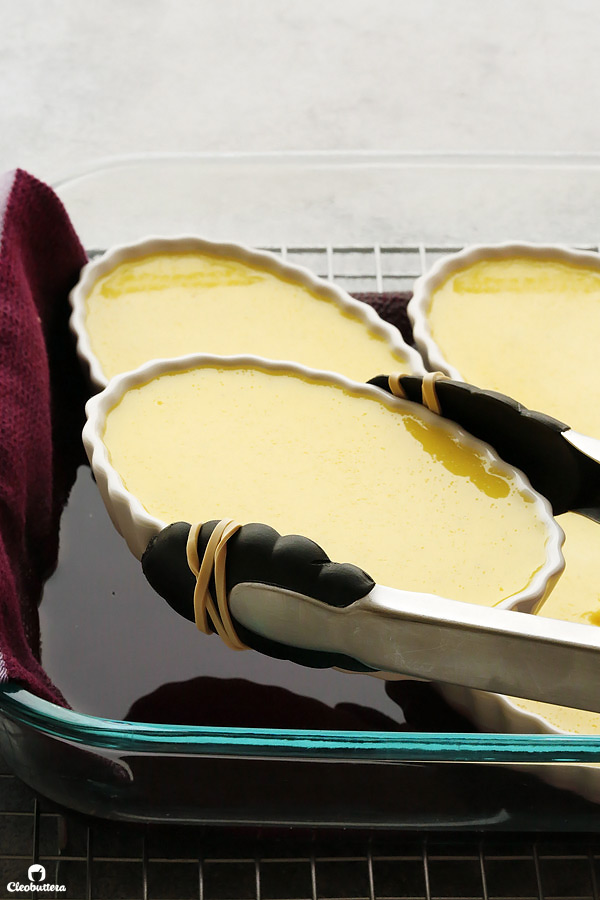
After that you’ll need to remove the dishes from the water bath. To do that without burning your fingers, wrap rubber bands around a pair of tongs and you’ve got yourself the perfect non-slippery grip!
Cool the custards on a wire rack to room temperature, about 2 hours. Then cover them tightly with plastic wrap, and refrigerate until cold, at least 4 hours or up to 4 days. Perfect make-ahead dessert or what?!
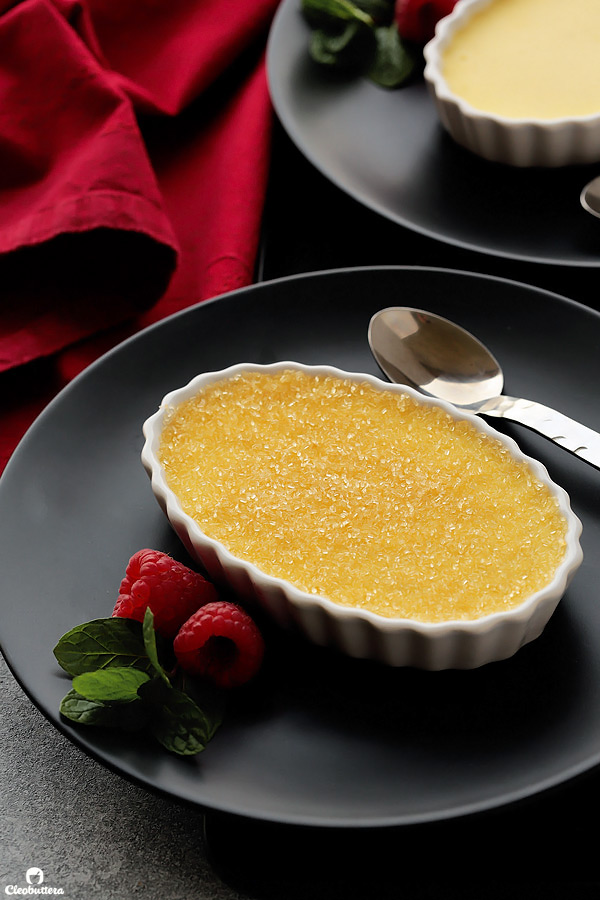
When ready to serve, cover the top with a thin layer of turbinado or demerara sugar (aka coarse brown sugar or sugar in the raw). It is sugar of choice here, as its coarse crystals make it easy to distribute over the custards. If you don’t have it, regular ‘ol granulated sugar will work just as well.
Now roll up your sleeves, and set the dessert on fire. Literally.
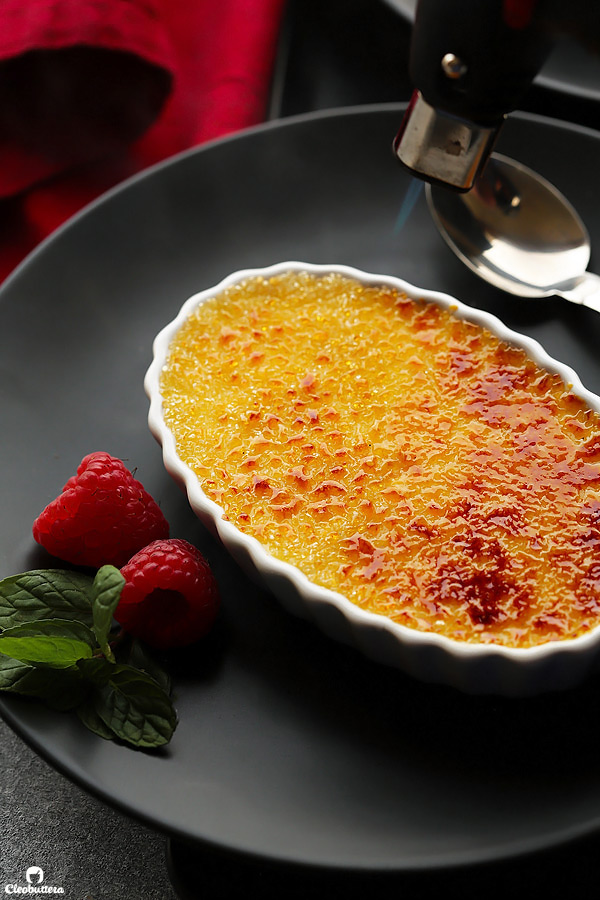
Don’t have a torch? No need for one. Check out this hack that I learned from Dulce Delight. Heat a metal spoon (that you don’t care about) over the stove-top fire until scorching hot, then slide the spoon over the sugar to caramelize. So cool right?!
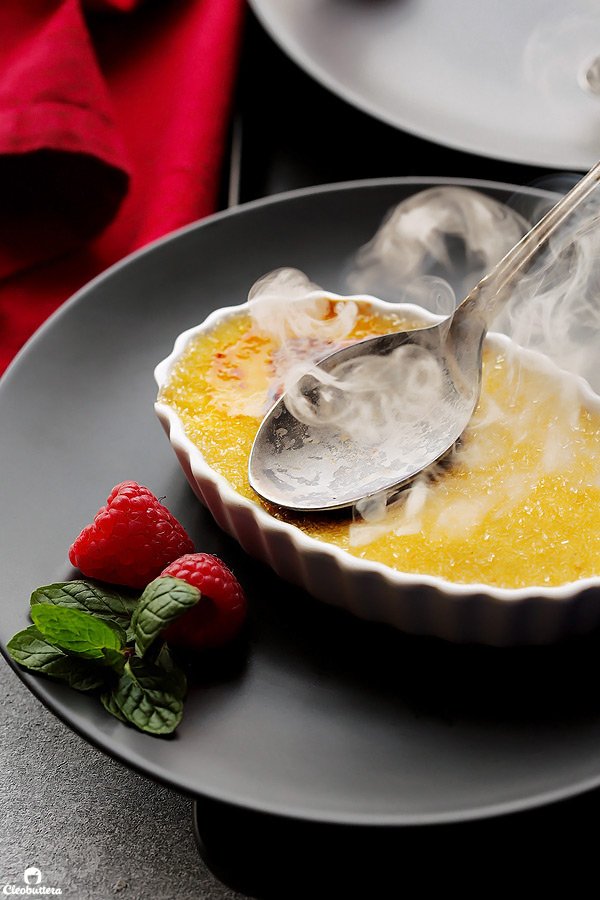
And there it is. The ultimate restaurant dessert for the perfect date night in.
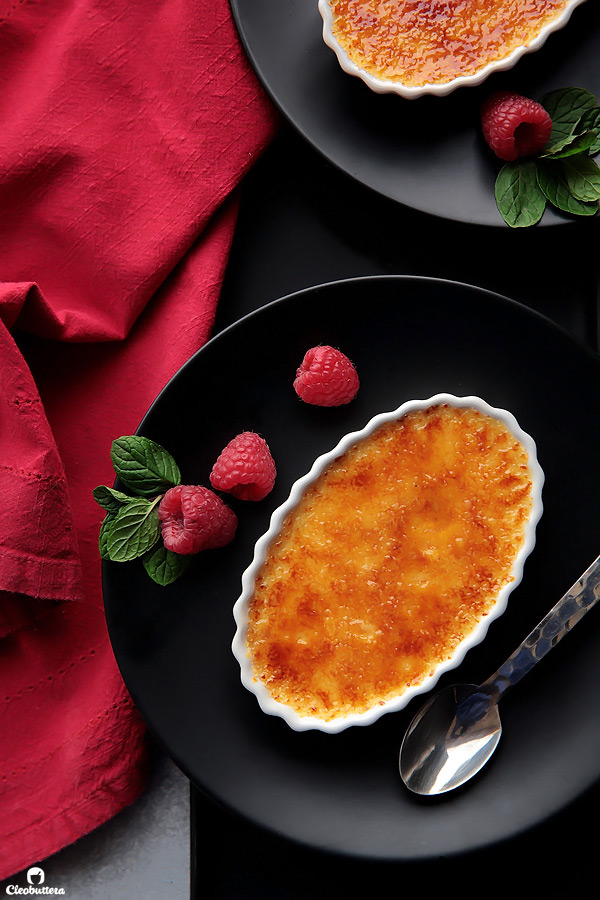
Or entertaining and wowing your guests. I know my guests couldn’t stop raving about it.
I think you’ll agree.
Favorite Classic Creme brûlée

Search no more...this is THE perfect recipe for the timeless classic. It also happens to be the simplest to make! It's decadently rich and smooth, infused with fragrant vanilla beans and topped with a brittle, paper-thin sheet of caramelized sugar.
Ingredients
- 2 cups (473ml) heavy whipping cream, cold (divided)
- 1/3 cup (66 grams) granulated sugar
- A pinch of table salt
- 1 vanilla bean, halved lengthwise (2 teaspoons vanilla bean paste or extract may be substituted)
- 6 large egg yolks (108 grams)
- 6 to 9 teaspoons (25 to 37 grams) turbinado or demerara sugar (granulated sugar may be substituted)
Instructions
- Adjust oven rack to lower-middle position and heat the oven to 300F/ 150C.
- In a medium saucepan, combine 1 cup of the cream, granulated sugar, and salt. Using a paring knife, scrape the seeds from the vanilla bean and submerge both seeds and pod in the cream. Bring the mixture to a boil over medium heat, stirring occasionally to dissolve the sugar completely. Remove the pan from the heat, cover, and let steep for 15 minutes to infuse with the vanilla bean flavor. If using vanilla extract instead of beans, skip the steeping and add the extract directly to the egg yolks.
- Meanwhile, place a kitchen towel in the bottom of a large baking dish or roasting pan and arrange six (4 to 5oz) ramekins or shallow fluted dishes on the towel. Bring a kettle of water to a boil.
- After the cream has steeped, stir in the remaining 1 cup of cream to cool down the mixture. Whisk yolks in a large bowl until broken up and combined. Slowly add in, while constantly whisking, the cream mixture into the yolks until evenly colored and thoroughly combined. Pour mixture through a fine-mesh strainer into a large liquid measuring cup with a spout or a pitcher or medium bowl; discard solids in the strainer. Pour or ladle mixture evenly into ramekins or fluted dishes. Pop any air bubbles that might have surfaced to the top, with a toothpick.
- Carefully place the baking dish with the ramekins/dishes on the oven rack; gently pour boiling water into the dish, taking care not to splash water into ramekins, until water reaches two-thirds height of ramekins. Bake until the centers of the custards are barely set and jiggles slightly when the dish is shaken. A food thermometer inserted in center should register between 170F to 175F (77C to 80C), 25 to 30 minutes for shallow fluted dishes like the ones pictured above or 30 to 35 minutes for deep ramekins. Over-baking can cause the custard to curdle, so take care not to leave it in the oven longer than it should. Begin checking temperature about 5 minutes before recommended time.
- Remove ramekins/dishes from the water-bath and transfer to a wire rack. A great way to transfer them without burning your fingers, is to use tongs tied with rubber bands. The rubber bands grips really well to the ramekins without slipping. Cool custards to room temperature, about 2 hours. Place ramekins/dishes on a rimmed baking sheet or pan, cover tightly with plastic wrap, and refrigerate until cold, at least 4 hours or up to 4 days.
- About one hour before serving, uncover ramekins/dishes. If condensation has collected on the surface of the custards, gently blot the tops dry with a paper towel. Sprinkle each custard surface with about 1 teaspoon turbinado or demerara sugar (1 1/2 teaspoons for shallow fluted dishes); then shake and tilt the ramekin/dish to spread the sugar in an even layer. Pour out any excess sugar and wipe away from the inside rim of the ramekin/dish. Ignite torch and caramelize sugar. Sweep the flame from the perimeter of the custard toward the middle, keeping the flame about 2 inches above the ramekin. The sugar is properly caramelized when it's bubbling and deep golden brown. If you don't have a torch, you can use a super hot spoon to caramelize the sugar. Simply, heat a metal spoon (that you don't care about) over the stove-top fire until scorching hot, then slide the spoon over the sugar to caramelize. Once the spoon cools, you'll need to wash and scrub it thoroughly removing any stuck caramel bits, before reheating.
- Refrigerate ramekins/dishes, uncovered, to re-chill, 30 to 45 minutes (but no longer or the caramelized topping will start melting); serve right away.
Recipe Notes
- To make ahead! The custards can be prepared through step 6, covered tightly with plastic wrap, and refrigerated for up to 4 days. Caramelize topping only when ready to serve.
- Feel free to double this recipe to make 12 servings.
- For a family-style variation, double the recipe and pour custard in a 1 1/2-quart casserole or 11X7-inch baking dish instead of individual ramekins. Bake inside a larger baking dish or roasting pan filled with boiling water for 40 to 50 minutes.
Recipe adapted from Cooks Illustrated.
Spoon caramelizing technique adapted from Dulce Delight.
Measurements Note: All recipes of this site have been developed using weight measurements. Although US volume measurements have been included for your convenience, it is highly encouraged that you weigh your ingredients using a kitchen scale to get the best possible results. Due to the sensitive nature of baking, kitchen scales are proven to yield more accurate and consistent results than measuring cups. Enjoy!
This post may contain affiliate links.
All images and content are owned by Cleobuttera® and are copyright protected. Please do not use my images without prior permission. If you would like to republish a recipe, please rewrite it in your own words and link back to the recipe page on my site. Original recipes and creations of this site are intended for personal and home use. Commercial replication or media consumption are only allowed with a written consent and agreement with Cleobuttera owners. Otherwise it is considered a violation of intellectual property. Thank you for respecting and appreciating the amount of time and effort that goes into creating free, unique recipes that make people happy.