Browned Butter Cinnamon Roll Cookies
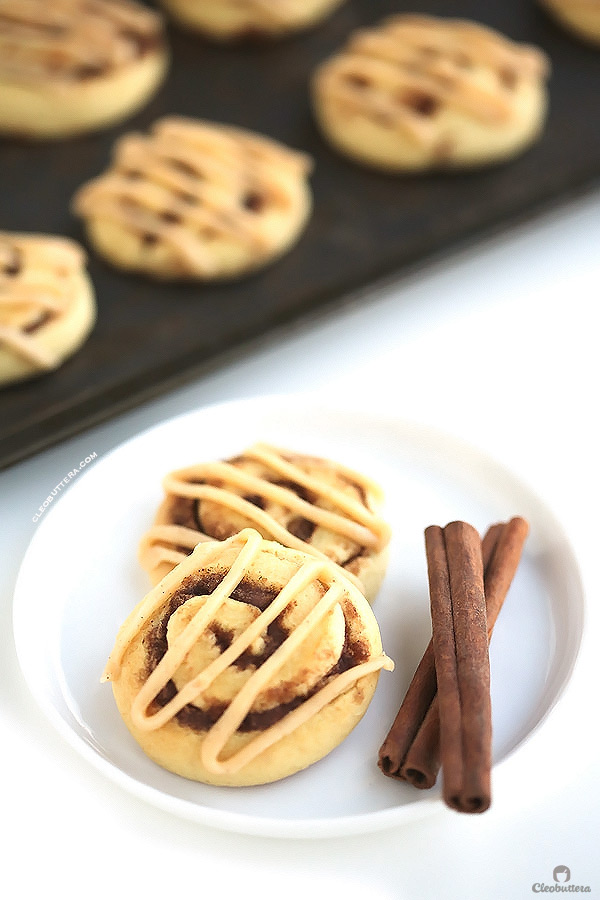
These super soft sugar cookies taste like cinnamon rolls that have been kissed by browned butter! They are made extra special with browned butter in the swirl and a drizzle of an insanely delicious browned butter cream cheese glaze.
Out of all the food fads the world has given us, browned butter has got to be the most brilliant!
Yes salted caramel is quite fantastic and Cronuts are nothing short of genius, but what results from a single step as effortless as cooking butter a little longer than it should, that is simply MAGICAL✨
Something about the transformation of what is already great into a whole other extraordinary thing, that I just can’t get over.
Browned butter to regular butter, is what a butterfly is to a cocoon. Yes the evolution is that dramatic. Only a cocoon is not that pretty and regular butter is always ALWAYS pretty.
Giving the butter a few extra minutes over the heat, turns it into this toffee flavoured, nutty liquid gold with the most intoxicating aroma. Adding browned butter to just about anything, alleviates its flavor dimension to a whole other level. Try it on pasta! YUM! I’ve added it to this epic pumpkin cake, this crazy good cream cheese frosting, these sinful bars and these incredible cookies, with firm belief in its powers.
So adding them to these cinnamon roll/sugar cookie hybrids, was a no-brainer.
Imagine if a cinnamon roll and a soft Lofthouse style cookie had a baby, then bathed him/her in browned butter. Got it in your head? Oh you’ve got some wild food imagination! I like you? And good because this would be their baby.
I imagine if Cinnabon ever decide to make a cookie version of their famous buns, it would be pretty close to this.
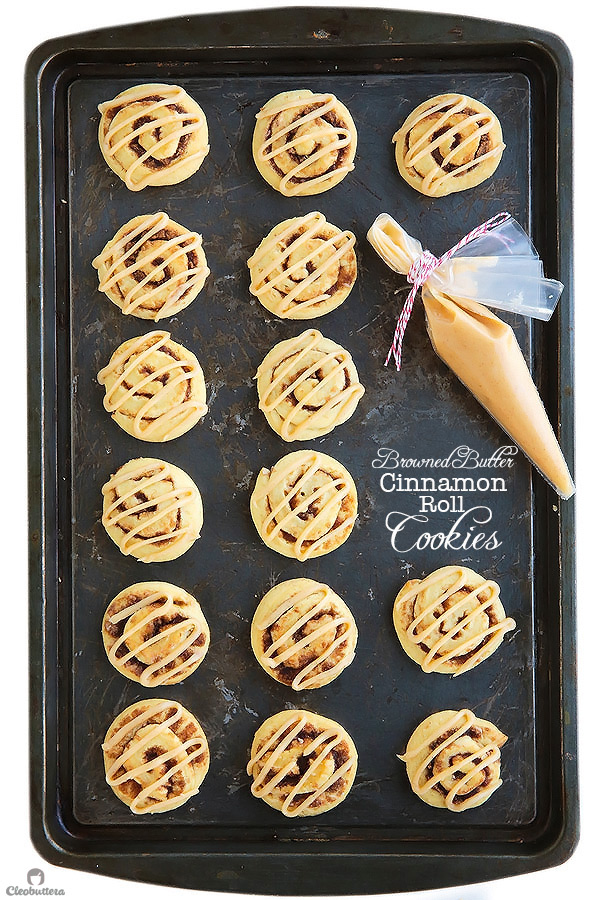
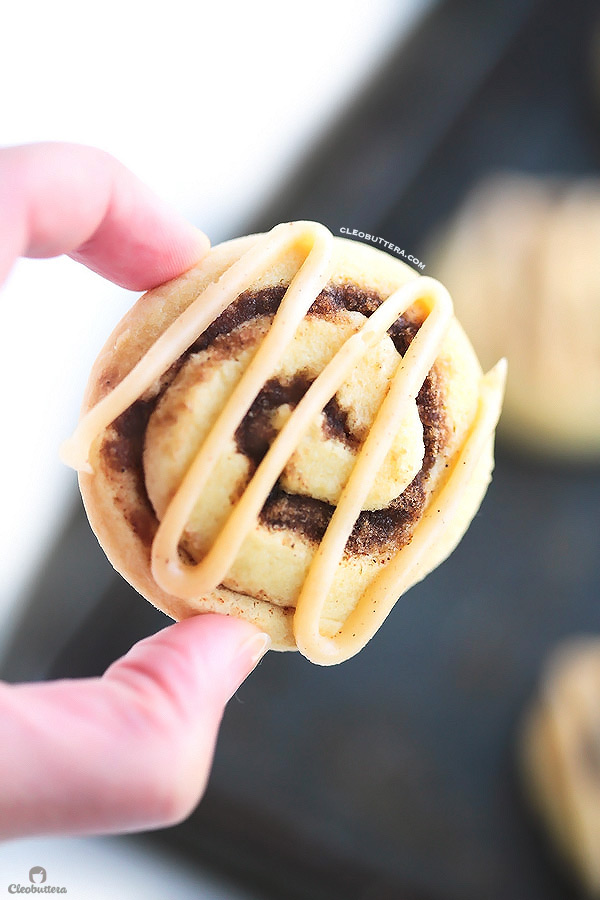
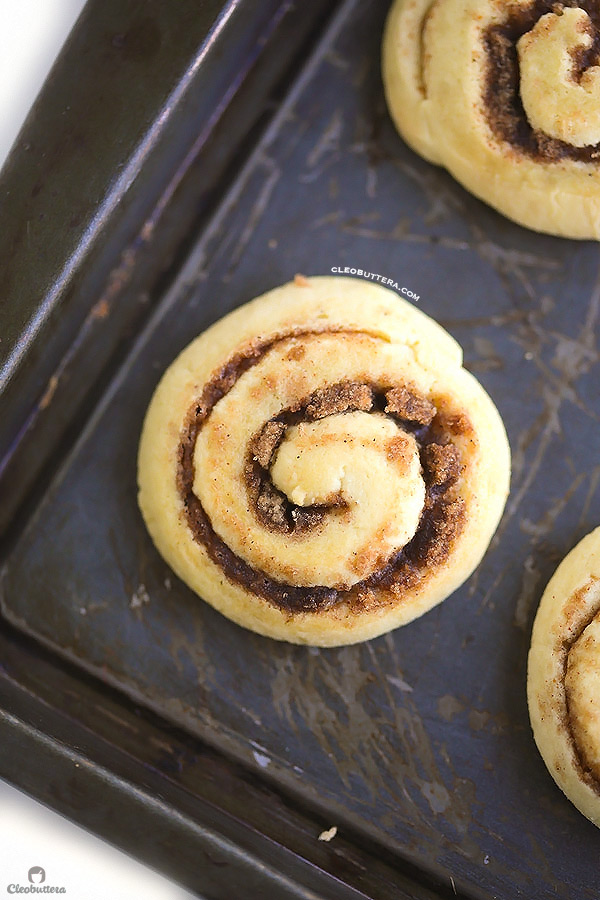
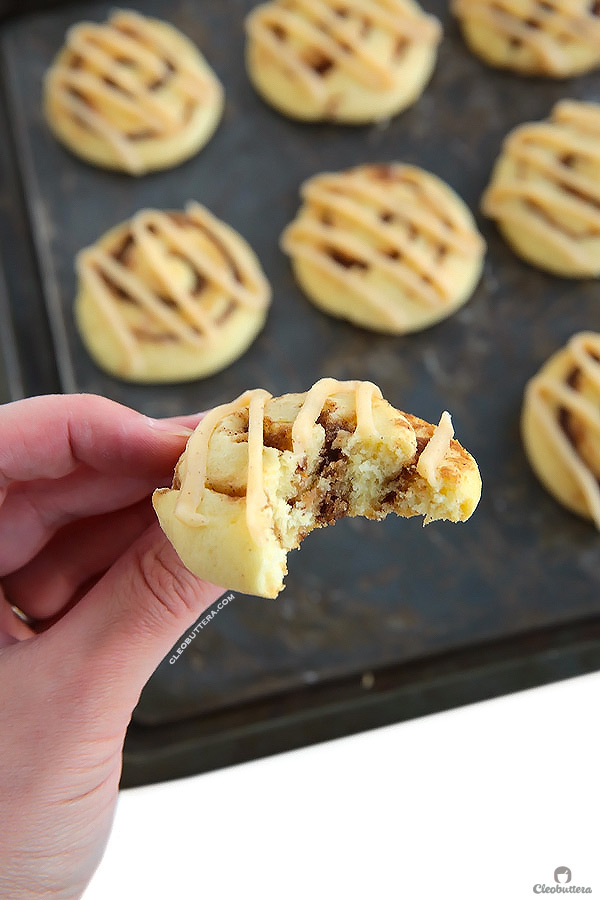
The texture is that of a soft, slightly cake-y Lofthouse style cookie but the taste is spot on of a cinnamon roll. You also get that signature cinnamon roll swirl, which makes them look like tiny cinnamon roll bites. But they’re cookies.
The cookie base is a sour cream dough (secret to their softeness), that gets wrapped around a bed of browned butter (oh my!) and a combination of brown sugar and cinnamon (classic!). After they bake and cool, they get drizzled with this dangerously delicious browned butter cream cheese glaze. If you think you love cream cheese glaze, wait till you try this one!
We’ve been enjoying these babies for years ever since seeing the original version on Picky Palate. Jenny’s kind of a cookie wizard; she’s also the inspiration behind these cookie stuffed Oreos, that people just go bananas over!
Jenny’s version doesn’t include any of that browned butter ridiculousness, and honestly we never felt like we were missing out on anything.
Until we’ve tried adding the browned butter. And then we felt like we’ve died and went to heaven.
Mind you the original version might taste more like the classic cinnamon roll, but the browned butter addition gives it an addictive taste of toffee that just tickles the tastebuds. Free feel to stick to the original version, if you prefer the classic route, just don’t brown the butter; use it soft. But give this one a chance, will ya? You won’t regret it.
One thing I’ve changed from the original cookie dough recipe, is adding MORE sour cream to it, to get it even more soft textured like the famous Lofhouse cookies. I got a cue from this recipe over here. I also halved the recipe because OMG the full one could easily feed a small army!
Making the dough is pretty straight forward and easy, but it will be very very sticky once its mixed and have the consistency between a thick cake batter and cookie dough. There’s absolutely no way you’ll be able to work with it unless you wrap it in plastic wrap, take a chill pill and leave it in the refrigerator for at least 2 hours, better overnight; the colder the better. Sorry guys, I know how you hate chilling:( But I know you’ve got the patience in you ?
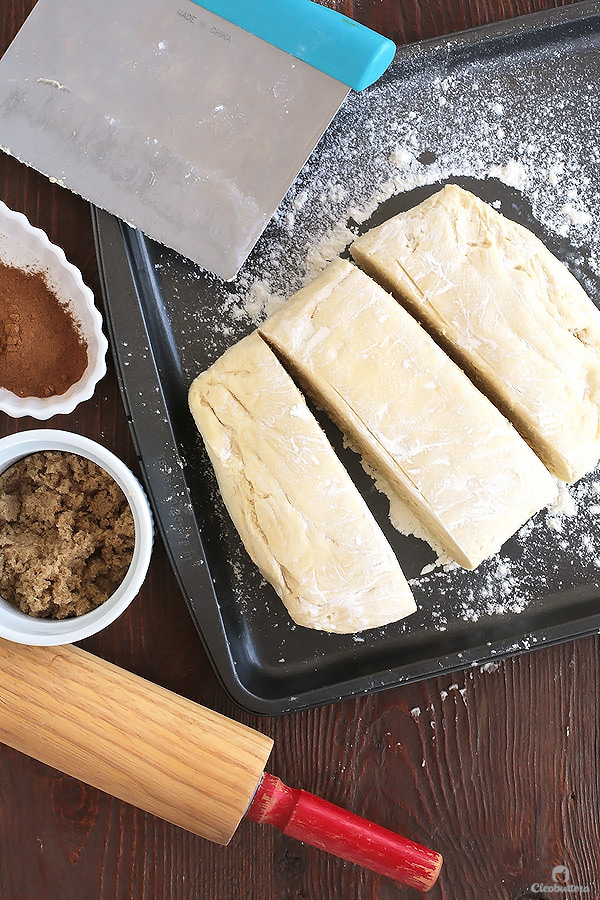
Once chilled, you’ll turn it out over a floured work board and divide it in thirds.
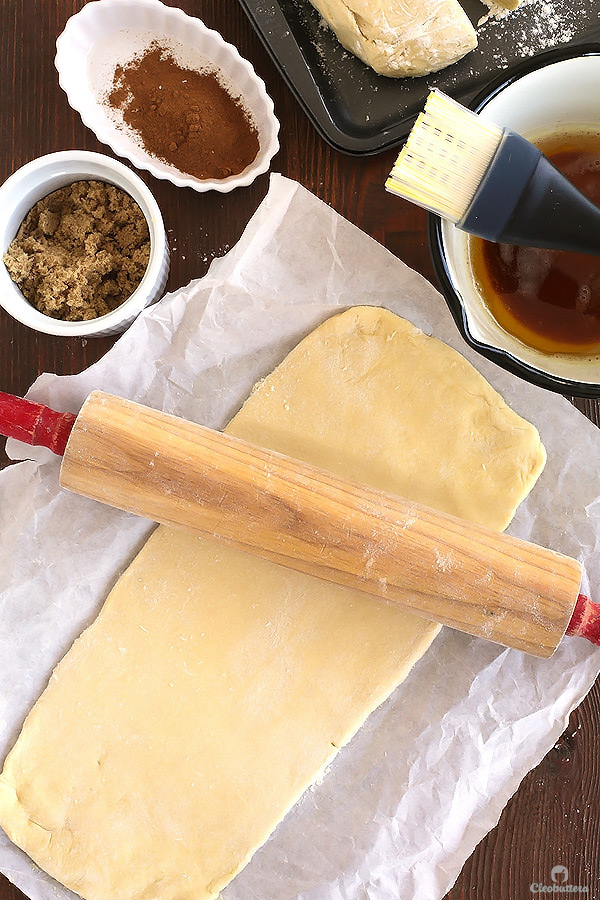
Working with one third at a time, you’ll roll out the dough in a rough 13X7 inch rectangular over a piece of flour dusted parchment or wax paper. Because this is a pretty soft dough, using the paper underneath will make it much easier to work with. Just continue to make sure that the dough is releasing for the paper as you roll. If an area is sticking, gently release it using a spatula or bench scraper and dust some flour under it.
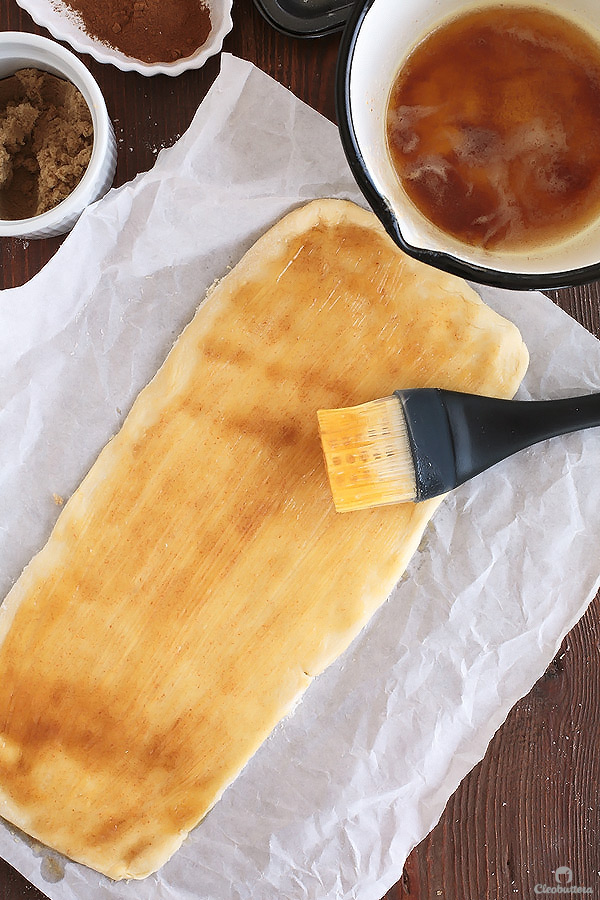
Spread on 2 tablespoon per rectangle of that heavenly browned buttah. Just make sure that it’s cooled down so it doesn’t soften the dough. Be sure to click on this post to see exactly how to brown butter.
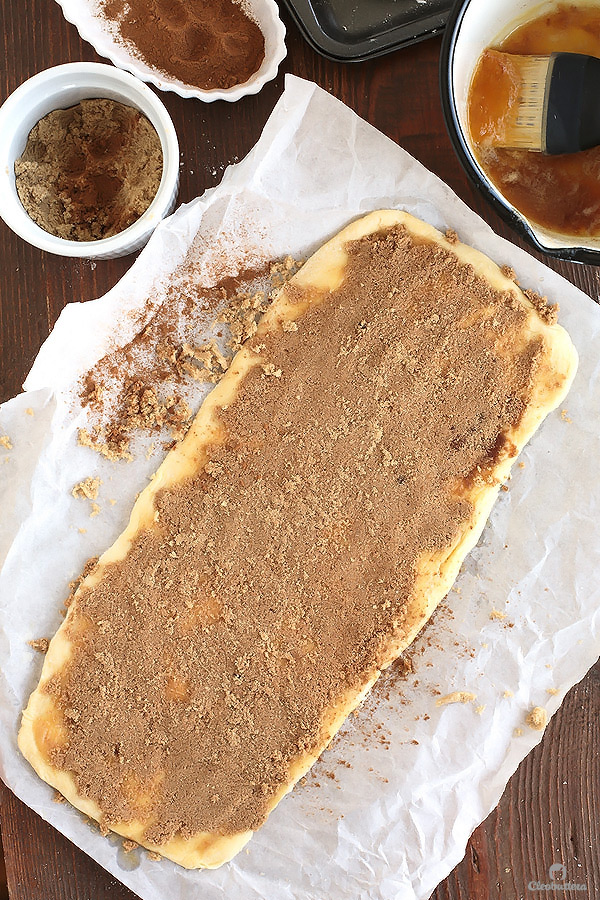
On goes 1/4 cup packed light brown sugar that’s been mixed with 1/2 teaspoon of cinnamon. Pat it down with your hand so it sticks.
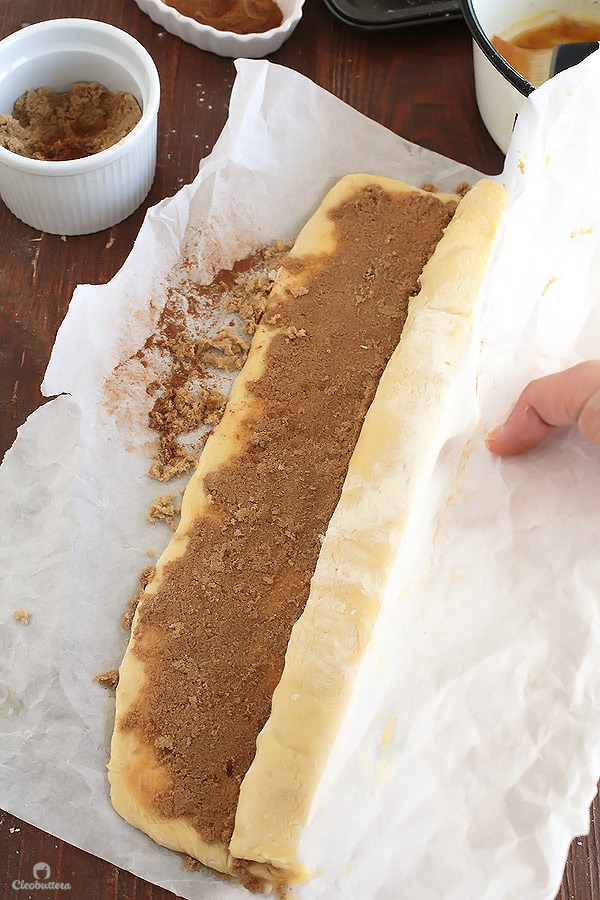
Using the parchment paper to help lift the dough, start rolling the dough from the long end closest to you, into a log shape, dusting off excess flour.
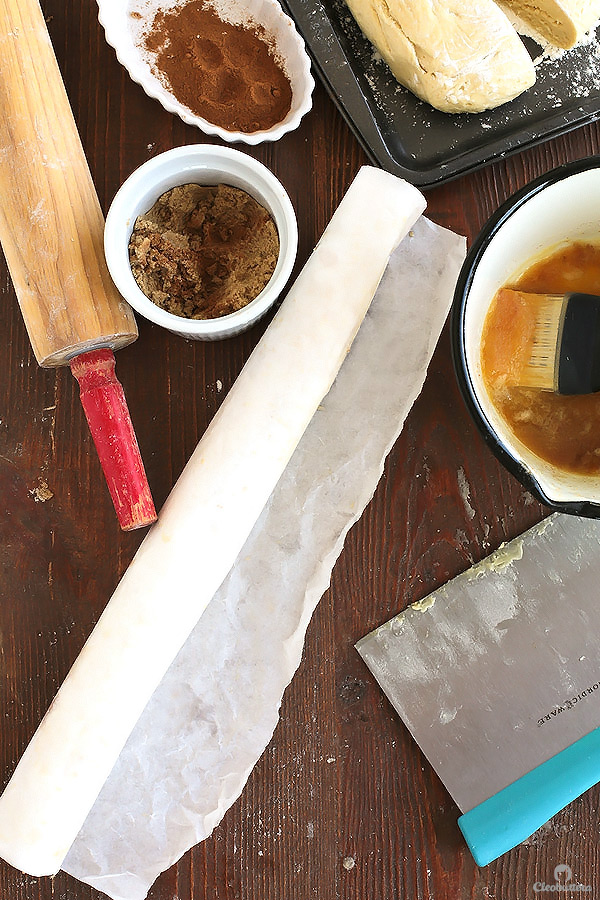
Wrap the dough tightly with the parchment paper then place in the freezer until firm enough to cut through; 30 minutes or up to one month. Yes I’m sorry, more chilling! This one you could skip, but I’ve found that it gives the neatest cuts.
(The frozen dough logs freeze beautifully for up to one month, making them perfect for slice-n-bake cookies at a moment’s notice).
Take one log at a time from the freezer and using a sharp knife, slice 3/4 inch pieces of the dough. Arrange on parchment or silicon mat lined baking sheet and bake!
They will puff up and spread creating the beautiful illusion of a real cinnamon roll. Let them cool.
That hypnotic swirl though…
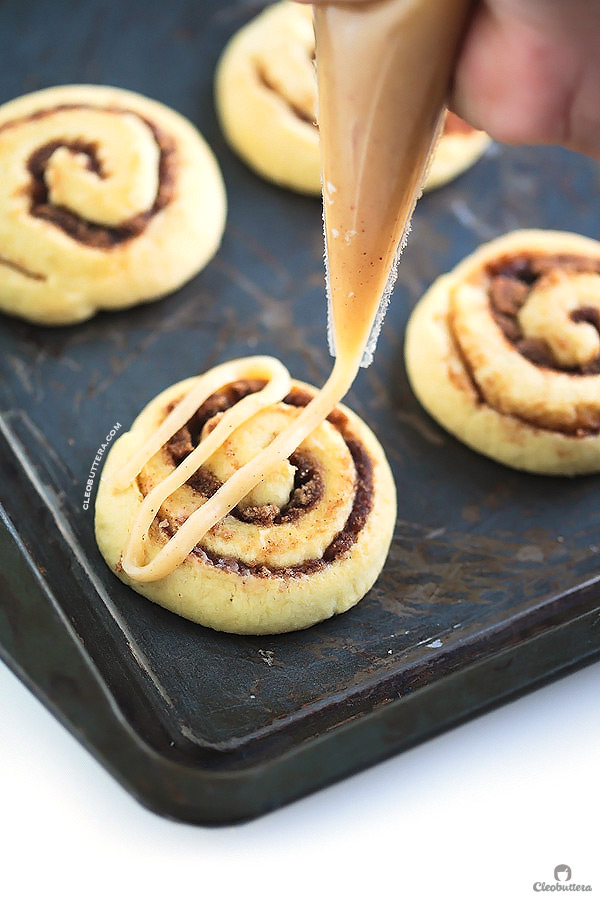
Now comes the best part; the browned butter cream cheese icing! Be sure to squeeze some right in your mouth; its unbelievable! And that’s when you’ll start believing in the magic of browned butter.
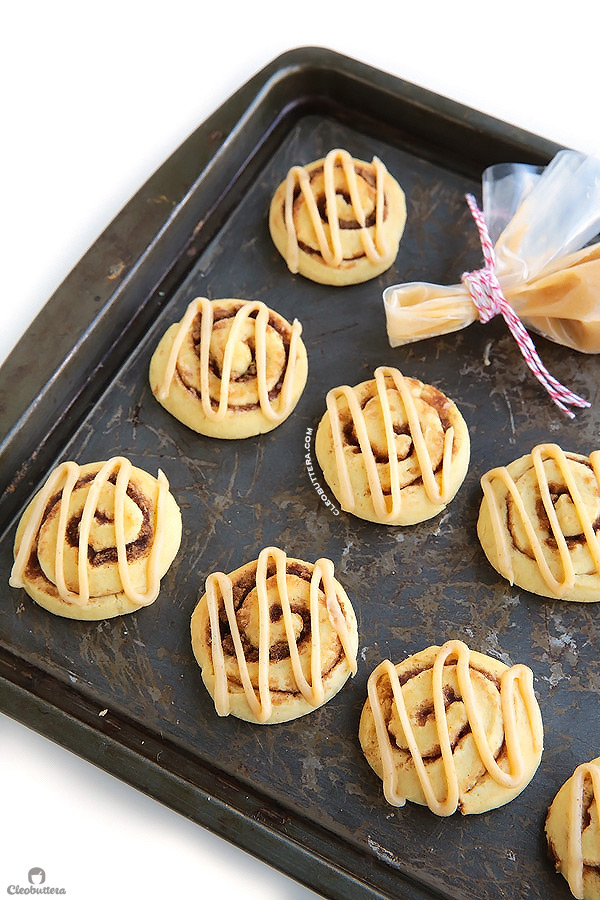
Squiggle on some using a snipped off piping or sandwich bag.
Take a bite and swoon.
Because they’re that good!
Be sure to check the mini video I’ve made for these cookies on Instagram!
Browned Butter Cinnamon Roll Cookies
Please note that there are 2 chilling steps in making these cookies so plan ahead. Once the dough is made, it needs to chill in the refrigerator for at least 2 hours. Then once its filled and rolled into logs, it needs to be frozen for about 30 minutes. Though the freezing step is not necessary, it helps make clean cuts, so its recommended.
Ingredients
For the cookies:
- 3 cups (12 3/4oz/ 360g) all-purpose flour
- 1 teaspoons baking soda
- 1 teaspoons baking powder
- 1/8 teaspoon salt
- 1 cup (7oz/ 200g) granulated sugar
- 1/2 cup (4oz/ 114g) unsalted butter, softened at room temperature
- 1 1/2 eggs, at room temperature *(see note below)
- 1/2 teaspoon pure vanilla extract (1 teaspoon if using imitation vanilla)
- 3/4 cup (6oz/ 170g) sour cream, at room temperature
For the filling:
- 6 tablespoons (3oz/85g) unsalted butter
- 3/4 cup (5 1/3/ 150g) packed light brown sugar, divided into 1/4 cups
- 1 1/2 teaspoons ground cinnamon, divided into 1/2 teaspoons
For the brown butter cream cheese glaze:
- 3 tablespoons (1 1/2oz/ 43g) unsalted butter
- 2 tablespoons (1oz/ 28g) cream cheese, softened
- 3/4 cup (3oz/ 85g) powdered sugar
- 1/2 teaspoon vanilla extract
- 1 to 2 tablespoons milk or cream, to thin to glaze consistency
Instructions
To make the cookie dough:
- In a medium bowl whisk together the flour, baking soda, baking powder and salt. Set aside.
- In the bowl of a stand mixer fitted with the paddle attachment (or a large bowl and an electric hand mixer), beat together the butter and sugar on medium-high speed until lightened up in color and looks fluffy; 3 to 5 minutes.
- Add in the eggs, one at a time, beating well after each addition. Add in the vanilla and sour cream and beat until well combined.
- Turn down the mixer to lowest speed, then slowly add in the flour mixture. Turn up the speed to medium and mix for a few more seconds until the dough is well combined. The dough will be very sticky, do not be tempted to add more flour; it will firm up upon refrigeration.
- Turn out the dough on a piece of plastic wrap and shape into a disc. Wrap tightly and chill in the refrigerator for at least 2 hours or up to overnight, as the dough will be very hard to work with before then.
Filling and rolling the cookies:
- Once chilled, prepare the browned butter for the filling. In a light-colored skillet heat the 6 tablespoons of butter over medium high heat until melted. Continue cooking, stirring and scraping the pan constantly with a heat-proof rubber spatula until the butter turns dark golden and smells fragrant; a nutty, caramel-y aroma. Remove from heat and transfer to a small bowl to cool to almost room temperature.
- Once the browned butter is cooled, cut the dough disc into equal thirds using a sharp knife or bench scraper. Working quickly so the dough doesn't soften, place each third onto a piece of generously floured parchment or wax paper (plastic wrap works too). Roll each third into a 1/8 inch thick rectangle, about 13 X 7 inches. As you're rolling, continue to make sure that the dough is not sticking to the paper. If it is, gently release it using a spatula or bench scraper and dust some flour under it.
- Spread each rolled piece of dough with 2 tablespoons of the browned butter, then top with 1/4 cup packed brown sugar that's been combined with 1/2 teaspoon cinnamon. Pat the it down with your hand so it sticks.
- Using the parchment paper to help lift the dough, start rolling the dough from the long end closest to you, into a log shape, dusting off excess flour. Wrap the dough tightly with the parchment paper then place in the freezer until firm enough to cut through; 30 minutes or up to one month *(see note).
- When ready to bake, adjust oven rack to middle position and preheat oven to 350F/180C.
- Take one log at a time from the freezer and using a sharp knife, slice 3/4 inch pieces of the dough. You should be able to get 16 to 20 pieces, depending on the length of your log.
- Place the rolled dough pieces onto a silicon mat or parchment lined baking sheet, spacing them 1 inch apart. Bake for 9-11 minutes until the dough looks set and a toothpick inserted in the center comes out clean. Do not let the cookies brown or they'll be dry. Let the cookies cool on the baking sheet for 5 minutes before transferring to a wire rack to cool completely.
To prepare the glaze and finish the cookies:
- Place the cream cheese in a bowl.
- Place the 3 tablespoons of butter In a light-colored skillet over medium high heat until melted. Continue cooking, stirring and scraping the pan constantly with a heat-proof rubber spatula until the butter turns dark golden and smells fragrant; a nutty, caramel-y aroma. Remove from heat and transfer to the bowl with the cream cheese. Whisk together until mostly smooth.
- Add in the powdered sugar and whisk vigorously until the glaze is well incorporated and smooth. Whisk in the vanilla. Thin out the glaze a bit by whisking in a little bit milk or cream at a time until a desired glazing consistency is achieved.
- Drizzle glaze over cookies using a spoon or for a neater look, transfer to a piping or sandwich bag, then cut off tip and drizzle in a zigzag motion. The glaze will take a few hours to set but you could eat them right away
- Store in an airtight container to maintain their softness.
Recipe Notes
- I know that the '1 1/2 eggs' amount sounds weird albeit annoying, but hear me out. The original recipe for this dough is double this one and it uses 3 eggs. Since I found that double the amount of dough makes way more cookies than anyone can handle, I halved the recipe, which means I had to halve the eggs too, which results in this weird amount. To measure out half an egg, whisk a large egg in a small bowl then take half of it which is 1 1/2 tablespoons (25g/about 1oz). Store the remaining half egg in the fridge for later use ex: fried rice or add to omelette 🙂
- The frozen dough logs freeze beautifully for up to one month, making them perfect for slice-n-bake cookies at a moment’s notice. If freezing for longer than several hours, make sure that the logs' ends are well sealed. To bake from frozen, allow the log to thaw ever-so-slightly enough to make it easy to slice. Bake the slices frozen, but you might need to increase the baking time by one or two minutes.
Recipe inspired by and slightly adapted from Picky Palate
Measurements Note: All recipes of this site have been developed using weight measurements. Although US volume measurements have been included for your convenience, it is highly encouraged that you weigh your ingredients using a kitchen scale to get the best possible results. Due to the sensitive nature of baking, kitchen scales are proven to yield more accurate and consistent results than measuring cups. Enjoy!
This post may contain affiliate links.
All images and content are owned by Cleobuttera® and are copyright protected. Please do not use my images without prior permission. If you would like to republish a recipe, please rewrite it in your own words and link back to the recipe page on my site. Original recipes and creations of this site are intended for personal and home use. Commercial replication or media consumption are only allowed with a written consent and agreement with Cleobuttera owners. Otherwise it is considered a violation of intellectual property. Thank you for respecting and appreciating the amount of time and effort that goes into creating free, unique recipes that make people happy.
