Banoffee Pie Cups
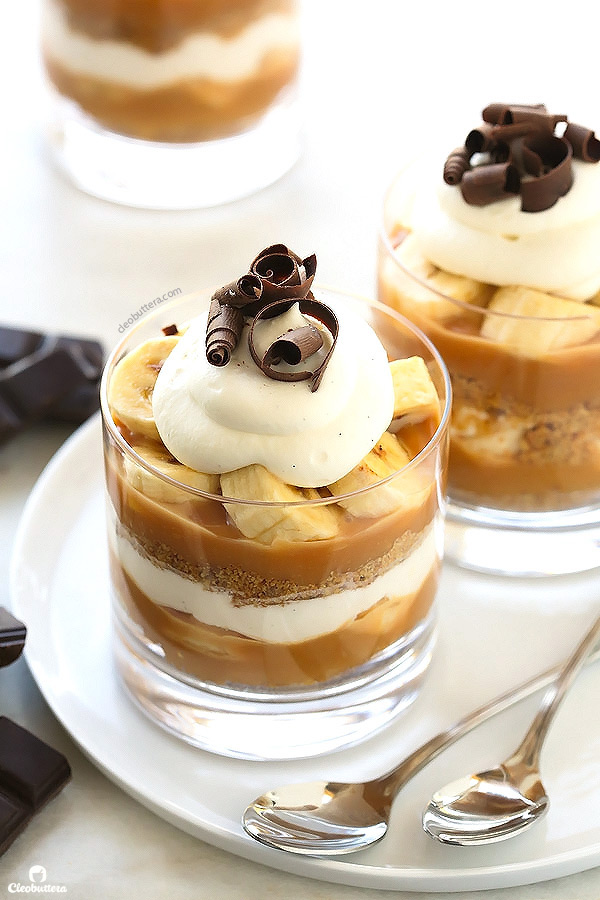
The much loved banana toffee pie made even simpler in cute little individual cups! With layers of digestive biscuit crust, dulce de leche, banana slices and whipped cream, this no-bake “pie” is dangerously delicious and a cinch to make!
If you’ve never heard of Banoffee Pie, be prepared to discover your new dessert weakness.
If you have…then high chances are, your eyes light up whenever you see one, and the only way to get you to stop eating it, is by forcing your plate away #TrueStory.
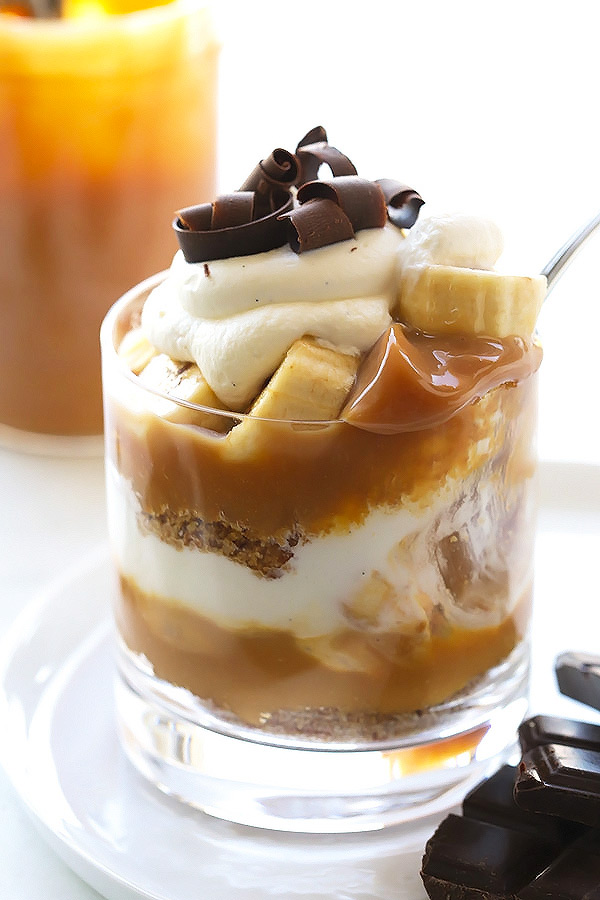
Banoffee Pie is arguably one of the best British creations, that combines sweet, sliced fresh bananas and clouds of whipped cream that sits on top of a velvety toffee filling, cradled by a crunchy bed of cookie crust.
Think banana cream pie, only 100X better.
Why?
Because of this….
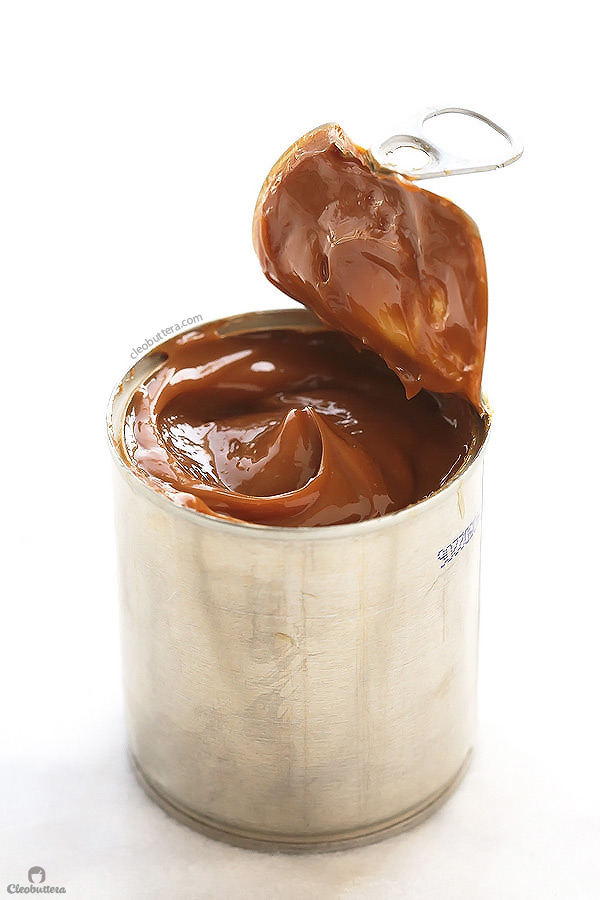
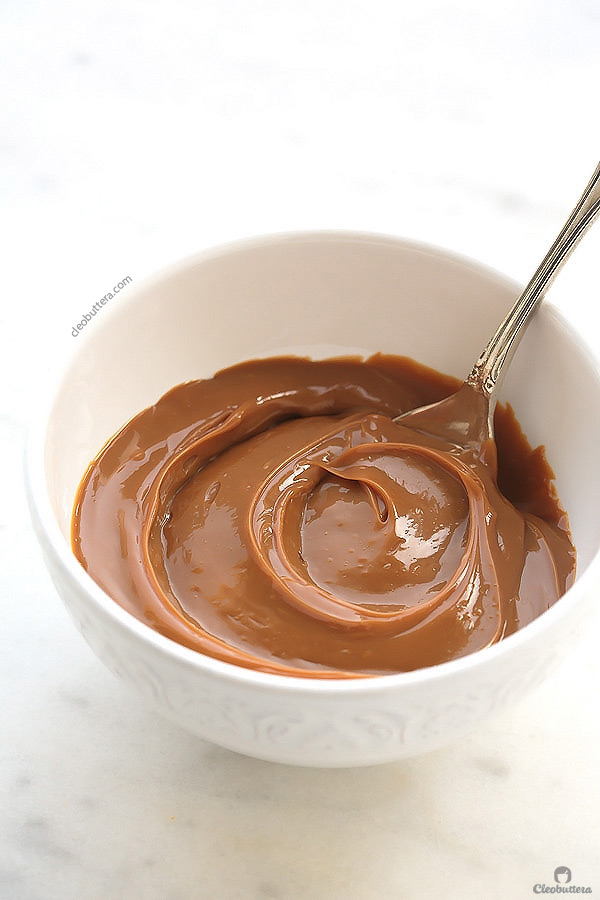
Dulce (Danger) Leche!
I don’t know about you, but I’ll take a filling of luscious dulce de leche over pastry cream any given day.
It’s what puts the “TOFFEE” in”banOFFEE.” It’s the STAR of the pie!
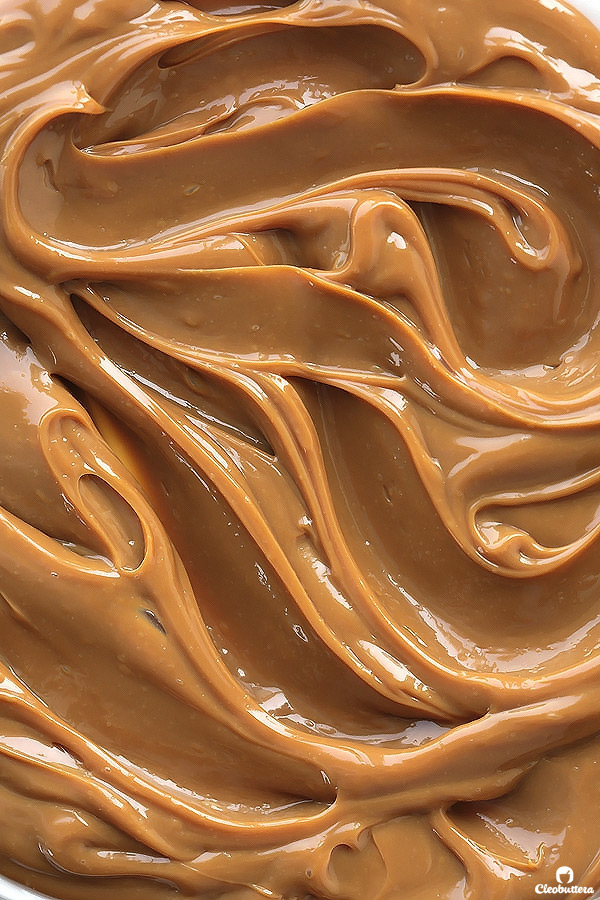
Unlike any caramel or toffee sauce you’ve had, this toffee (dulce de leche) is far luxurious. It’s Spanish for candy of milk or milk jam. So you could imagine how thick and rich and creamy it feels on the tongue. What I love most about it though, is that its not as sweet as caramel, which means you could eat it by the spoonful without having your teeth fall out. I’m in love with this stuff and its milky undertones, and want to put it over EVERYTHING. Facial?
Oh and did I mention that its made from just ONE ingredient?!
That’s right! It’s made by heating the heck out of a can of sweetened condensed milk until it magically turns into this glorious liquid gold.
And aaaannnnd…if you’re lucky enough to live in an area where they sell ready-made dulce de leche in supermarkets, Trader Joes’ I’m looking at you! (Ummm…I’m just a tiny bit jealous), then you could totally skip the heating process and get right to layering the dessert. Which makes it the fastest dessert in town!

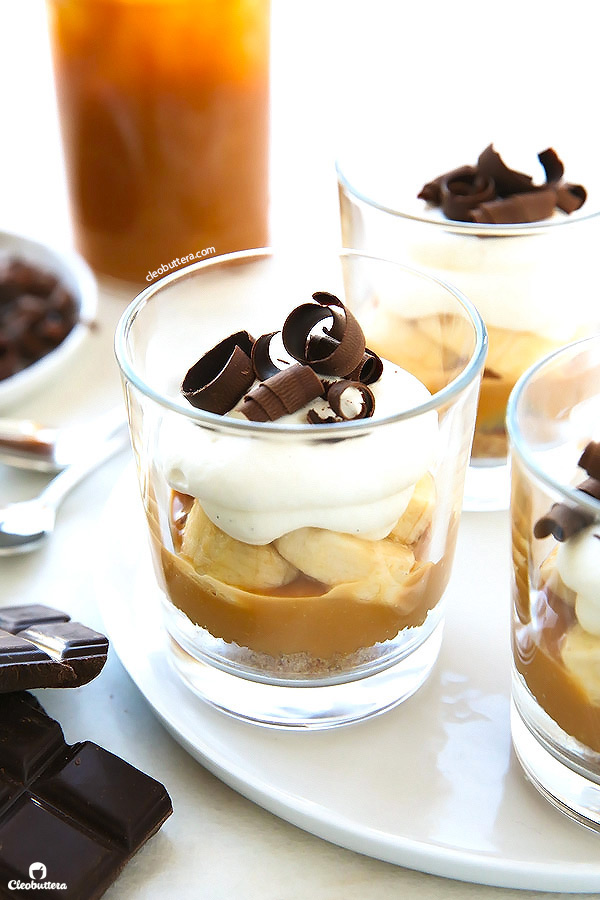
What I did here is deconstructed the famous pie into little personal size cups.
The thing is, I’ve seen the kind of destruction that happens to this pie at gatherings and how unattractively it gets scooped up on plates, instead of getting cut in neat slices. I couldn’t help but cringe the last time I saw the dessert massacre, and that’s when I got the Ah-haaaaa moment of making it in cups! And doesn’t everything look infinitely cuter in small packages?! Ughhh…imagine this in tiny shot glasses?! OR MASON JARS?! Cuteness overload!
Speaking of small…If you’re a normal human being of average appetite, very little greed and decent table manners, then make single layer cups like the ones below. It’s the right thing to do, if we’re being completely honest here.
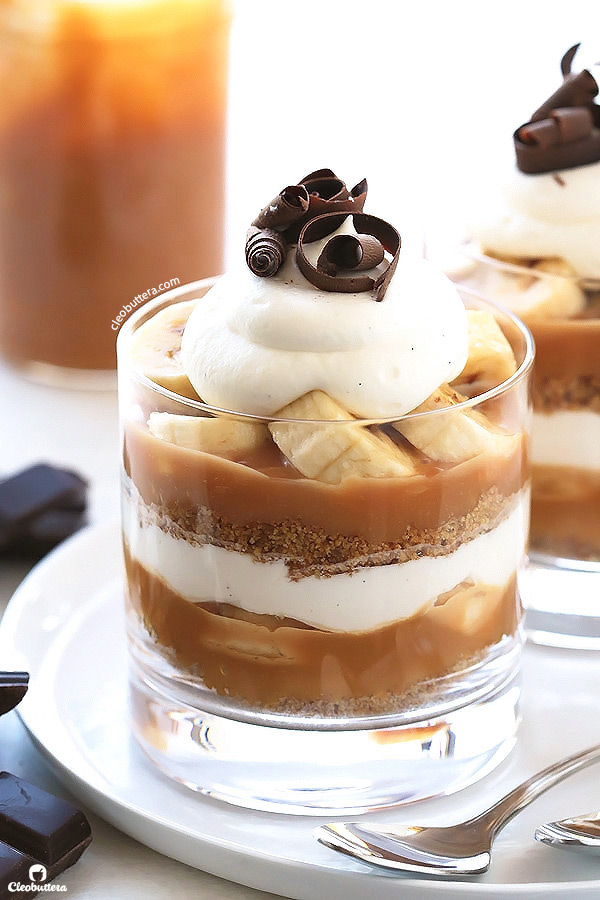
But if you’re the kind of person who either goes BIG or GOES HOME! Then…I’m not gonna stand in your way…Do the double decker!
So how do we do it…
We first start with the toffee filling.
Baking Nerd Alert!
Like everything I share here with you, I tested several methods for making the filling, mainly to give you the best outcome, but in large part, I just wanted to get around boiling the can of sweetened condensed milk for hours.
I tried several versions of a popular shortcut method, where condensed milk gets cooked with butter and sugar (brown in most recipes) for about 10 minutes, until the the mixture gets deeper in color, caramalizes and thickens. Verdict: Naaaaaaah! Through this method, the mixture never really reaches that super caramelized stage where the flavor actually tastes like toffee. It still pretty much tasted like condensed milk to me. Not that condensed milk is bad…I mean I LOVE condensed milk, but it’s not what we’re after here. I’ve also noticed that the filling firms up too much to the extent of being chewy.
With that experience behind, I knew that I had to go back to making proper dulce de leche. In my research I learned that there are several quicker, safer methods of making dulce de leche. I tried the one where the condensed milk gets emptied in a dish, covered with foil, then the gets transferred to a roasting pan filled with water. The whole thing goes into the oven for about 1 hour. Kinda like making creme brûlée. Verdict: One hour wasn’t enough to caramelise it. So when I extended the cooking period to 2 hours, it did caramelize a bit more, but nothing comparable to the boiling can method. The main problem though, is that the texture got all screwed up. It dried out and got stiff. I think its due to a lot of water evaporating from it.
The third method I experimented with, is cooking already made dulce de leche with butter and brown sugar. It is believed by the source that it adds more depth of flavor and extra stability. Verdict: I found that it added unnecessary sweetness and a grainy texture from some of the sugar granules that didn’t dissolve in the dulce.
So…from that my dear friends, we learn that nothing beats the old school way…so boil that darn can! Or buy ready made ones…sob sob?
Now I know its time consuming and I’m aware of the danger associated with it, and for that reason I’d like to direct you to a slow cooker method, which people swear by and is less involved. As for the rest of us, who don’t own a slow cooker, follow The Pioneer Woman’s way.
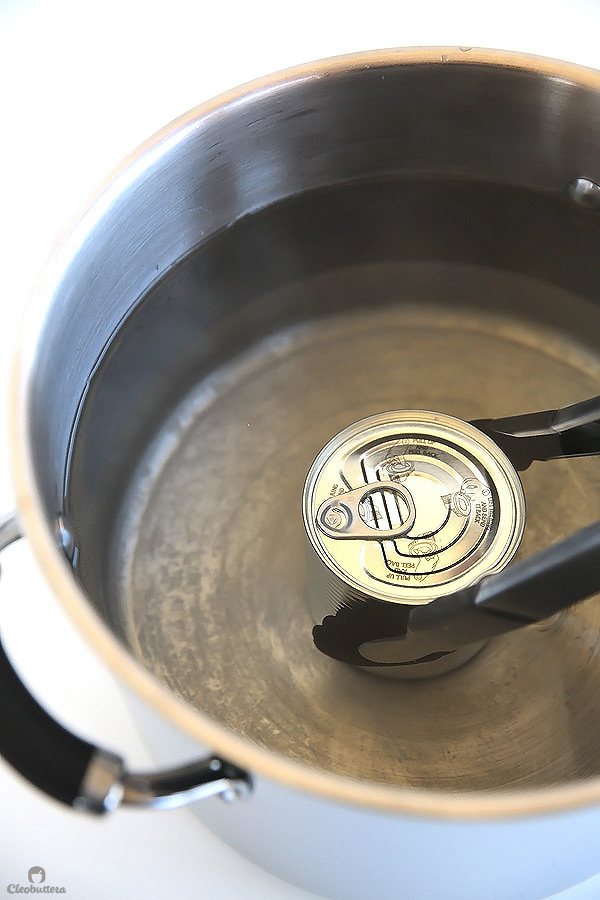
It’s actually quiet simple and there’s nothing to worry about as long as you make sure that the can is fully submerged in the water at all times. All you do is simmer an unopened can of sweetened condensed milk for 3 to 4 hours. Yup! Sorry? But I mean if you’re gonna do it anyway, you might as well boil several cans at once. They’ll keep in the cupboard for months and you can have banoffee pie in a moment’s notice. Also it might be a good idea if you make it a day ahead.
VERY IMPORTANT: watch the water level every 1/2 hour to make sure that its at least 1 inch above the can. Seriously, set a timer! Be sure that the can is fully submerged in the water at all times, or you’ll be cleaning the ceiling! You will find that every 30 minutes or so you will need to add more hot water to the saucepan to keep the water at the right level. You will need to do this several times throughout the cooking process. Simmer the can for at least 3 hours and up to 4 hours for a deeper color, flavor and thicker consistency. I do 4 hours 🙂
Now tell me that wasn’t worth it?
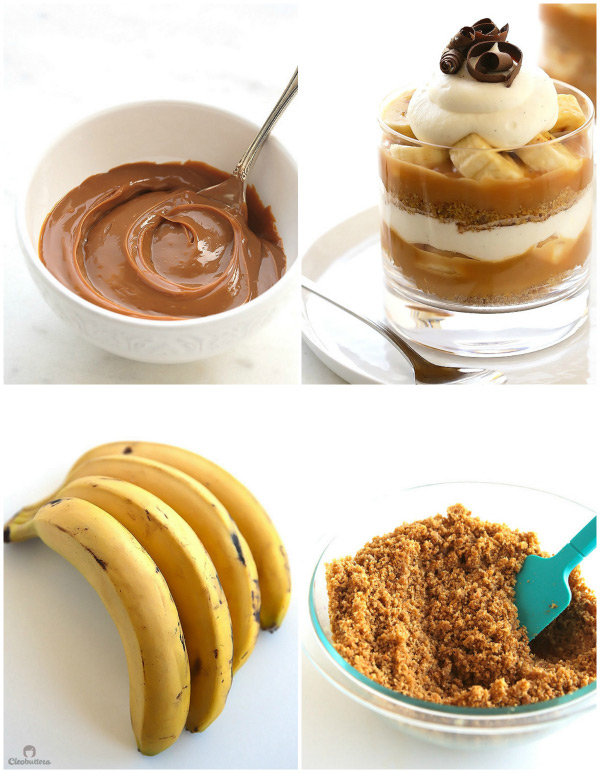
With that done, it’s all about the layering now. So gather around your ingredients, because things will get fast from here.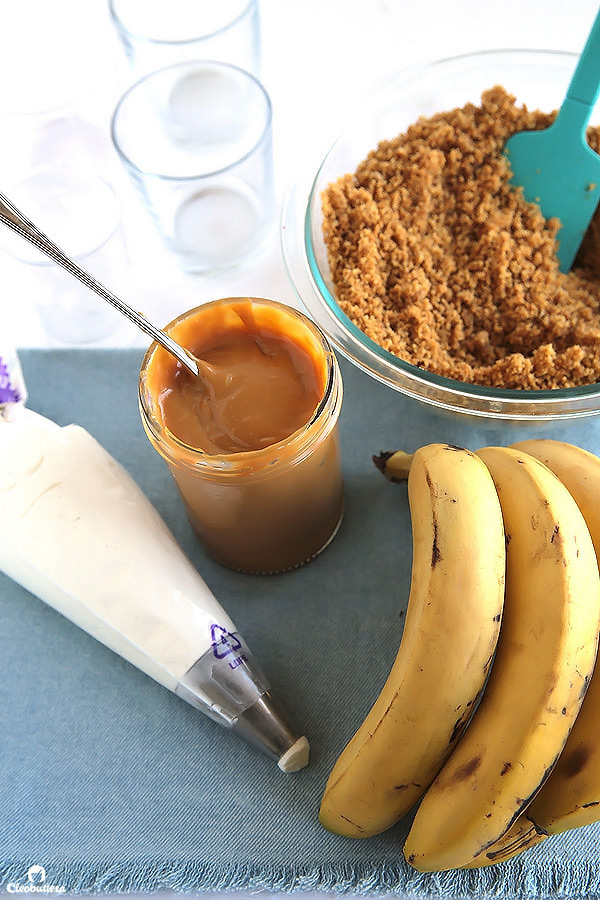
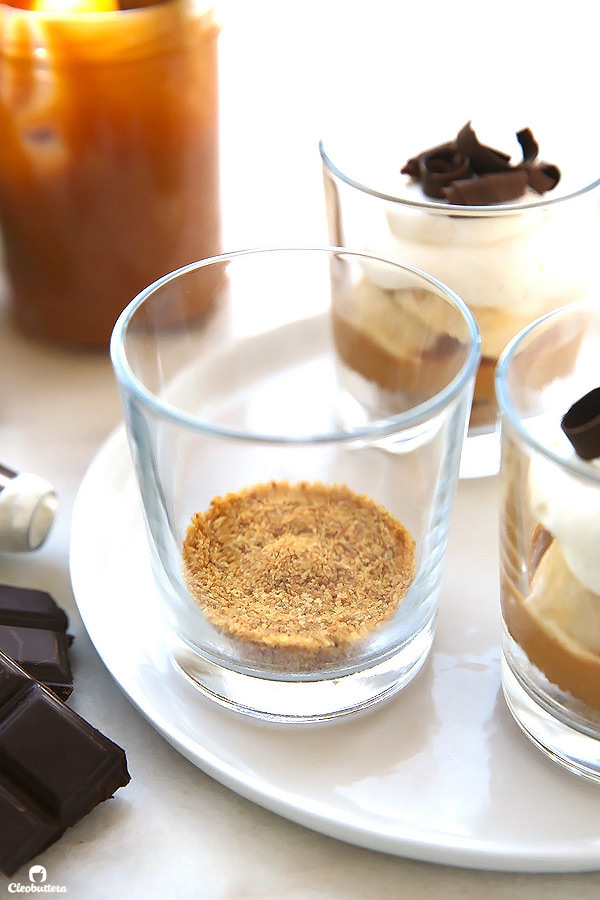
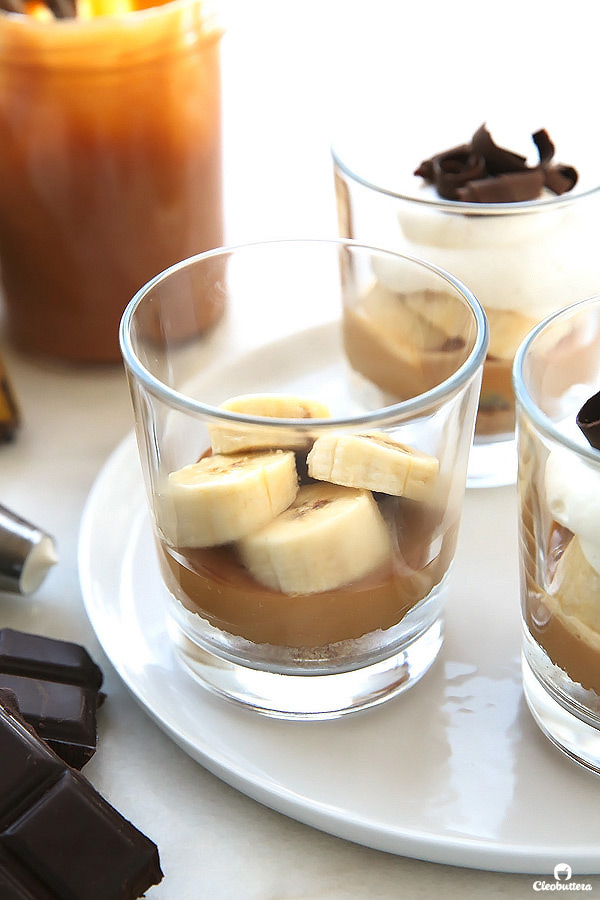
A couple tablespoons of digestive biscuits crumbs mixed with butter and sugar, gets pressed into the bottom of the cups. I like to use the bottom of a clean spice bottle to compress it well.
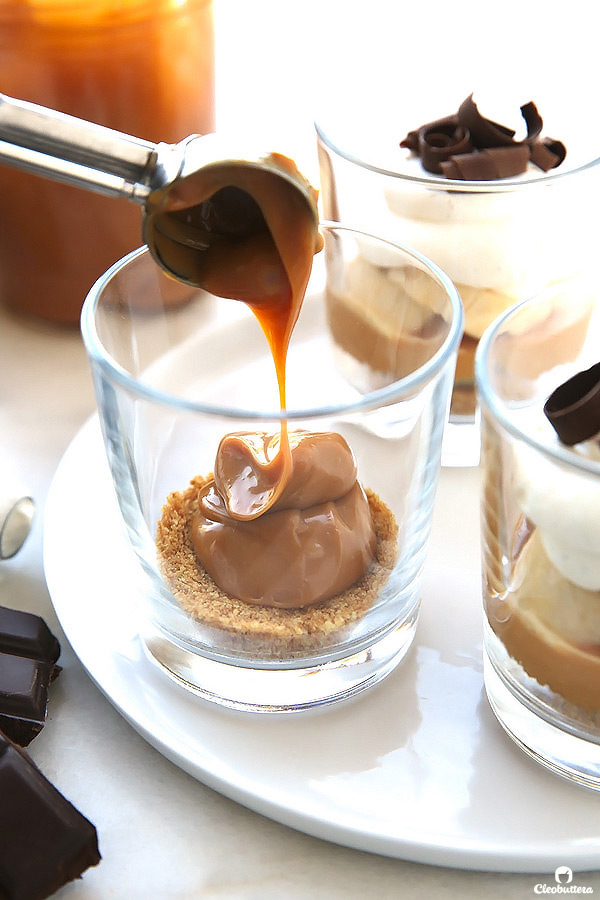
Another 2 tablespoon of yum yum goes in. Gosh I love using an ice cream scoop for EVERYTHING. I think it’s the most underestimated tool in the kitchen. This is a tablespoon-sized scoop.
After that, some banana slices gets shingled on top.
A generous swirl (or dollop, if you like things rustic) of whipped cream. This is where you’ll decide whether you’d wanna turn it into a double decker, or leave it “sin”noccent.
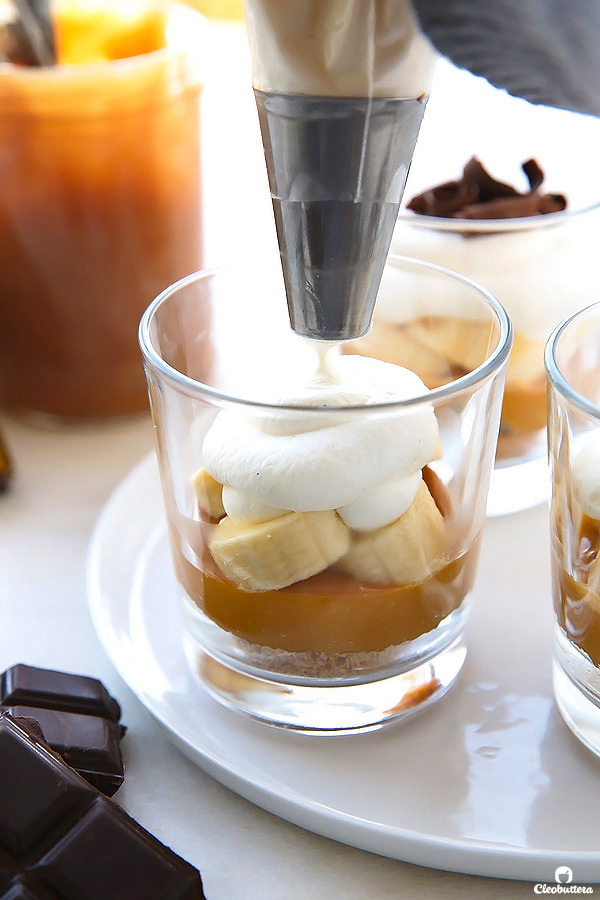
Let’s leave it at that point for now, because have I mentioned that I’m doing Weight Watchers?! ?
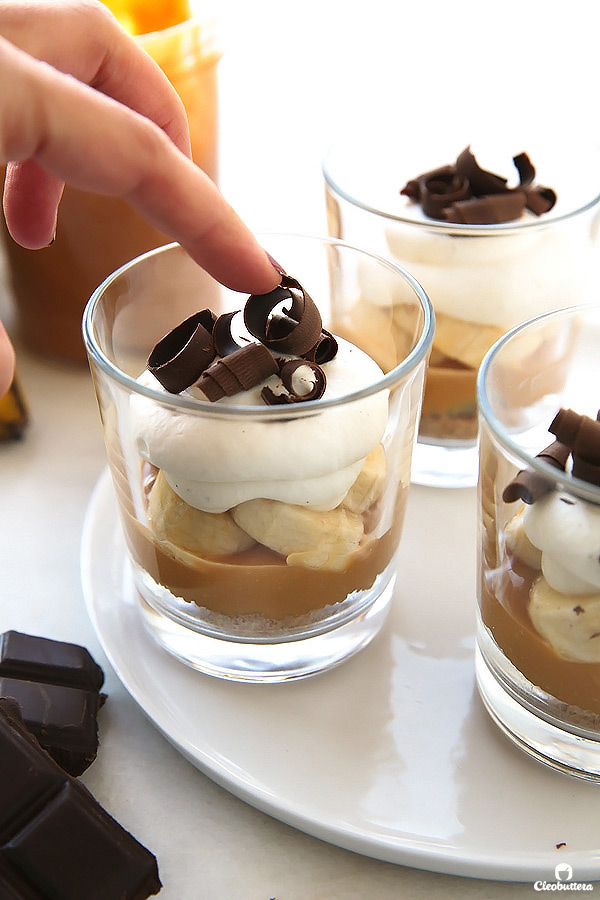
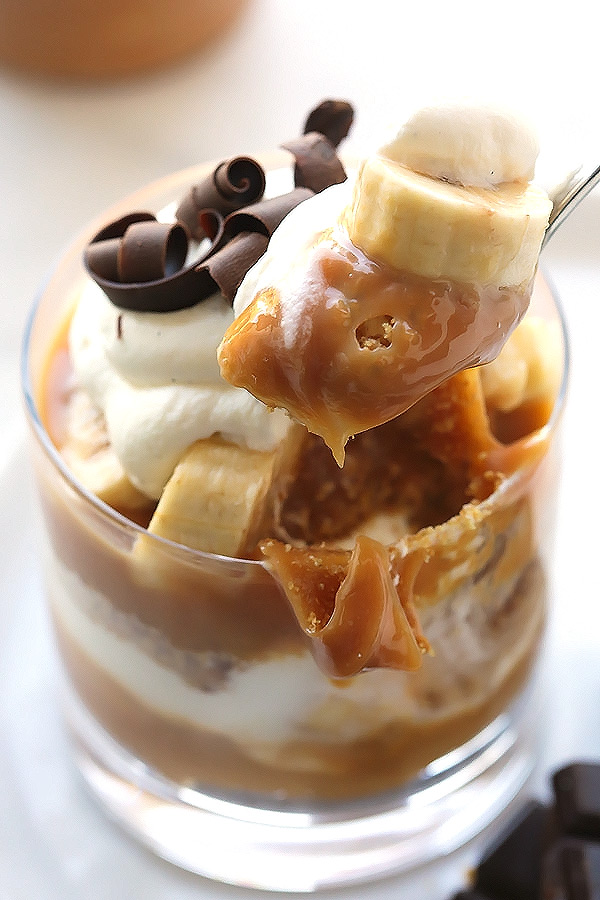
Aaaaaand a few beautiful chocolate curls on top because since when is chocolate a bad idea?!
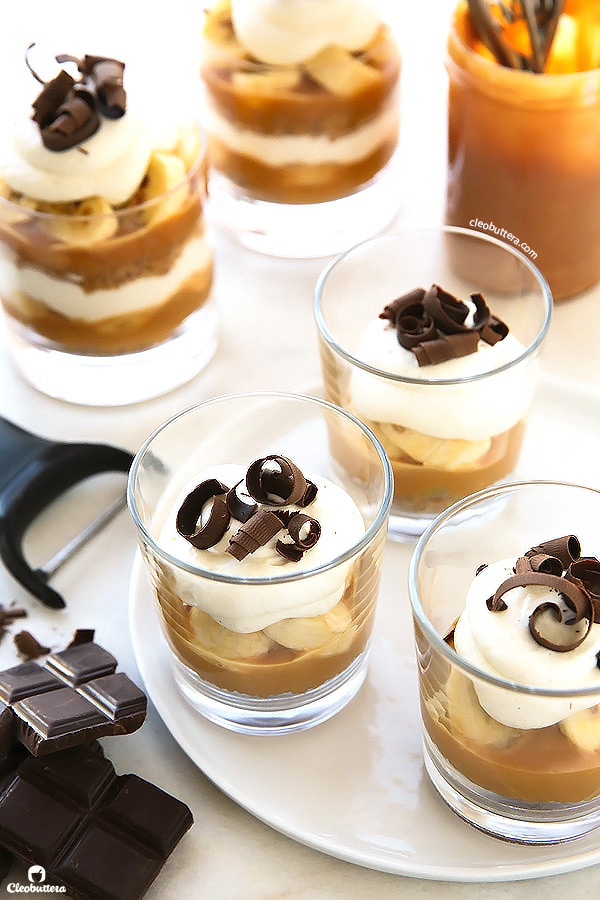
And voila! There you have it! A delicious concoction of digestive biscuits, dulce de leche, bananas, whipped cream and chocolate. I mean…with an ingredient list like that, how could it not taste good?! There’s almost no room for error. Unless of course you blow up the can of condensed milk ?
Ok I’m caption-less here.
Seriously though…something about that Banoffee flavor combo, that makes me weak in the knees. Have you tried my Banoffee Pie Pancakes yet?! THAT’S INSANE! You gotta!
Banoffee Pie Cups
Be sure to use sweetened condensed milk for this recipe and NOT evaporated milk, which are often mixed up. Check the 'Notes' below for an alternate dulce de leche cooking method and more tips.
Ingredients
For the Dulce De Leche Layer:
- 1 (14oz/ 397g) can of sweetened condensed milk (or readymade dulce de leche like Trader Joe's or Carnation Caramel)
For the Crust Layer:
- 1 cup (4oz/ 114g) digestive biscuit crumbs, made from finely crushing 8 biscuits (graham crackers may be substituted)
- 2 tablespoons (1oz/ 28g) soft light brown sugar (granulated sugar may be substituted)
- 4 tablespoons (2oz/ 57g) unsalted butter, melted
For the Whipped Cream Layer:
- 1 cup (237 ml) heavy whipping cream, cold
- 2 tablespoons (1/2oz/ 14g) powdered sugar
- 1 tsp vanilla extract or vanilla bean paste
For the Banana Layer:
- 3 to 4 bananas
- Chocolate, for garnish
Instructions
To make the Dulce De Leche: (Preferably prepare a day ahead or up to several months in advance (skip the following cooking process if using readymade dulce de leche)
- Peel the label off a can of sweetened condensed milk, then place unopened in a large saucepan. Fill the saucepan with enough water to cover the can by 1 to 2 inches. Place the saucepan over high heat and bring to a gentle boil, then immediately reduce the heat to medium-low to medium, so that the water maintains a slow simmer.
- VERY IMPORTANT: watch the water level every 1/2 hour to make sure that its at least 1 inch above the can. Seriously, set a timer! Be sure that the can is fully submerged in the water at all times, or else it could explode! You will find that every 30 minutes or so you will need to add more hot water to the saucepan to keep the water at the right level. You will need to do this several times throughout the cooking process. Simmer the can for at least 3 hours and up to 4 hours for a deeper color, flavor and thicker consistency. I do 4 hours 🙂
- Turn off the heat, then using tongs remove the cans from the saucepan, set aside and allow the cans to come to room temperature before opening. DO NOT OPEN WHILE STILL HOT. Congratulations! You have now successfully made glorious dulce de leche!
Chill the whipping cream equipment:
- To prepare for whipping the cream, place the bowl and whisk attachment of a stand mixer (or a medium bowl and the beaters of a handheld mixer) in the freezer. This step is optional but using super cold equipments, really helps whip the cream faster and more efficiently into perfectly stiff peaks.
To prepare the crust layer:
- In a medium bowl, stir together the digestive biscuit crumbs and brown sugar until combined. Add in the melted butter and stir well to evenly coat the biscuit crumbs.
- Divide the biscuit mixture evenly among 10 (5 if making double-deckers) small glasses or dessert cups (of 1 cup/ 8oz capacity); 2 tablespoons per cup.
- Using the bottom of a clean spice bottle, press on the biscuit mixture to compress into an even layer. Refrigerate until you prepare the remaining components.
To prepare the whipped cream:
- Take the chilled bowl and whisk attachment out of the freezer. Pour in the cold heavy whipping cream into the bowl. Using the chilled whisk attachment, whip the cream on low speed until it starts to foam and slightly thicken. Add in the powdered sugar and vanilla extract, then raise the speed to medium and continue to whip until stiff peaks form. Transfer to a piping bag with your favorite tip, if desired, and set aside.
To assemble:
- Take the cups with the prepared crust out of the fridge. Top the crusts with 2 tablespoons of dulce de leche in each cup. Use a spoon to gently spread it out.
- Peel and slice the bananas into rounds of medium thickness. Arrange 4 to 5 banana slices into each cup, shingling them on top of the dulce de leche layer.
- Casually spoon or pipe some whipped cream on top of each banana layer. Stop here if you're making 10 single layer pie cups. If making 5 double-deckers, repeat the process of layering one more time, by topping the whipped cream with 2 tablespoons of biscuit mixture, followed by 2 tablespoons of dulce de leche, then banana slices and finishing it off with a big swirl of whipped cream.
- To garnish, heat the chocolate bar in the microwave for 10 seconds, then use a vegetable peeler to make chocolate curls. Sprinkle a few curls on top of each cup.
- Chill until ready to serve. Take out of the fridge 15 to 20 minutes before serving to take the chill out of it.
Recipe Notes
- This recipe can be doubled, tripled, quadrupled, etc to accommodate for the amount needed.
- Don't confine yourself to the size of cup mentioned in the recipe. Use whatever you have! Just be sure to adjust the quantities accordingly. Shot glasses would be so cute for a two-bite dessert. Disposable plastic cups would be perfect for big gatherings.
- For a shortcut, store-bought dulce de leche can be used instead of cooking sweetened condensed milk. I've tasted Trader Joe's brand (in the U.S.) and can confirm that its heavenly.
- Dulce de leche can also be made in a slow-cooker, where the water level is less of an issue. Check out the slow-cooker method here.
- Since dulce de leche takes a long of time to make, a HUGE TIP would to be boil up a load of condensed milk cans at the same time. Once they are cooked they will keep safely UNOPENED for months in the cupboard. Once you have the dulce de leche on hand, this makes it the fastest ever.
- If you would like to take the traditional route and serve this as a "pie" pie. The same recipe could be adapted for a 9-inch pie dish. However, you'll need to make double the crust quantity. Everything else shall remain the same.
Dulce De Leche cooking process adapted from The Pioneer Woman.
Measurements Note: All recipes of this site have been developed using weight measurements. Although US volume measurements have been included for your convenience, it is highly encouraged that you weigh your ingredients using a kitchen scale to get the best possible results. Due to the sensitive nature of baking, kitchen scales are proven to yield more accurate and consistent results than measuring cups. Enjoy!
Powered by ![]()
This post may contain affiliate links.
All images and content are owned by Cleobuttera® and are copyright protected. Please do not use my images without prior permission. If you would like to republish a recipe, please rewrite it in your own words and link back to the recipe page on my site. Original recipes and creations of this site are intended for personal and home use. Commercial replication or media consumption are only allowed with a written consent and agreement with Cleobuttera owners. Otherwise it is considered a violation of intellectual property. Thank you for respecting and appreciating the amount of time and effort that goes into creating free, unique recipes that make people happy.