Spring Potted Dirt Cake
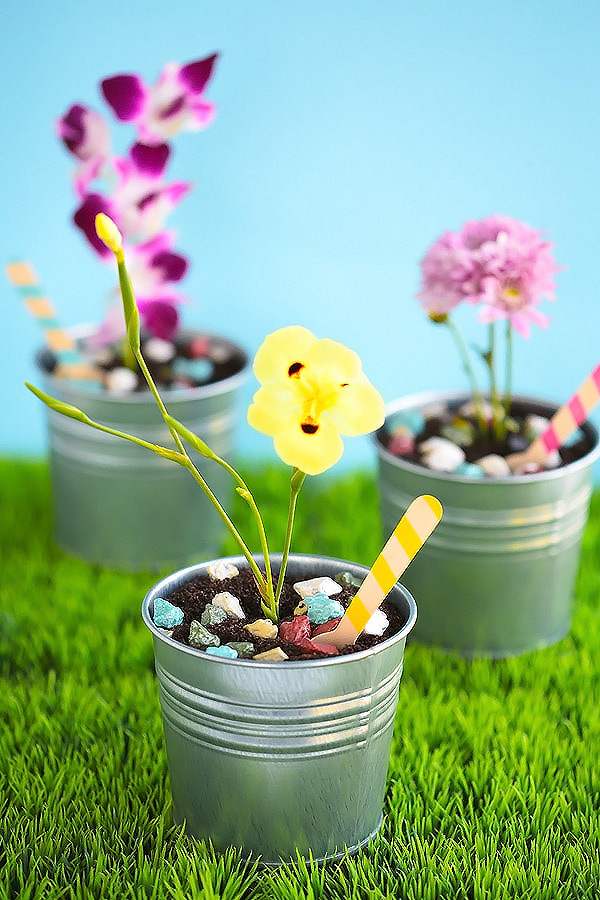
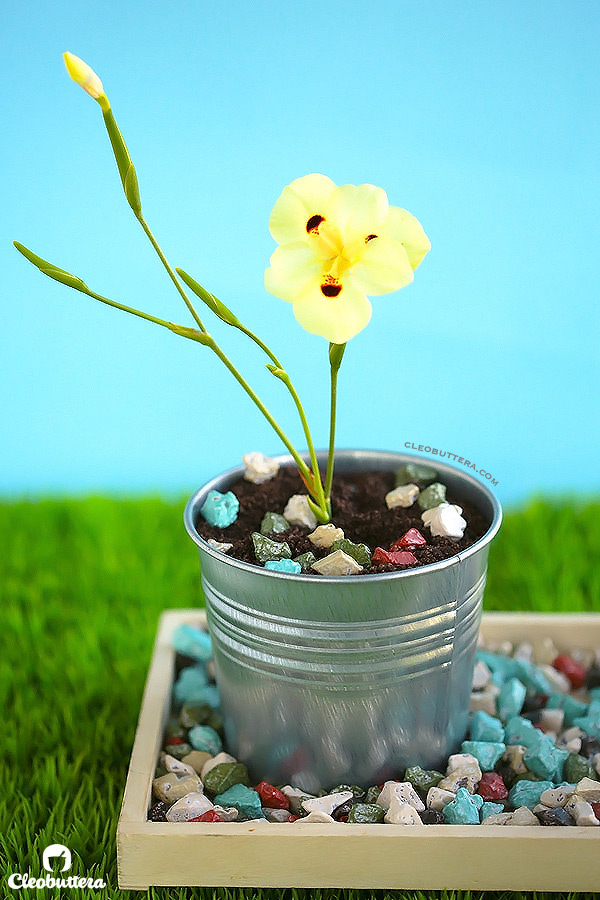
The popular Dirt Cake just got all dressed up to make your springtime occasion a special one! A simple yet delicious dessert made up of alternating layers of crushed Oreos and mousse-like pudding mixture is made to look like the sweetest dirt you’ll ever taste. Served in a planting pot, with a few chocolate pebbles and a flower in the center makes them look incredibly real.
Spring is fast approaching which means Mother’s Day, Easter, outdoor parties, picnics and Spring Break!
And Spring Break, means hungry kids hanging around the house with absolutely nothing useful to do. At least around these parts.
So I’ve got just the little project to feed their mouthes and make good use of their presence all the same time! Its a TWOFER!
No wait…its A LOT more than a twofer, because Mother’s Day is 2 days away in my part of the world (Egypt), and wouldn’t that make the cutest little gesture for any supermom?!
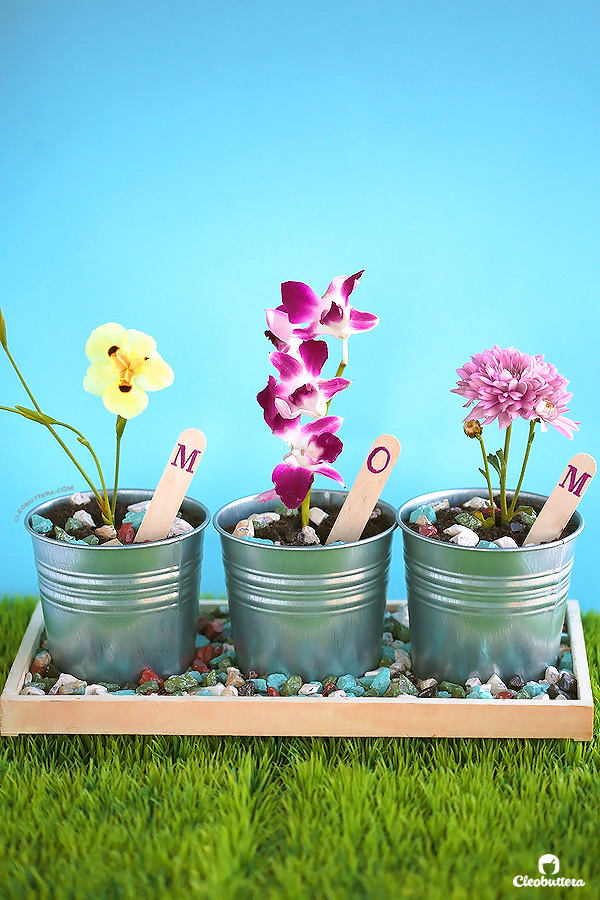
Or a dad that is just as awesome as a mom?
Or yourself? Because whether or not you’re a mom, you know well right that you’ve been SUPER, and deserve yourself some flowers and chocolate.
Or both at the same time.
These potted dirt cakes have it all going on…they’re adorable, they’re delicious, they’re down right easy, aaaaaand they’re perfect for almost any occasion imaginable. Think birthday parties (prepare the components, let the kiddos assemble and don’t forget those gummy worms), gift-giving, Easter (hide some chocolate eggs in there), ooohhh! proposal? Naaaaah! She could swallow that ring.
Anywhoooo, you get the picture. All I’m trying to say is that you could customize it however you like.
Use big pots, small pots, trifle bowls, plastic cups, use artificial flowers, mint springs, make it chocolate, make it butterscotch or my personal favorite, peanut butter.
But for today…We’re keeping it classic. Crushed Oreos and doctored up Chocolate pudding that comes right from the box! I know…I don’t know me anymore either.
As a from scratch girl, the initial idea was to first make it from the box as a tryout, just to know what its supposed to taste like, then remake it using all from scratch components. I thought I was gonna hate it and that it will taste all artificial from the boxed pudding. To my surprise though, I loved it! It was goooooood, like really really good. And then when I saw how the kids polished it off, as in licked everything that touched the dessert clean, I knew it was time to let go and embrace the shortcut.
The chocolate pudding is mixed with delicious ingredients like cream cheese, real butter and whipped cream that revamps the taste drastically, so it tastes like you slaved over it for 10 hours. Ofcourse you could make your own pudding if you choose to.
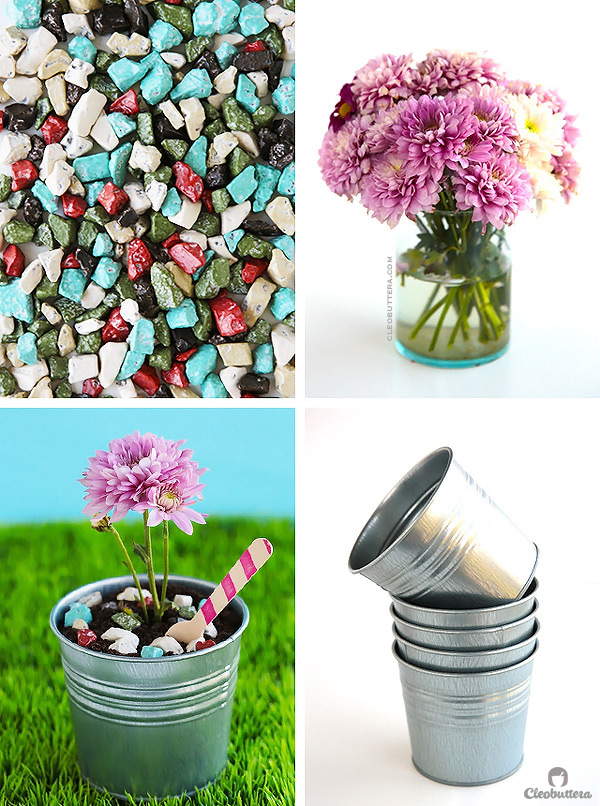
But today let me show you exactly how to make this version. Oh but in case you’re interested, first let me link you to these pots that my sister-in-law got from IKEA and then I stole them from her. Mwahahahaaaaa! Just click here to see them.
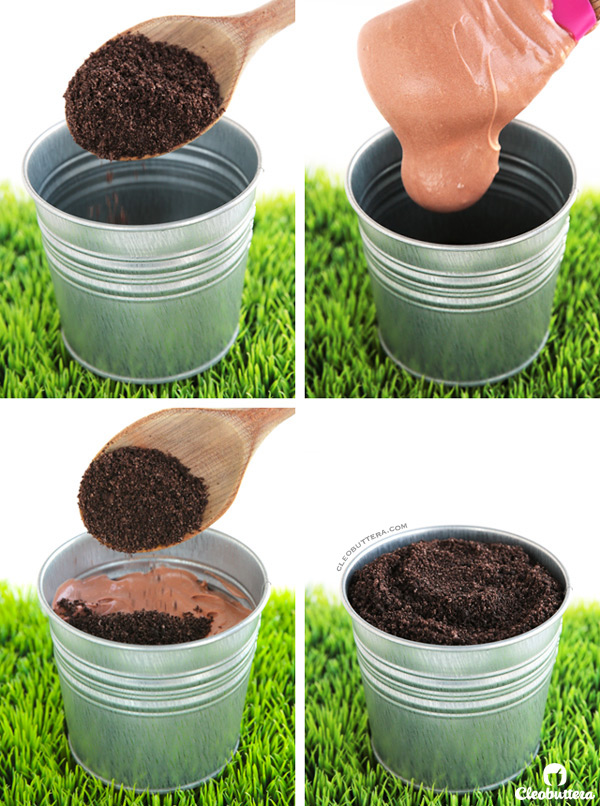
Now…let’s make some delicious dirt. You’ll crush up some Oreo cookies until they’re finely ground so they look exactly like…
You got it! Freakishly real right?!
Then you’re gonna prepare your pudding, from the box (sigh) by whisking it with milk for 2 minutes. Now time to fold in the flavor booster and texture enhancer; a mixture of cream cheese, buttaaaah and powdered sugar.
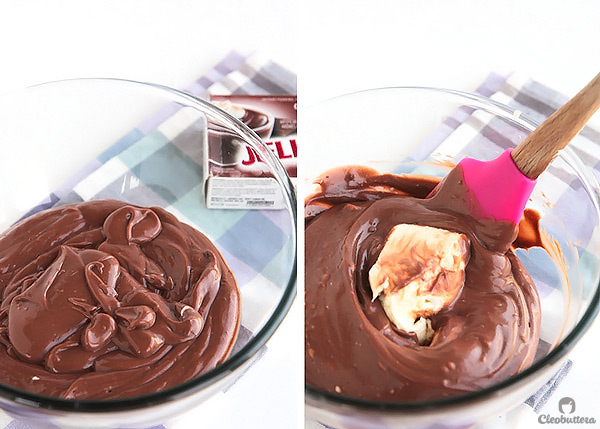
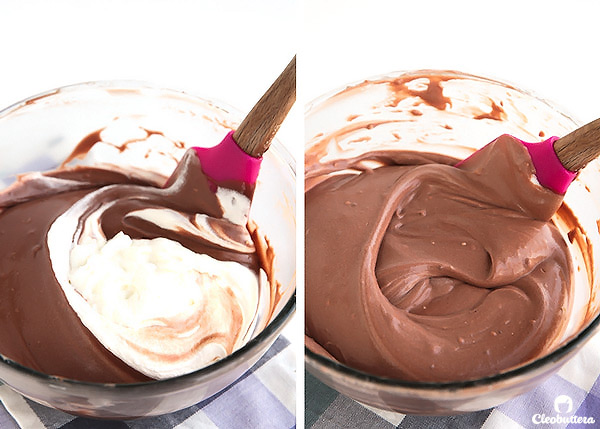
And to give it that mousse-like texture, in goes some whipped cream. Fold it in gently.
That’s it! Time to assemble.
You’ll start with some “dirt” spooned right in, then pudding, then “dirt” and so on until you reach the top and finish off with “dirt.” At this point tradition says you should refrigerate it for at least 4 hours or overnight to get all the layers happy together and for the components to get to know one another and thicken. But if you can’t wait, I say just eat it right away! YOU THE BOSS!
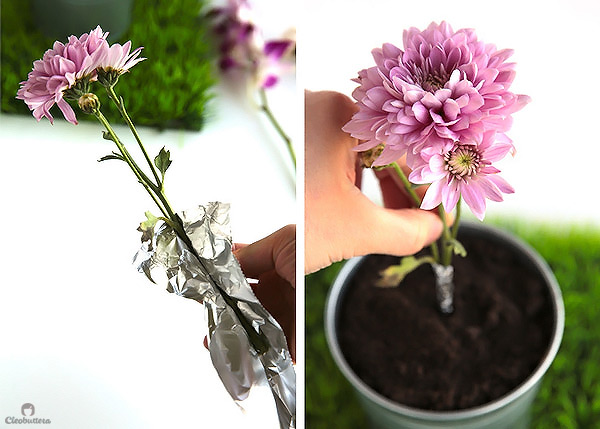
But here’s a must…if you’re using fresh flowers or plants, cover the stems with foil before sticking it in so none of it touches the dessert. We don’t want anyone going to the hospital. I know it’s supposed to be OK if using organic, but I ain’t risking my life dude!
Sprinkle on those cute chocolate pebbles.
And you’re done! Now prepare to WOW!
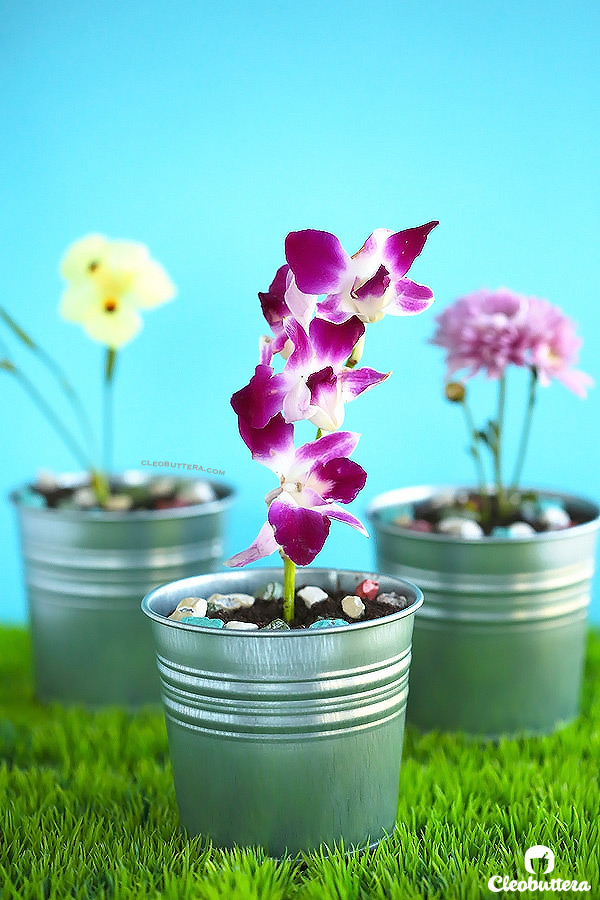
Time to literally “dig” in.
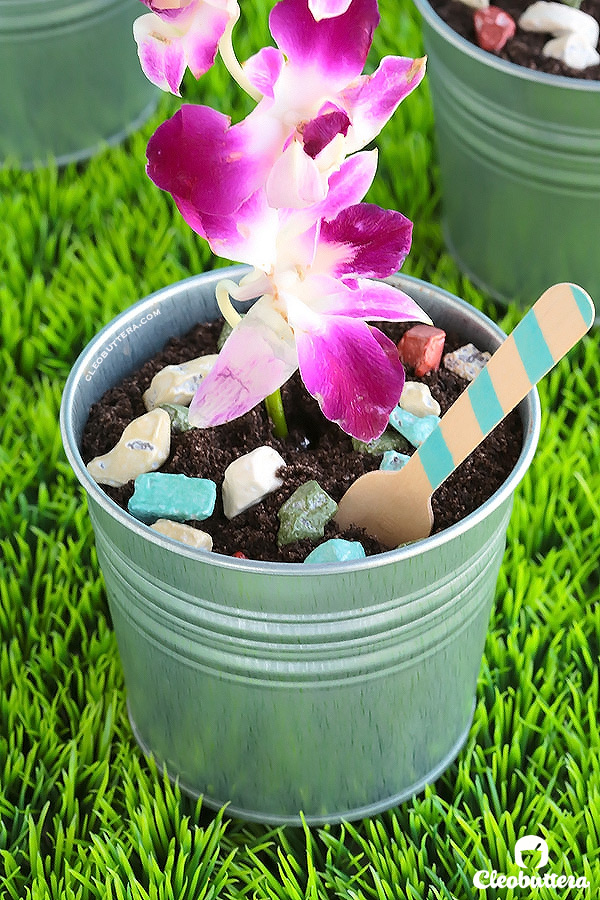
Mmmmmm…dirt never tasted so good.
Happy Mother’s Day to all you supermoms out there and happy any Spring-related holiday!
(This post is dedicated to my mom, who’s love is what keeps me breathing. I love you Mommy.)
Spring Potted Dirt Cake
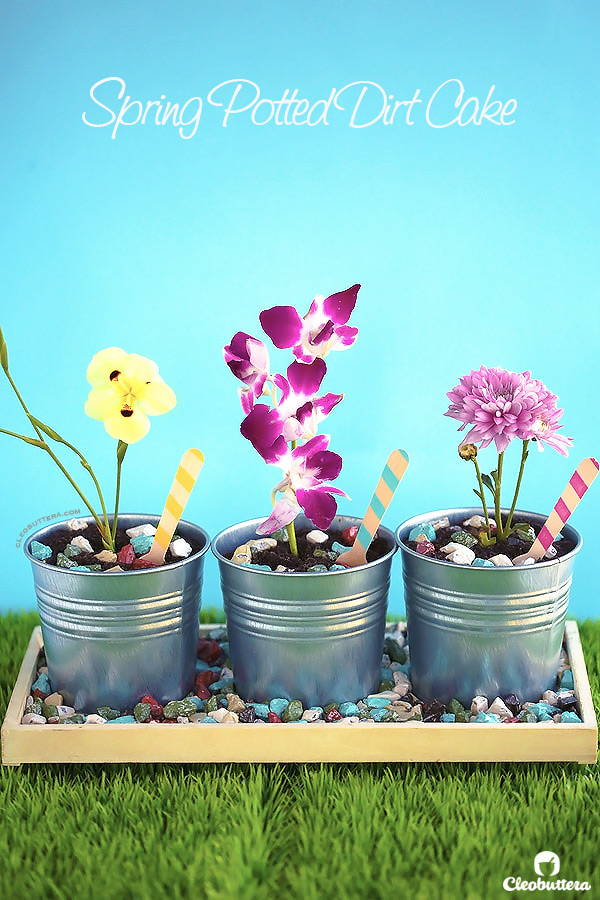
The popular Dirt Cake just got all dressed up to make your springtime occasion a special one! A simple yet delicious dessert made up of alternating layers of crushed Oreos and lightened up pudding mixture is made to look like the sweetest dirt you'll ever taste. Served in a planting pot, with a few chocolate pebbles and a flower in the center makes them look incredibly real.
Ingredients
- 44 Oreo Cookies (one 15oz package)
For the pudding:
- 1 cup heavy whipping cream, cold *see note for substitution
- 2 tablespoons powdered sugar
- 2 (3.9-ounces) packages instant pudding, flavor of your choice, I used chocolate Jell-O brand **see note for substitution
- 4 cups milk
- 8oz/227g cream cheese, at room temperature, I used 16 Kiri squares
- ¼ cup (2oz/ 57g) unsalted butter, at room temperature
- 1 cup (4oz/ 114g) powdered sugar
For decorating:
- Flowers, plants, mint sprigs, fresh or artificial
- Chocolate pebbles
- Gummy worms, popular with the kids but optional
Instructions
- Using a food processor, grind the Oreo cookies into fine crumbs. Alternatively, place the cookies in a resealable bag and crush cookies with a rolling pin. Set aside.
- In a large bowl, using an electric mixer, whip the heavy cream with the 2 tablespoons of powdered sugar until stiff peak form. Set aside in the refrigerator. No need to clean the mixer. If using ready whipped topped, skip this step.
- In another large bowl, using the electric mixer. mix together the instant pudding and milk until slightly thickened, about 2 minutes. Let sit for 5 minutes; it will continue to thicken as it sits.
- Meanwhile, in a medium bowl, beat together the cream cheese and butter on medium speed until light and fluffy, about 3 minutes.
- Reduce the speed to low, then gradually add in the powered sugar until blended. Turn the speed back to medium and continue to beat until lightened up and a fluffy texture is achieved.
- Using a rubber spatula, gently stir in the cream cheese mixture into the chocolate pudding until fully incorporated. Then gently fold in the whipped cream until no white streaks remain.
- Start assembling the pots by spooning in some Oreo crumbs enough to cover the bottom. Top with a few tablespoons of pudding to cover the Oreo crumbs. Continue by alternating layers of Oreo crumbs and pudding, ending with Oreos.
- Cover with plastic wrap and refrigerate for at least 4 hours or overnight.
- When ready to serve, wrap the stem of the flower with foil. Insert the flower into the center of the flower pot. Decorate with chocolate pebbles. Serve and enjoy:)
Recipe Notes
- 8oz ready whipped topping like Cool Whip could be substituted for the heavy whipping cream. If using, omit the 2 tablespoons of powdered sugar used in whipping the cream.
- Homemade pudding could be substituted for the instant pudding mix and milk. Just makes sure it cools before folding in the rest of the ingredients & be sure to have 4 cups of pudding.
- One large pot, a trifle bowl, serving dish or even plastic cups could be used instead of the small pots.
- Adding gummy worms to the dirt cake makes these a hit with the kids.
- This recipe could be halved or doubled with great results.
- This is the plant pot I used from IKEA.
Dirt cake recipe adapted from Brown Eyed Baker
Idea inspired by Martha Stewart
Measurements Note: All recipes of this site have been developed using weight measurements. Although US volume measurements have been included for your convenience, it is highly encouraged that you weigh your ingredients using a kitchen scale to get the best possible results. Due to the sensitive nature of baking, kitchen scales are proven to yield more accurate and consistent results than measuring cups. Enjoy!
This post may contain affiliate links.
All images and content are owned by Cleobuttera® and are copyright protected. Please do not use my images without prior permission. If you would like to republish a recipe, please rewrite it in your own words and link back to the recipe page on my site. Original recipes and creations of this site are intended for personal and home use. Commercial replication or media consumption are only allowed with a written consent and agreement with Cleobuttera owners. Otherwise it is considered a violation of intellectual property. Thank you for respecting and appreciating the amount of time and effort that goes into creating free, unique recipes that make people happy.
