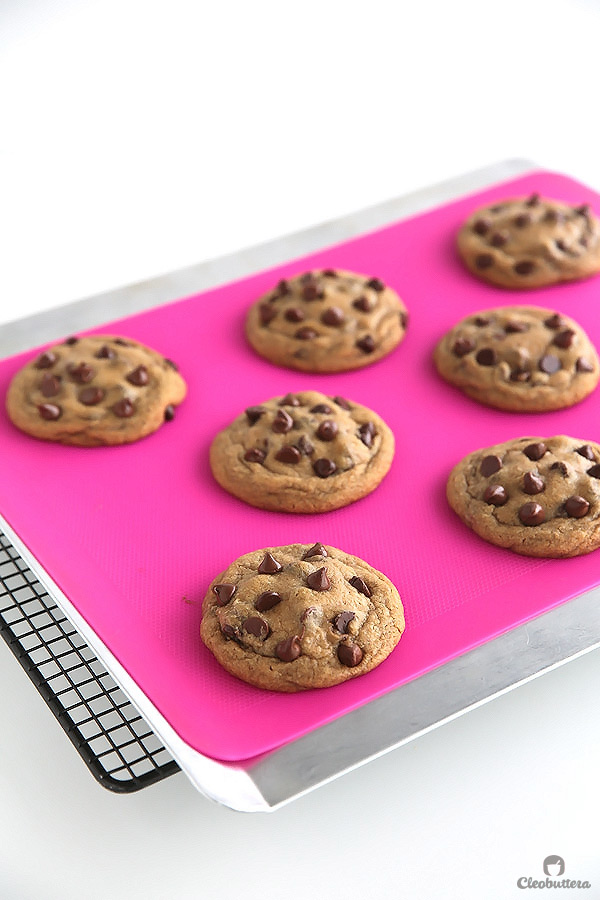
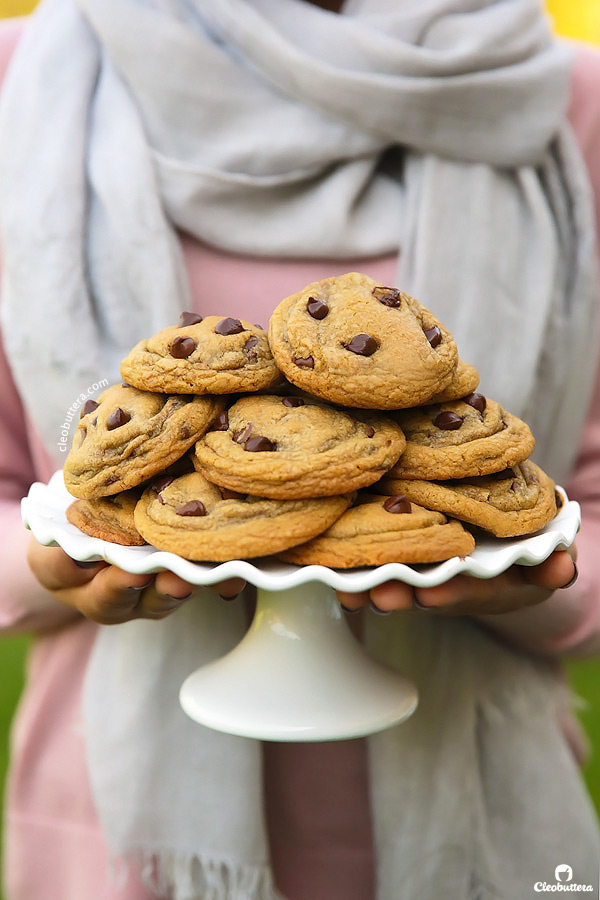
Favorite Chocolate Chip Cookies
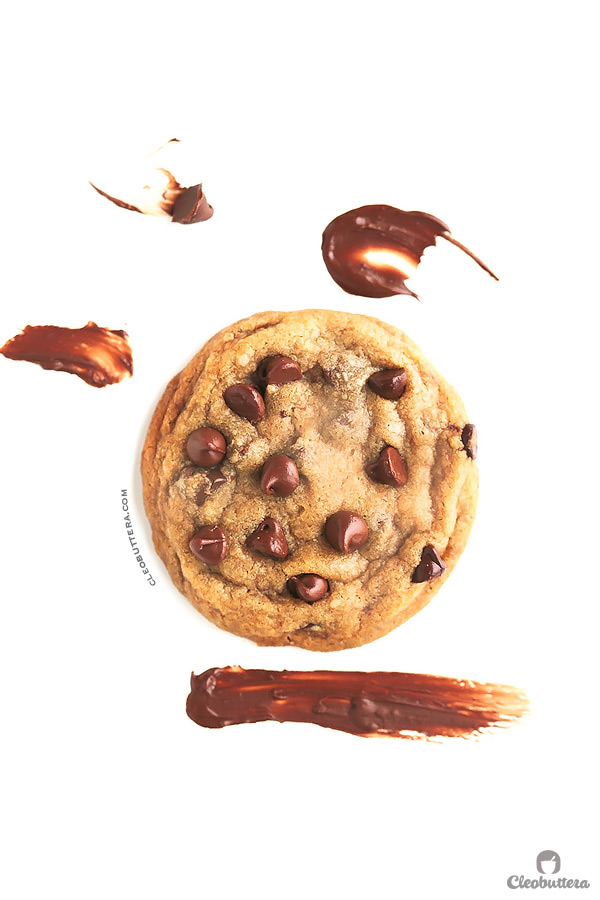
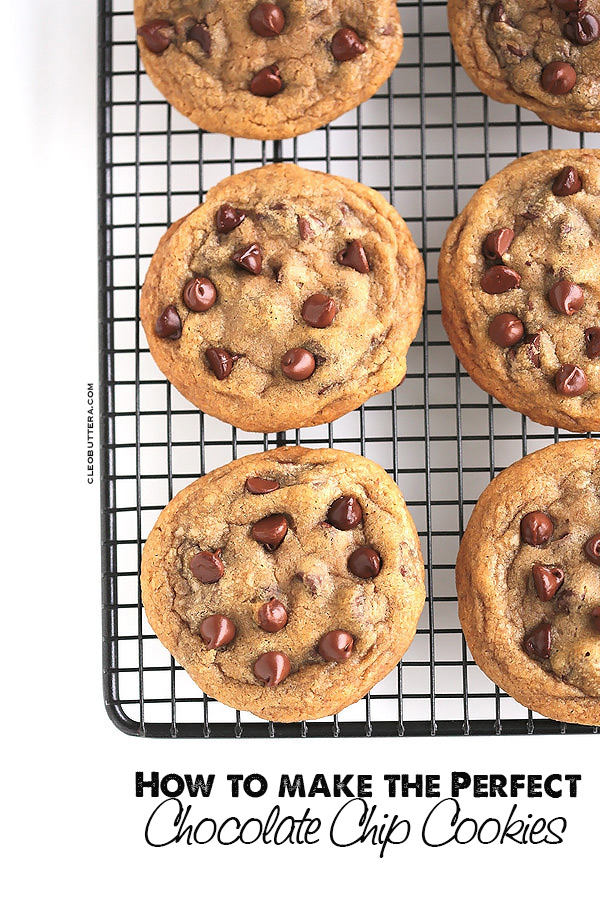
Every baker needs a classic chocolate chip cookie recipe up their sleeve, and this one is mine! Perfectly soft and chewy on the inside, with crisp edges on the outside. Deep notes of toffee and butterscotch from the use of browned butter, takes them over the top.
FACT: 80% of the times I get invited over, I’m asked to bring these.
The other 20%, I’m bullied too.
These are everyone I know’s favorite cookies and they’ve made me quite a reputation.
I’ve got addicts officially hooked on them. Like…reeeeaaaally addicted. As in begging for them, inhaling 5 in less than 2 minutes, calling me at random hours demanding cookies instantly because they “need” them, or in the case of my most loyal junkie, barging into my house after midnight with a pregnant belly just to get some. Ahem…girl if you’re reading this, you know who you are…and now that you know how to make them, and you know you make them goooood, its PAYBACK TIME! Just saying’.
So I’ve been making these for several years now and people just go bonkers over them!
There’s just something weirdly satisfying about watching people’s eyes light up as they take a bite of these babies, especially the first-timers. The sight of them swooning and big, tough men going so weak over them, just makes me giggle on the inside.
I can’t possibly have all the fun alone though, you too need these cookies in your life!
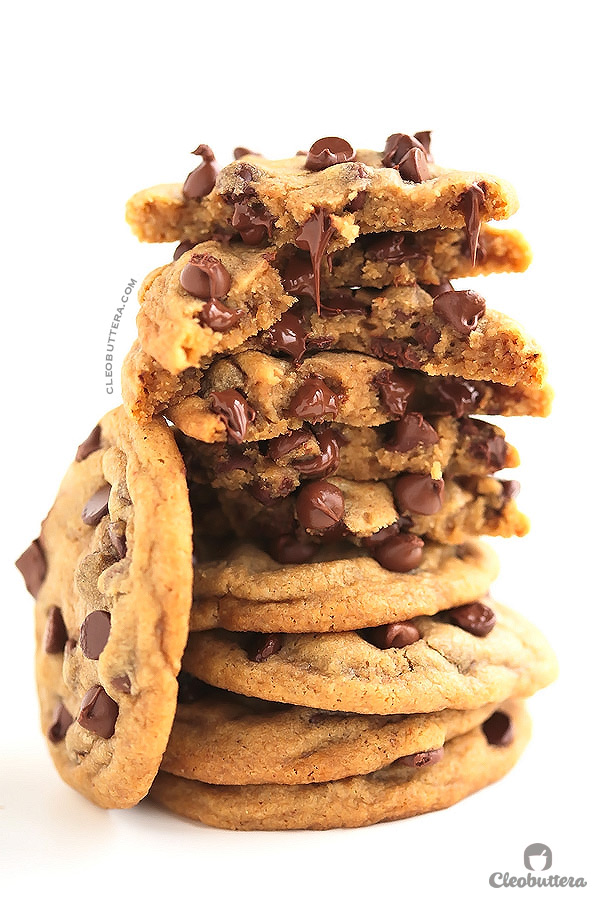
So a few years ago, I got into this phase where finding THE BEST chocolate chip cookie recipe was my ultimate mission. I tested A LOT of recipes. Probably every recipe that has made it to the World Wide Web. Needless to say, I ate an embarrassing amount of cookies. I know…It’s a tough job, but someone’s gotta do it. Hey…It was in the name of research.
Long story short, I did’t meet a cookie that I didn’t like, but this one…ooooh baby this one, stood out with flying colors.
My taste testers all agreed that this is THE ONE and that I should look no more. I couldn’t agree more, but out of curiosity I tried several more, still am, you know, just to make sure, but I always find myself coming back to this one.
So…by popular consensus, this is by far the most perfect chocolate chip cookie ever!
The recipe is adapted from America’s Test Kitchen, which is another assurance that they ought to be good. These geniuses don’t kid around when it comes to developing recipes, because they literally test them hundreds of times before deeming them perfect.
America’s Test Kitchen calls these “Perfect Chocolate Chip Cookies,” and I strongly support their claim. But as much as I agree to their perfection, I refrained from using that title, because I know how the criteria for perfection differs from one person to another. So alas…”favorite” cookies it is, because that’s exactly what they are…our personal favorite. And a hundred others’.
So what makes these cookie so perfect (according to myself and everyone I know who had tasted them)?
- Soft and chewy in the center and crispy around the edges and they’ll stay that way for several days if stored correctly.
- Browned butter adds another dimension of delicious flavor. Taking the extra step to brown the butter, takes these cookies from good to amazing! It gives the cookies an almost nutty, toffee-like flavor that sets them over the top. Also using melted butter as opposed to softened butter, makes for chewier cookies.
- They have a butterscotchy flavor and that comes from using dark brown sugar instead of light. Most chocolate chip cookie recipe use light brown sugar, but this one uses dark and A LOT of it. Also a higher ratio of brown sugar to white sugar, makes for a moister, chewier cookie.
- It’s perfectly sweet. There’s more salt here than most other recipes, but that only balances the sweetness of the overall cookie, so it’s not sickingly sweet. Which means you could eat more!
- No mixer needed. As much as I love my stand mixer, I love me some simple recipes every now and then, that comes together with a bowl and a whisk.
Now allow me to show you how to make these awesome cookies, or dare I say “perfect” cookies. Ok I will…
I highly recommend reading through these step-by-step pictures, as I’ve added a few tips that I’ve learned along the way that will help you nail these cookies.
First things first, if you have a scale, use it! It’s a lot more accurate than using measuring cups. If not, then when measuring the flour, dip a dry measuring cup into the flour, sweeping away excess flour with a flat edge. This method yields more accurate results than spooning flour into a measuring cup.
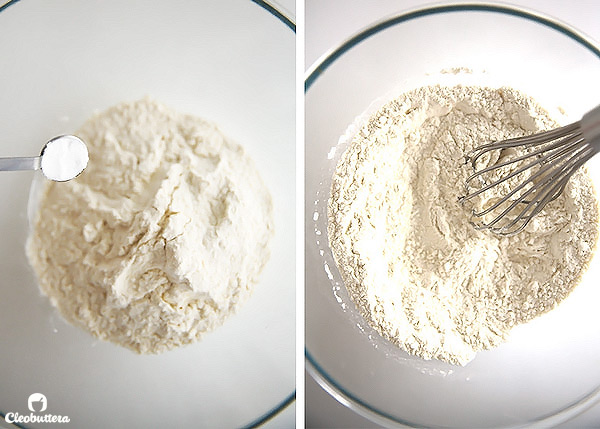
Now, let’s start with mixing our dry ingredients. Whisk together the flour and baking soda, and set aside.
Now time to make the flavor booster! The beloved browned butter. Make sure you use a light colored skillet here, so you could see the color of the butter changing.
On medium high heat, you’ll melt 10 tablespoons of the butter, then go beyond that. Continue cooking it, while stirring and scraping the bottom constantly with a rubber spatula, so no bits stick to the skillet and burn. The butter will foam and bubble for a few minutes then will start changing color. This is not the time to check your Instagram or Facebook! The butter can go from blonde to burnt in no time. So keep stirring until it turns a deep deep golden brown and smells like nutty, caramel-y heaven.
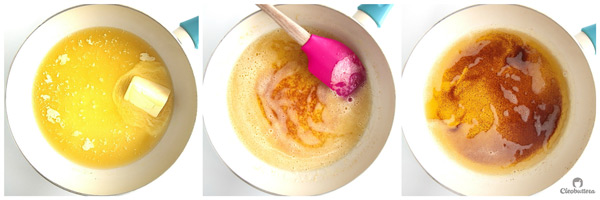
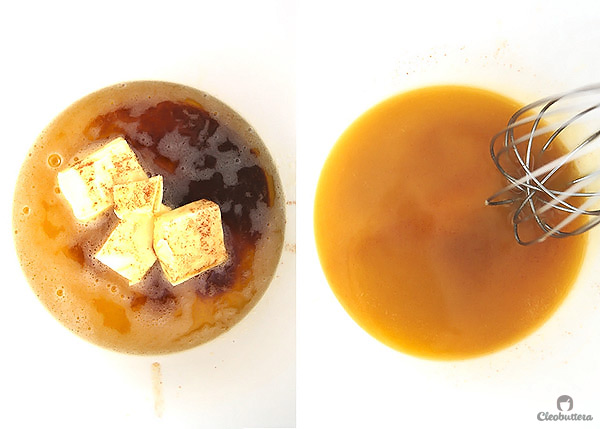
Immediately pour your browned butter to a large heatproof bowl to stop the cooking process. Then add the remaining butter (4 tablespoons) to it, whisking them together until completely melted.
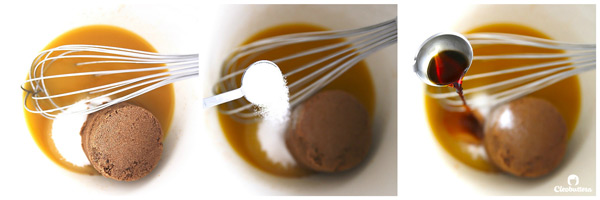
You’ll then add in both sugars, salt and vanilla.
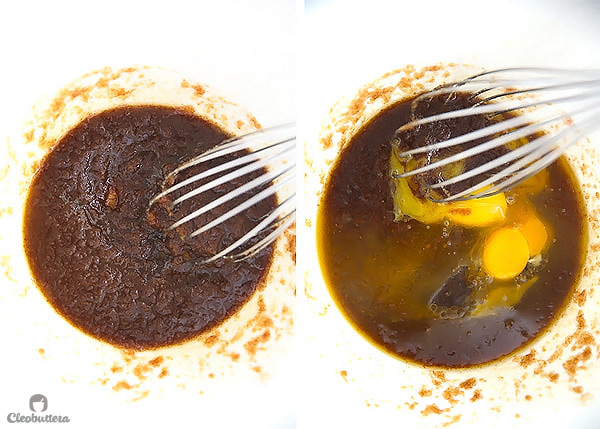
Whisk until well combined. Then add in the egg and egg yolk.
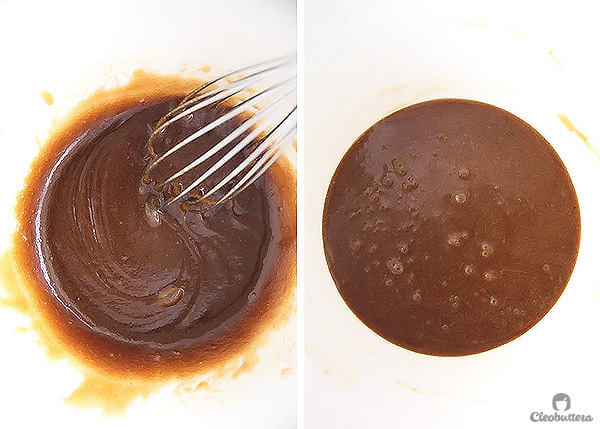
Whisk really well until smooth and emulsified, about 30 seconds. Here’s the trick with this recipe: you’ll leave this to rest for 3 minutes. Then you’ll whisk again for 30 seconds, then rest for another 3 minutes. You’ll repeat this 2 more times. Total of 4 times of whisking for 30 seconds and resting for 3 minutes. I know it sounds crazy and high maintenance, but trust me, it makes all the difference. Whisking the sugar into the liquid ingredients and then waiting 10 minutes allows more of it to dissolve, making for better flavor and texture.
I like to use the waiting time in preparing my baking sheets, measuring the chocolate chips and cleaning up a little.
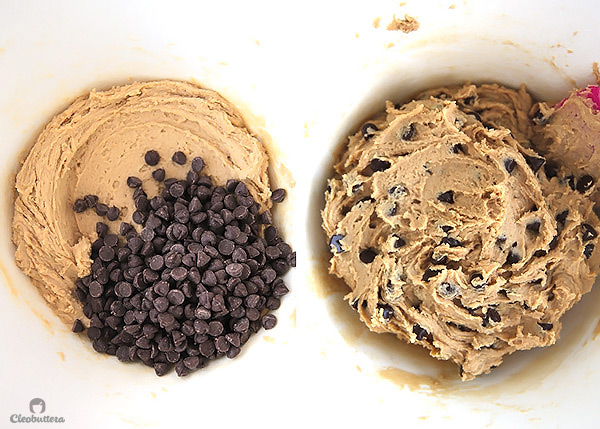
When you’re done with this, you’re gonna add in your flour mixture and gently mix it in with a spatula. If you taste the dough at this stage, it will taste like salted caramel. Don’t worry though, the final baked cookie won’t taste salty.
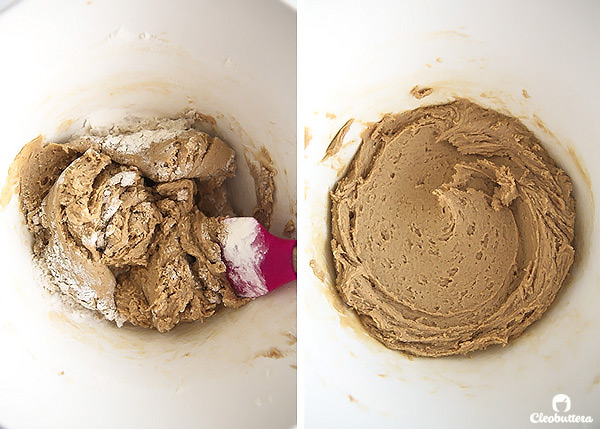
Then goes in the chocolate chips or chunks. Use whatever type you like; we tend to prefer half semisweet, half milk chocolate.
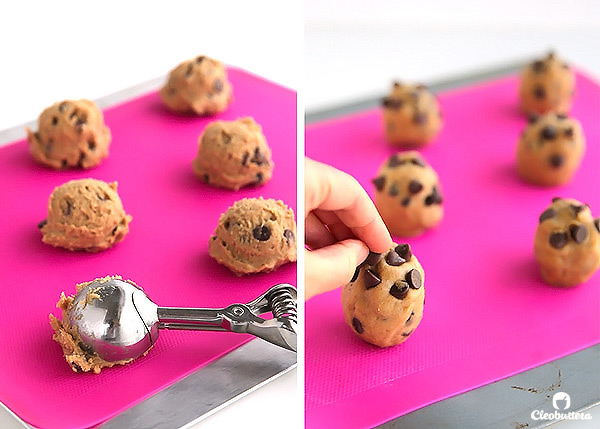
Now you’ll portion the dough into 16 equal scoops, each scoop measuring about 3 tablespoons. The original recipe doesn’t ask for this, but I found that rolling the dough into oblong balls, produces thicker cookies. Also a few chocolate chips pressed on top makes them lookers. Here’s another finding: Freezing the dough balls for at least 2 hours or up to 1 months, makes them thicker too. You could skip this if you want and they’ll still turn out pretty good, but I like thick cookies and I can not lie.
Bake them until they’re golden brown, flattened but still puffy, and edges have begun to set but centers are still soft but no longer wet, 10 to 13 minutes. Do NOT overbake or they’ll end up hard instead of soft and chewy.
A trick to know that they’re done, is to lift the edge with your finger, if it lifts, then they’re done, if not then give it another minute.
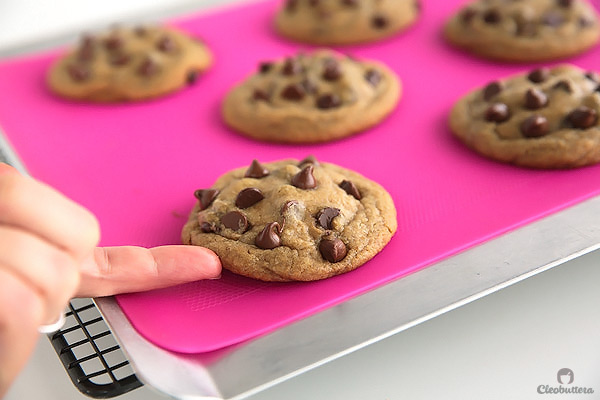
Now leave them to cool completely on the baking sheet because they will continue to cook from the residual heat, at least 20 minutes. That is unless you want to eat a gooey piece of raw cookie. In that case, I can’t blame you…I love me some raw cookie dough too!
Ok…you’ve been patient. You’ve earned yourself a cookie!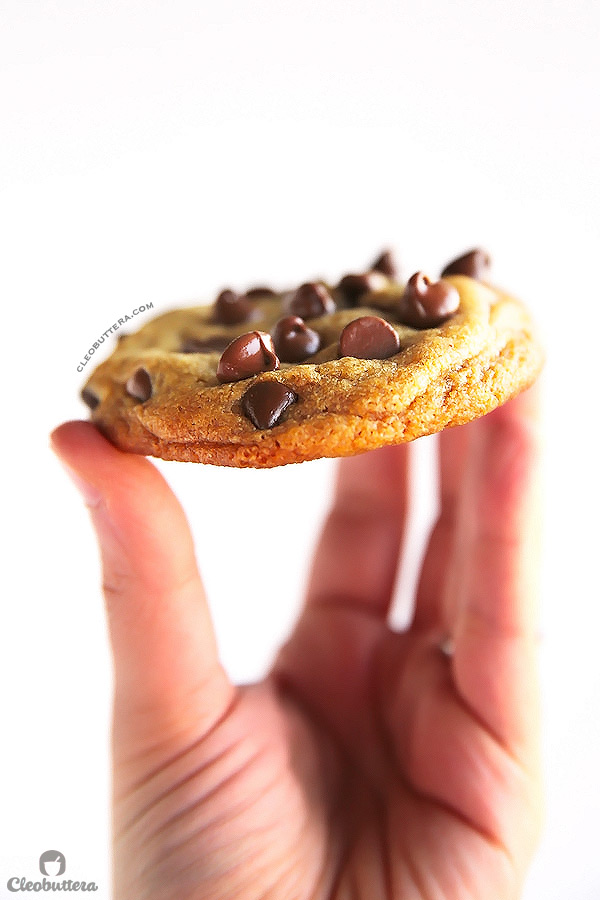
Om nom nom nom nom! COOKIEEEEEEEEES!
If you can’t be trusted with them, now would be a good time to call some friends over.
I hope you love these as much as we do.
Favorite Chocolate Chip Cookies
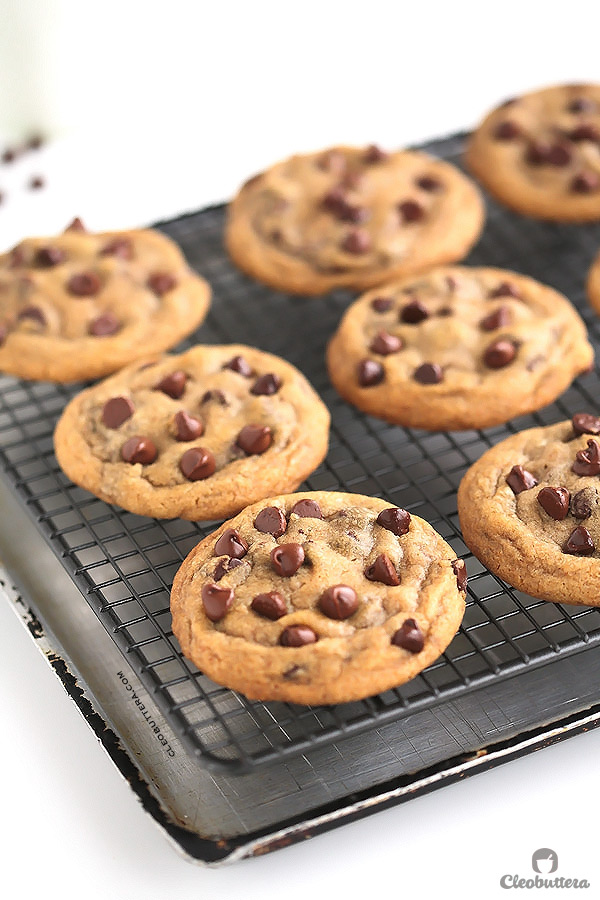
Every baker needs a classic chocolate chip cookie recipe up their sleeve, and this one is mine! Perfectly soft and chewy on the inside, with crisp edges on the outside. Deep notes of toffee and butterscotch from the use of browned butter, takes them over the top.
Ingredients
- 1 3/4 cups (8 3/4 oz/ 248g) all-purpose flour*
- 1/2 teaspoon baking soda
- 14 tablespoons (7 oz/ 200g) unsalted butter, divided
- 1/2 cup (3 1/2 oz/ 100g) granulated sugar
- 3/4 cups (5 1/4 oz/ 150g) packed dark brown sugar*
- 1 teaspoon table salt
- 2 teaspoons vanilla extract
- 1 large egg
- 1 large egg yolk
- 1 1/4 cups (8 3/4 oz/ 248g) semisweet or milk chocolate chips or a combination of both, plus extra for pressing on top
- 3/4 cup chopped pecans or walnuts, toasted (optional)
Instructions
- Adjust oven rack to middle position and heat oven to 375F/190C degrees. Line 2 large baking sheets with parchment paper or silicon mats.
- In a medium bowl, whisk together the flour and baking soda; set aside.
- In a light-colored skillet, heat 10 tablespoons (5 oz/ 142g) of the butter over medium-high heat until melted, about 2 minutes. Continue cooking, stirring and scraping the pan constantly with a heatproof rubber spatula until the butter turns dark golden brown and has a nutty, caramel-y aroma, 1 to 3 minutes. Be careful not to burn it.
- Remove the skillet from the heat and, using the spatula, transfer the browned butter to large heatproof bowl. Whisk remaining 4 tablespoons (2 oz/ 58g) of butter into the browned butter until completely melted.
- Whisk in both sugars, salt, and vanilla to the bowl with butter until fully incorporated.
- Add in the egg and yolk and whisk until mixture is smooth and emulsified with no sugar lumps remaining, about 30 seconds. Let mixture rest for 3 minutes, then whisk for another 30 seconds. Repeat the process of resting and whisking 2 more times (a total of 4 whisks, 3 rests) until mixture is thick, smooth, and slightly lightened in color.
- Using a rubber spatula, stir in the flour mixture until just combined. Do not overmix; a few streaks of flour is OK.
- Stir in chocolate chips and nuts (if using), giving the dough a final stir to ensure that no flour pockets remain.
- Portion the dough into 16 equal scoops, each about 3 tablespoons, about 2 1/4oz/ 64g (or use #24 cookie scoop). If the dough feel too soft or warm to scoop, cover and refrigerate for about 1/2 an hour until scoopable.
- For thicker cookies, shape each dough scoop into an oblong ball. Then press a few chocolate chips on each top for looks. You could bake right away, if you prefer, with great results, but I've found that chilling the dough for at least 2 hours or up to 5 days produces even thicker cookies. I like to let them chill overnight arranged in a baking sheet and covered with plastic wrap, but I also happen to make extra and freeze them for up to one month. (*see note below for freezing cookies)
- When ready to bake, arrange dough balls, 2 inches apart on the prepared baking sheets, 8 dough balls per sheet. (Smaller baking sheets can be used, but will require 3 batches.)
- Bake cookies one sheet at a time until cookies are golden brown, flattened but still puffy, and edges have begun to set but centers are still soft but no longer wet, 10 to 13 minutes, rotating baking sheet halfway through for even baking. Set the timer to 10 minutes to check for doneness, then add 1 minute at a time if needed. Do NOT overbake or they'll end up hard instead of soft and chewy. A trick to know that they're done, is to lift the edge of the cookie with your finger, if it lifts, then they're done, if its still too soft to lift then give it another minute or so. The cookies will continue to cook from the residual heat of the baking sheets as they cool.
- Transfer baking sheet to wire rack and let the cookies cool completely on the baking sheets, at least 20 minutes. Resist the urge to eat them right away or they'll taste raw and undone. Once completely cooled, store in an airtight container to maintain their softness.
Recipe Notes
- For the best possible results, weight your ingredients using a food scale, instead of using measuring cups. If you don't have one, then when measuring the flour, dip a dry measuring cup into the flour, sweeping away excess flour with a flat edge. This method yields more accurate results for this specific recipe than spooning flour into a measuring cup.
- Use the soft kind of brown sugar that feels and looks like damp sand like Dominos brand. Avoid the coarse, granular type of brown sugar like demerara. Use fresh, moist brown sugar instead of hardened brown sugar, which will make the cookies dry. This recipe also works well with light brown sugar, but the cookies will be less full-flavored, but still amazing. Avoid dark brown sugar that is almost black in color.
- Use a light colored skillet to brown the butter. Avoid using a nonstick skillet because the dark color of the nonstick coating makes it difficult to see when the butter is browned.
- Although chilling this dough is not a must, I've found that it produces thicker cookies. Chilling dough balls for 2 hours and up to 5 days is advisable if you prefer thicker cookies.
- Cookie dough balls can be frozen for up to one month in a zipper lock bag. Bake straight from frozen. You might need to add an extra 2 minutes to the baking time.
Adapted from America's Test Kitchen
Measurements Note: All recipes of this site have been developed using weight measurements. Although US volume measurements have been included for your convenience, it is highly encouraged that you weigh your ingredients using a kitchen scale to get the best possible results. Due to the sensitive nature of baking, kitchen scales are proven to yield more accurate and consistent results than measuring cups. Enjoy!
This post may contain affiliate links.
All images and content are owned by Cleobuttera® and are copyright protected. Please do not use my images without prior permission. If you would like to republish a recipe, please rewrite it in your own words and link back to the recipe page on my site. Original recipes and creations of this site are intended for personal and home use. Commercial replication or media consumption are only allowed with a written consent and agreement with Cleobuttera owners. Otherwise it is considered a violation of intellectual property. Thank you for respecting and appreciating the amount of time and effort that goes into creating free, unique recipes that make people happy.
