Nutella Biscotti
Hazelnut flavored biscotti filled with Nutella all the way through for the ultimate coffee break indulgence. These cookies will have everyone begging for more!

When two of the most amazing Italian creations collide, you know something spectacular is about to happen.
NUTELLA. BISCOTTI.
Seriously though…how can anything but wonderfulness come out of the marriage of Nutella (Italy’s baby and the world’s favorite chocolate spread) and Italian Biscotti (hot drink’s favorite cookie)?
You know what’s the worst thing that can come out it? A biscotti that will ruin all other biscottis for you. Trust me…my mom’s famous anise biscotti was doing just fine until this one come along.
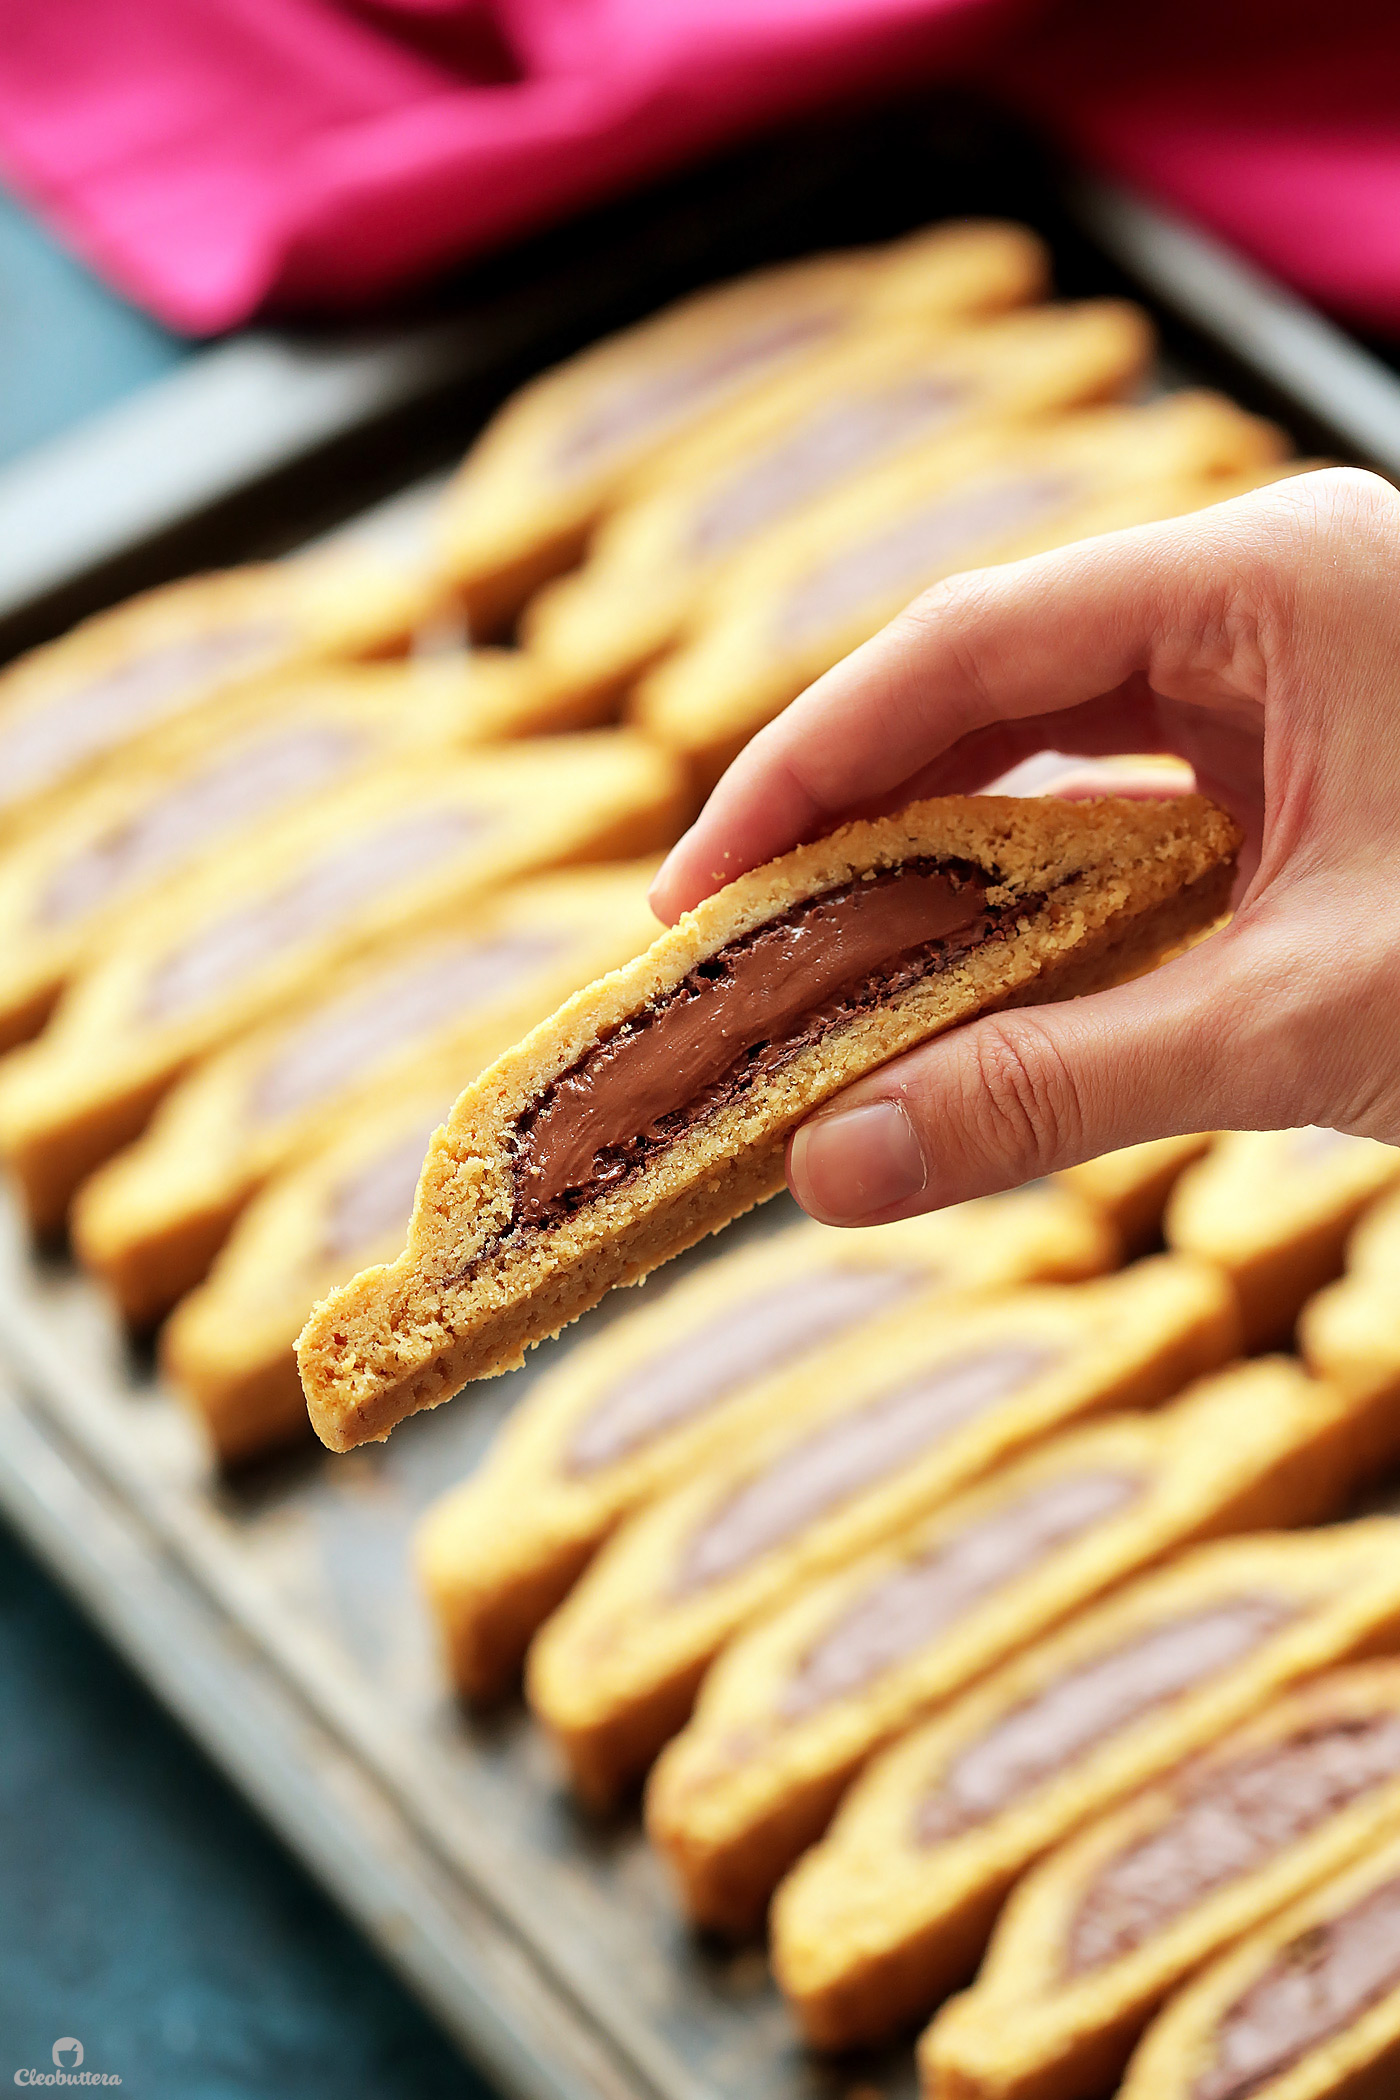
As claimed by my family, this Nutella biscotti is one of the best things that has come out of my oven in a long time. Apparently they have forgotten about this Honey Cake a little too soon, but I must say that I do agree.
They’re just that incredibly good! But we’re also Nutella fanatics, so our judgement is impaired ?
These things disappear in no time whenever I make them. One day, I had to make a second batch a few hours later, because the first one flew off too quickly and I wasn’t gonna be left alone if I hadn’t made more.
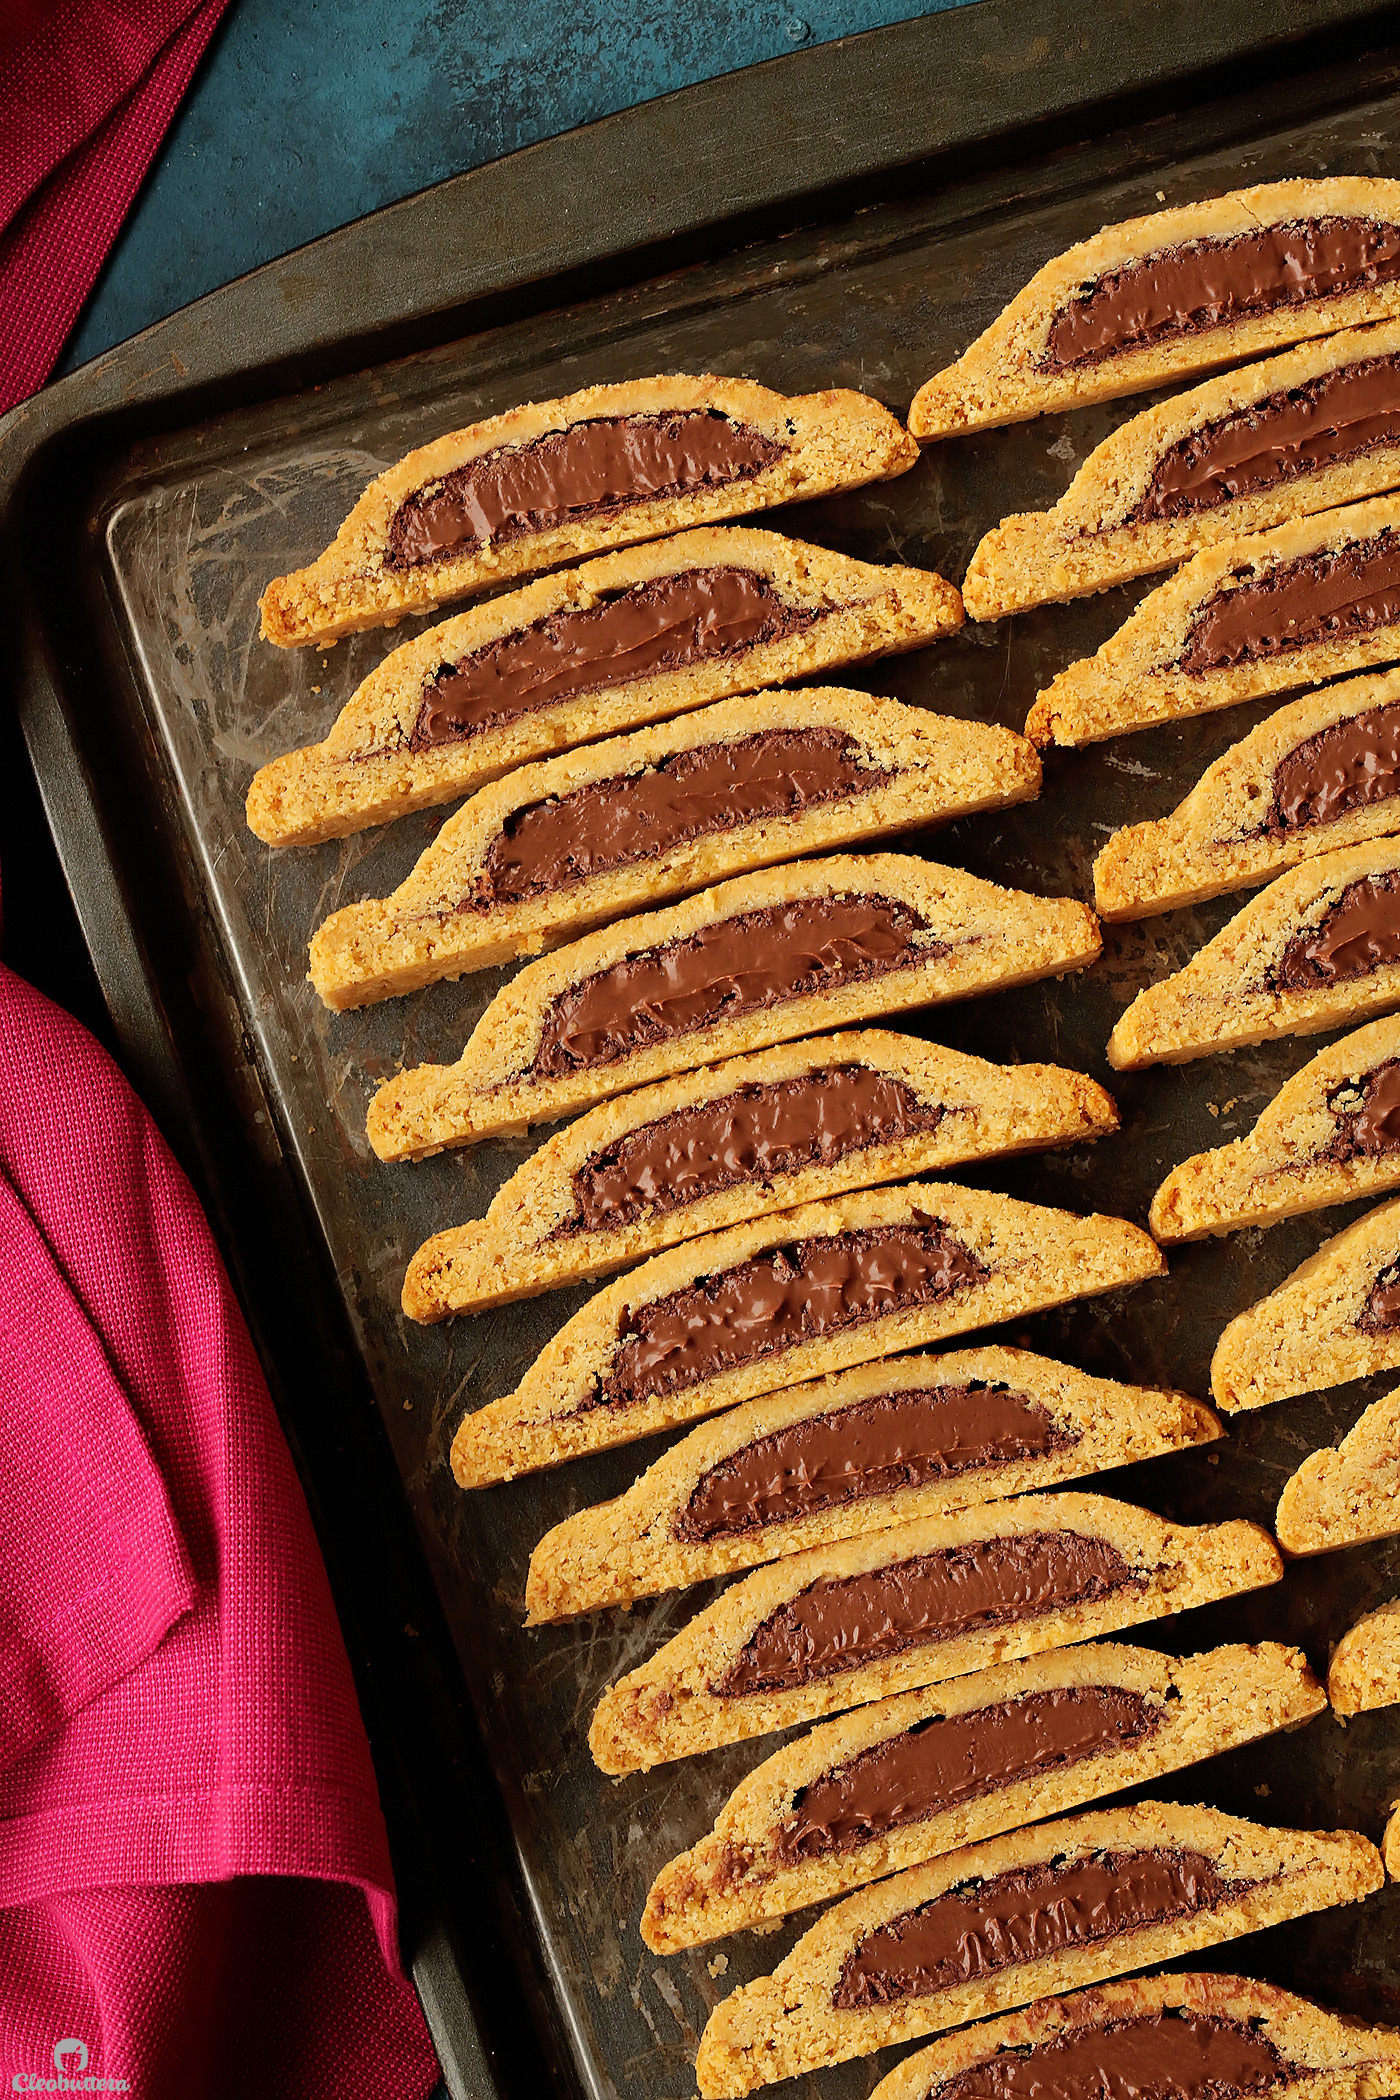
They have become so popular in my house, and their popularity spread within my kids’ circle of friends, that I now get asked to make them ALL the time. Just as I’m writing this, my son requested them for a bake sale. I think I’m starting to regret introducing them to this biscotti.
They have now become my kids’ favorite treat along tea with milk, but my husband and I are coffee dunkers.
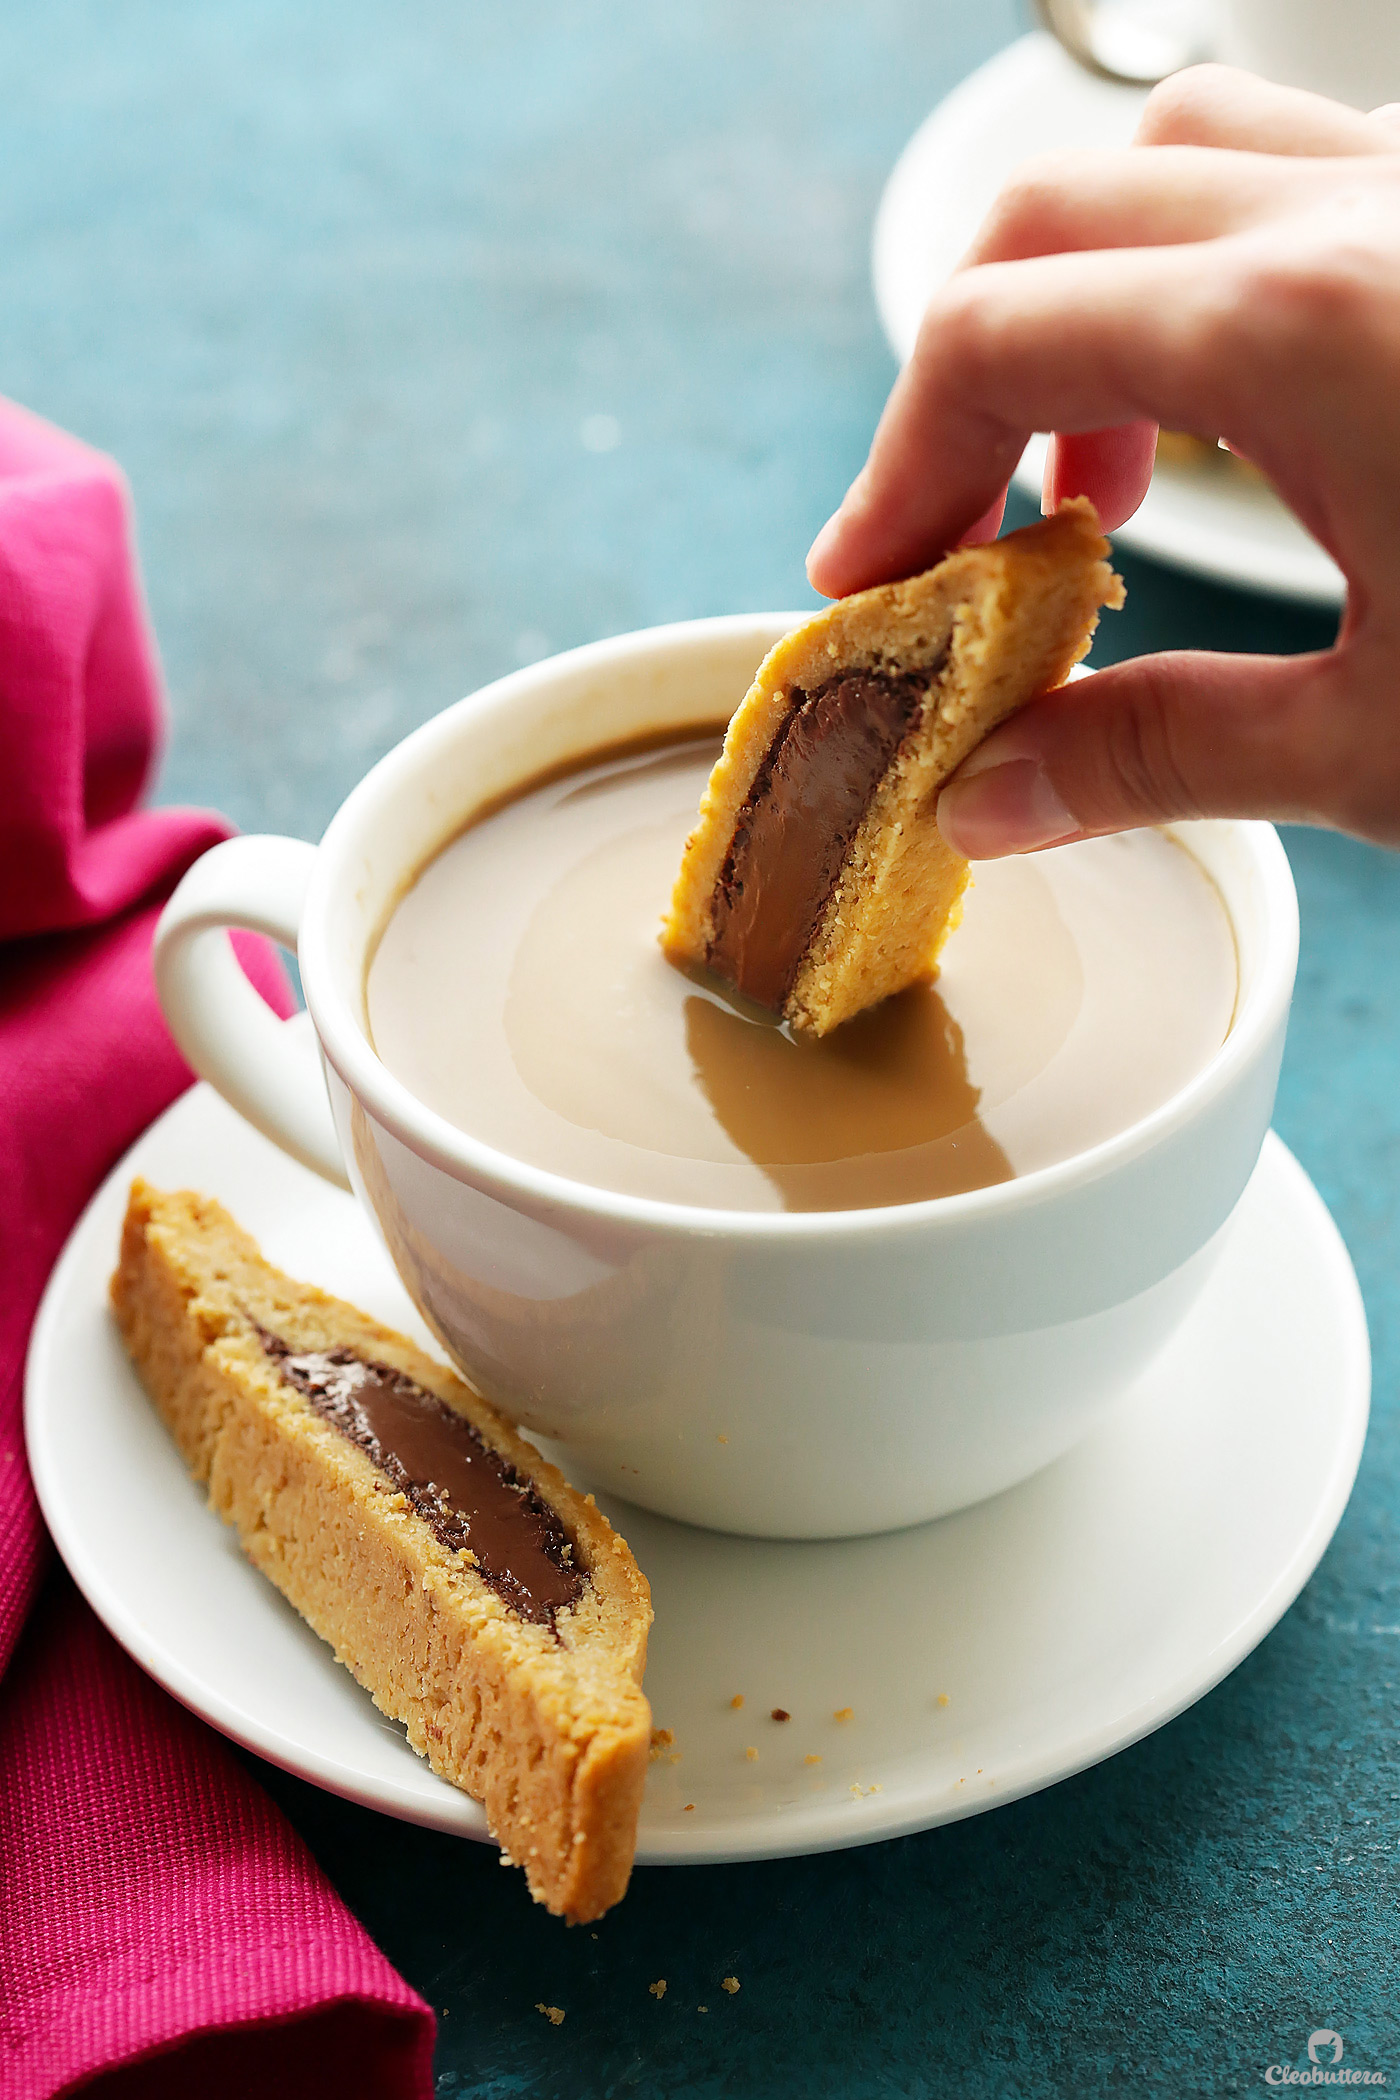
Traditional Italian biscotti is an oblong shaped cookie (or biscuit) with a dry, crunchy texture, making it perfect for dipping in hot drinks like coffee and tea. The drink soaks into the cookie and softens it just enough to make it melt in the mouth.
They come in so many variations, flavors and can incorporate add-ins like nuts and dried fruits, but perhaps the most popular are the ones made with almonds.
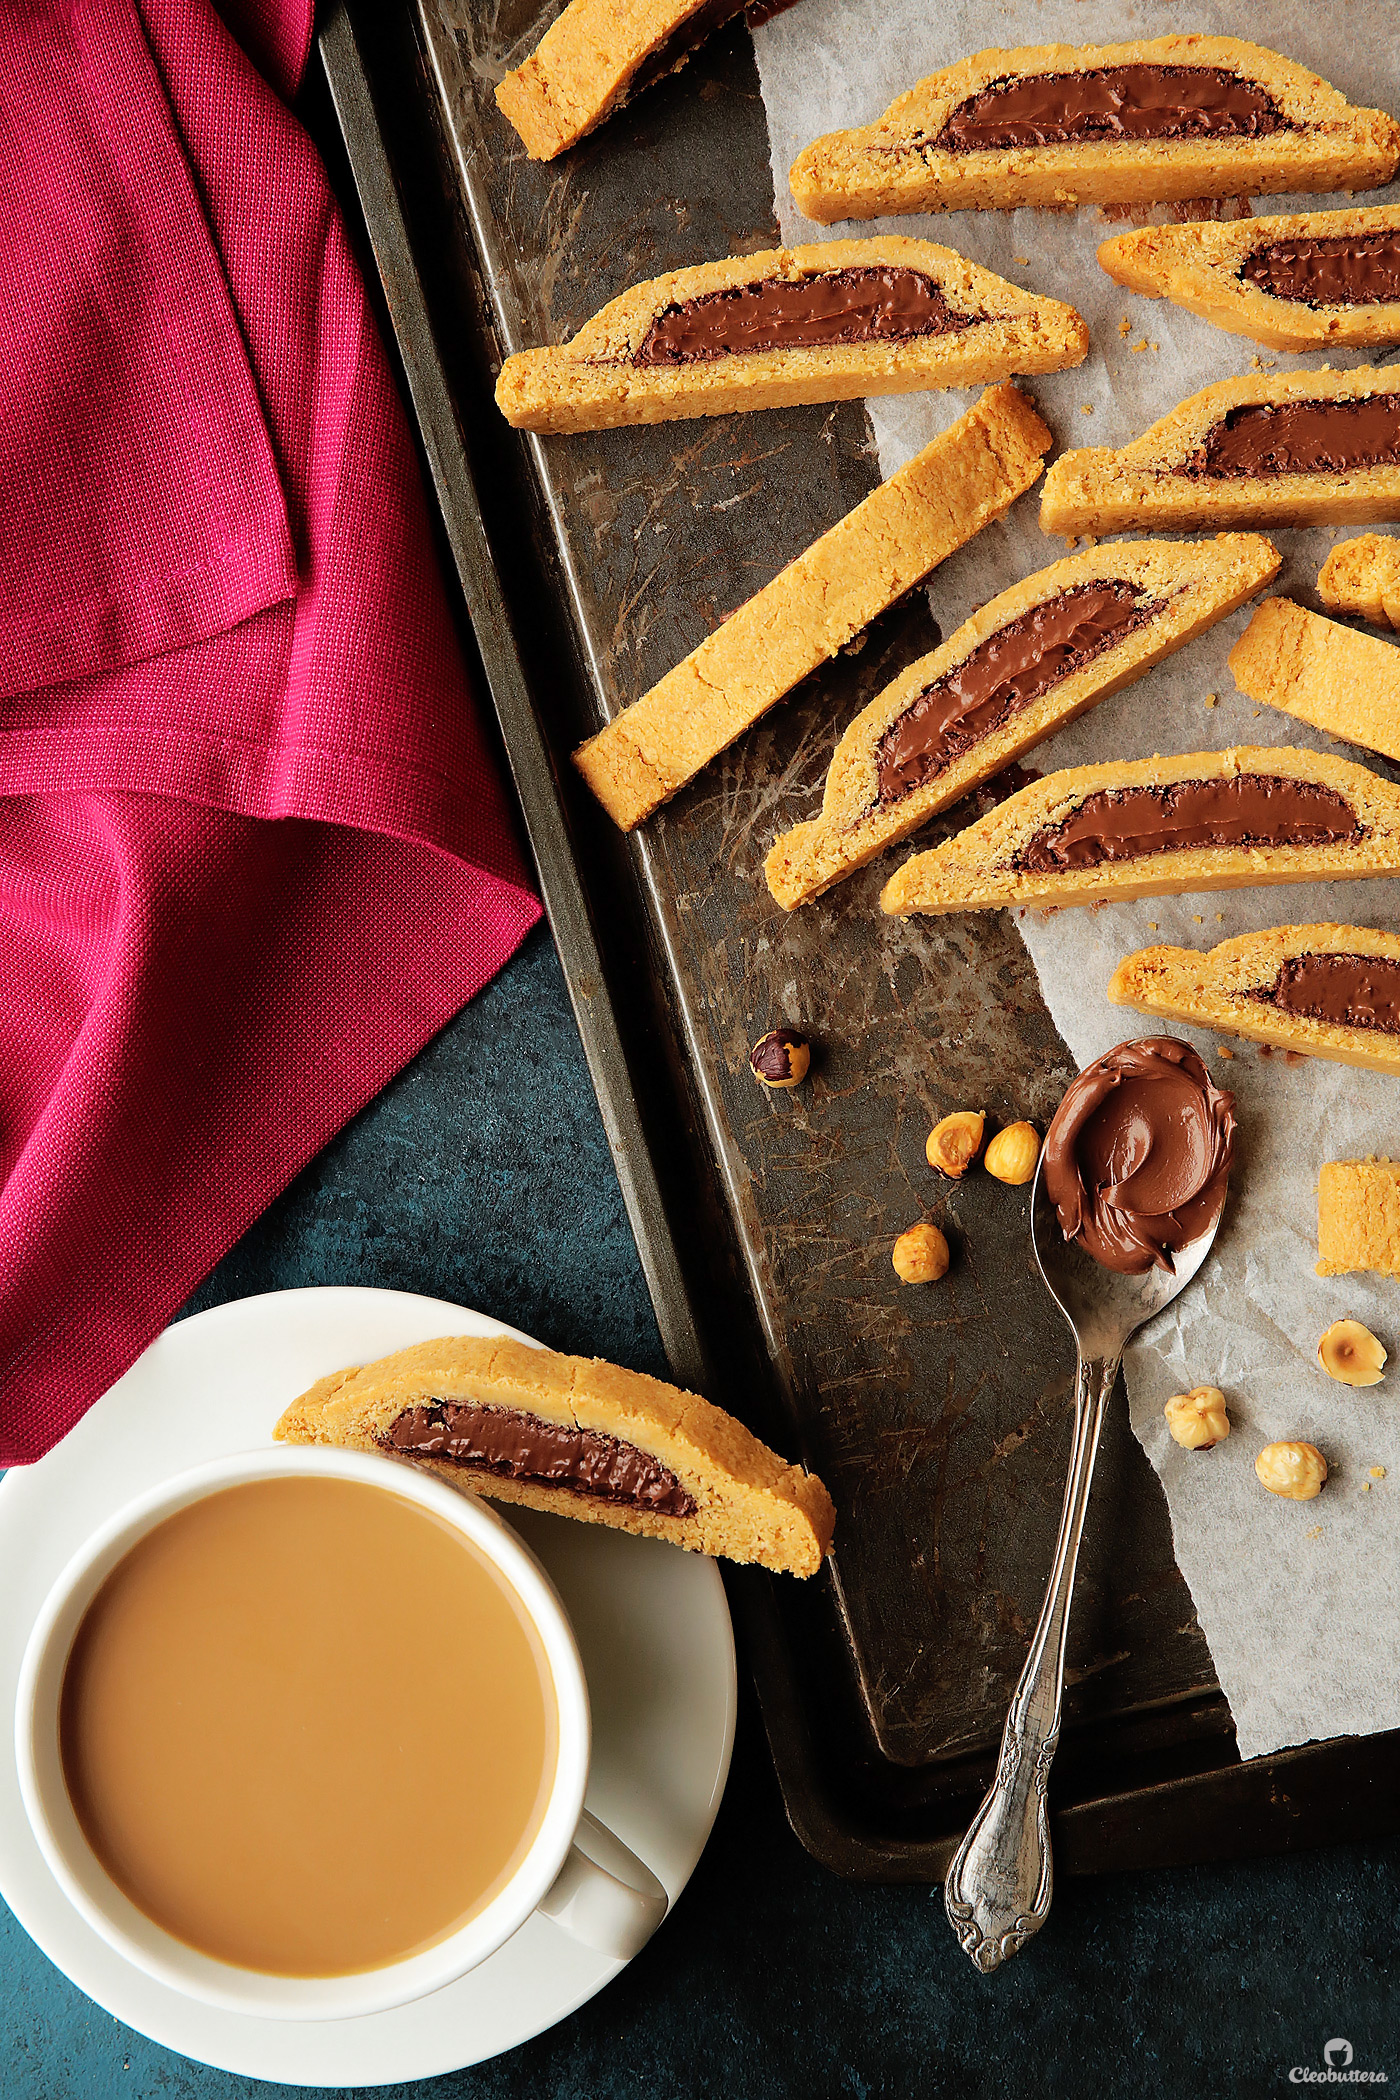
I grew up on a vanilla anise variation that my mom has perfected over the years and have never imagined liking anything more. That is until last summer when I stumbled upon Nutella Biscotti at a lovely Italian bakery called La Dolce Vita in Downtown Oakville, Canada.
The moment I saw the chocolate stuffed cookie on the bakery’s display, I knew I had to recreate it at home. I mean…hello? That was two of my favorite things combined staring at me right there!
It tasted just as amazing as it looked, but the cookie portion was a lot softer than what you’d expect from biscotti. It also had a strong taste of almond extract, which I’m not the biggest fan of.
With that in mind…I set out to come up with a recipe that better suited my taste preference and a texture closer to that of the original.
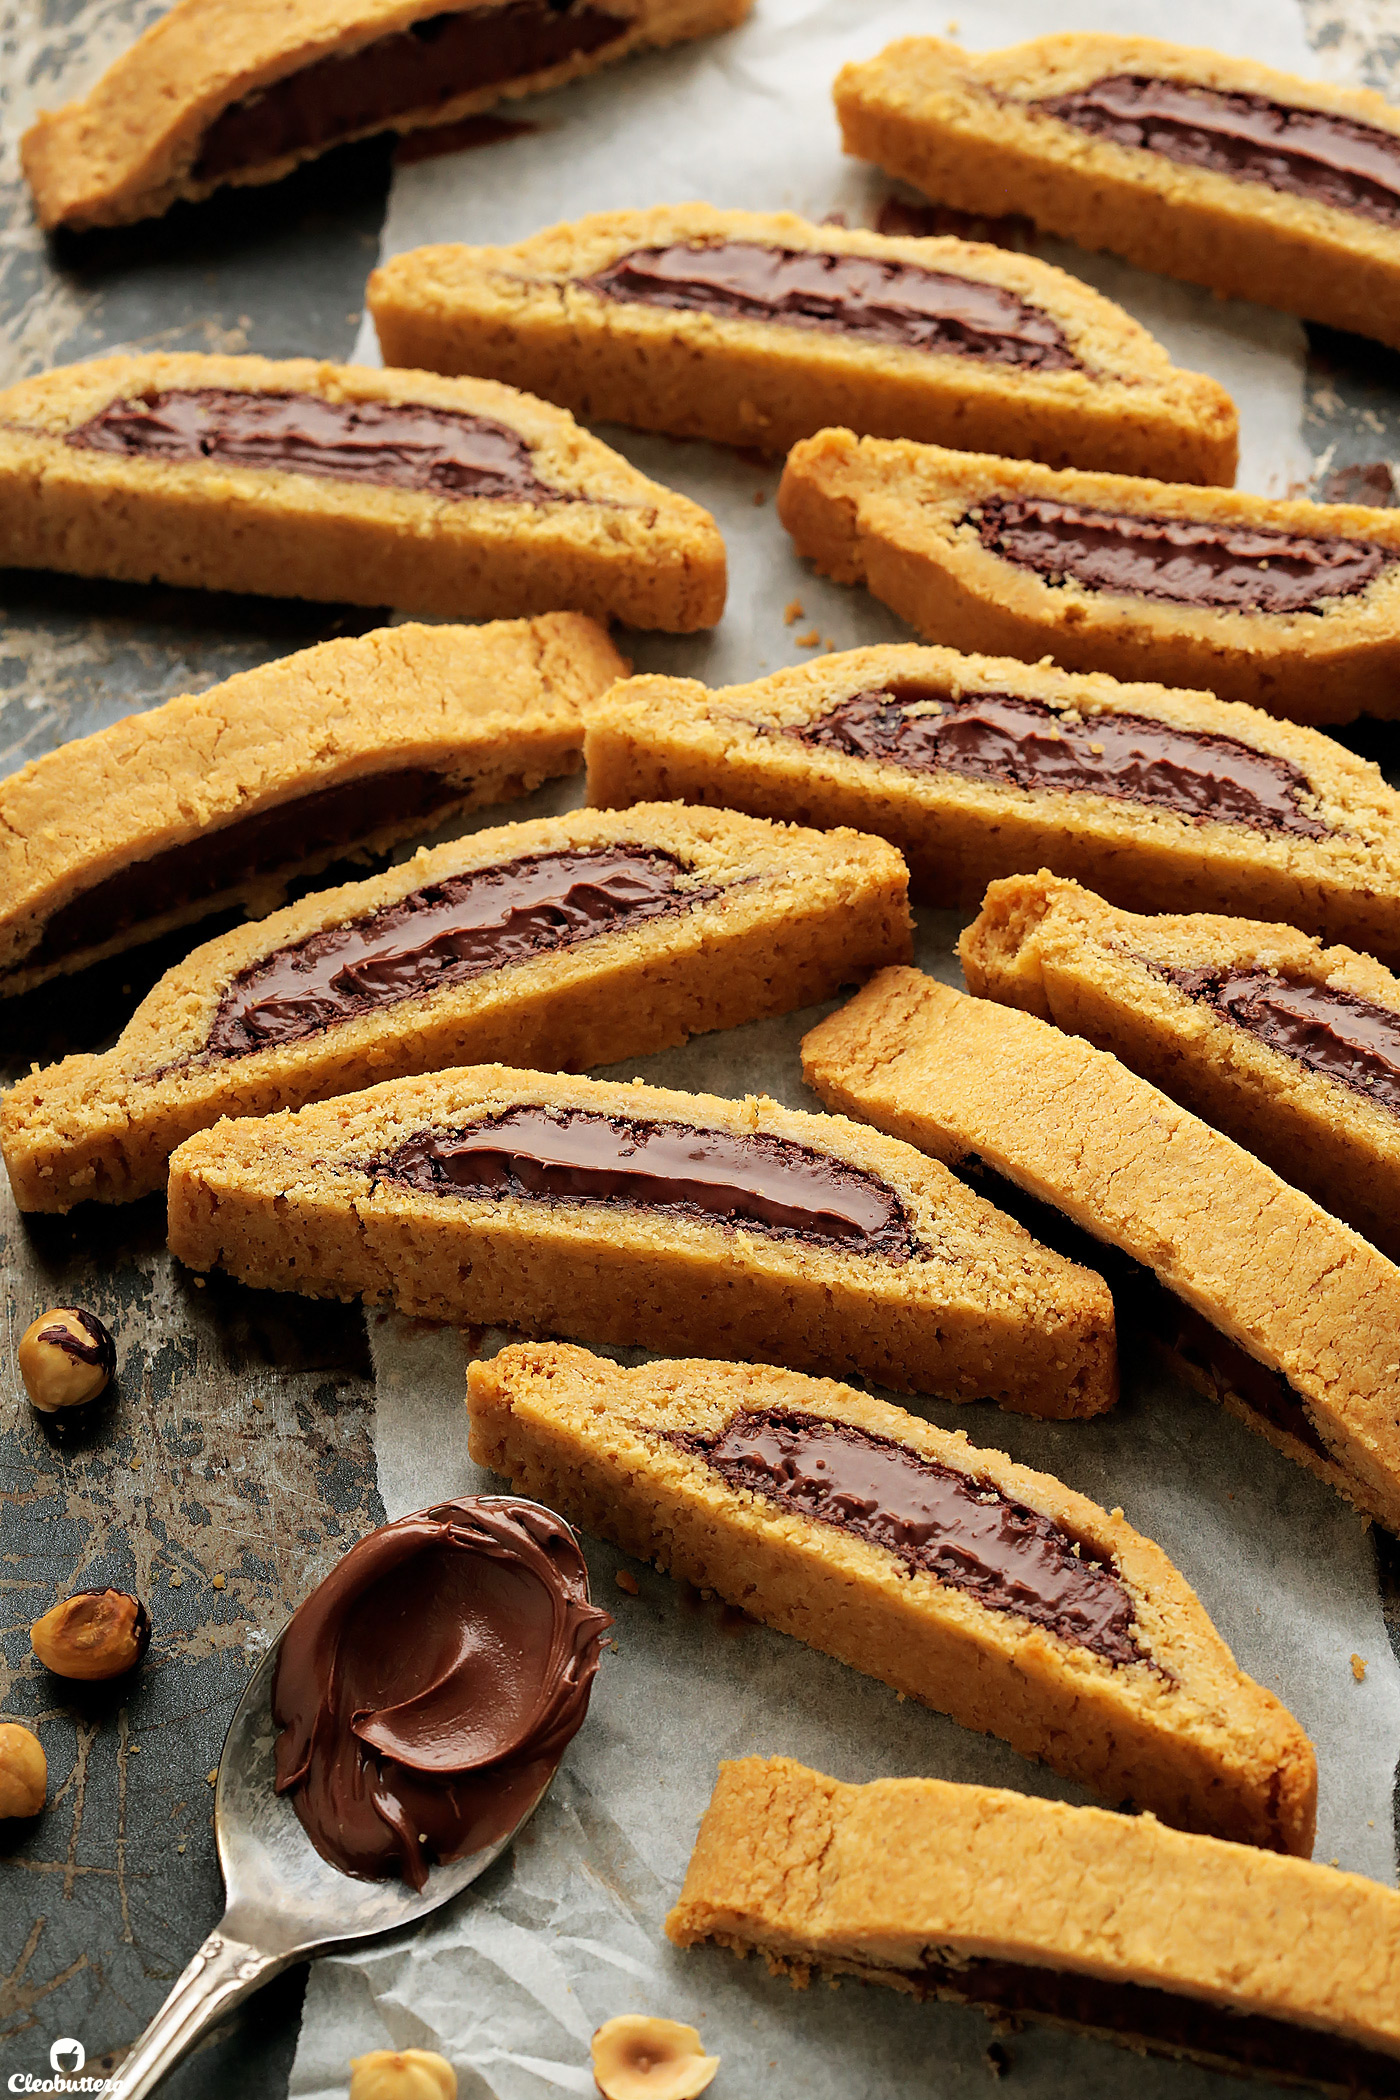
It was no easy task, but I’m happy to report back that it came out even better than I had hoped for. In fact…a HUGE hit!
If you don’t already know, Biscotti are named after their original method of baking. The word “Biscotti” is derived from the Italian word “Biscotto” which literally translates to “twice baked.”
The method involves shaping the biscotti dough into a log, half-bake it, slice it, and then bake the slices once again to toast the sides, giving the cookies their signature crisp texture.
But with Nutella in the mix, the process of twice-baking was out of the question.
Why? Imagine the puddles of molten Nutella that will result from baking the sliced, filled biscotti. Chocolate Oozeville I’m tell ya! Delicious, for sure, but you’ll end up with hollow biscotti.
So whatcha gonna do?
We’re gonna bend the Biscotti making rules a bit and bake them ONCE. There’s just no way around it. Sorry Italy! I love you, but that’s just a sacrifice we’ll have to make.
I guess this disqualifies them from being literal “biscotti,” but when a cookie tastes that good…who cares how many times they’ve been baked. No one’s counting anyway.
However, due to skipping the second bake, the cookies aren’t as violently crunchy as classic biscotti. They’re much crunchier then the one I had in Canada, but they still have a pleasant chew to them, which we actually happen to love.
But you know what I love more?
The dough that tastes like pure toasted hazelnuts.
I tested so many biscotti doughs in search for the one that works the best here. Since this is no traditional biscotti, with an unorthodox baking method, a lot of the doughs that would normally work well as a stand alone, did not do as good here.
The outside would bake nice and crunchy, but the inside would turn out tough and dense. To increase the dough’s crunch factor and tenderize its gluten formation, I played around with substituting some of the flour with ground hazelnuts, and oh what a difference that made. It was the magic ingredient!
Not only did this addition give me the crunchy yet tender texture I was after, but it also added a mesmerizing nutty flavor to the dough, that compliment the Nutella beautifully.
The result? A super flavorful, hazelnut cookie with a tender crunch, a slight chew, yet sturdy enough to hold a generous amount Nutella filling that doesn’t ooze out.
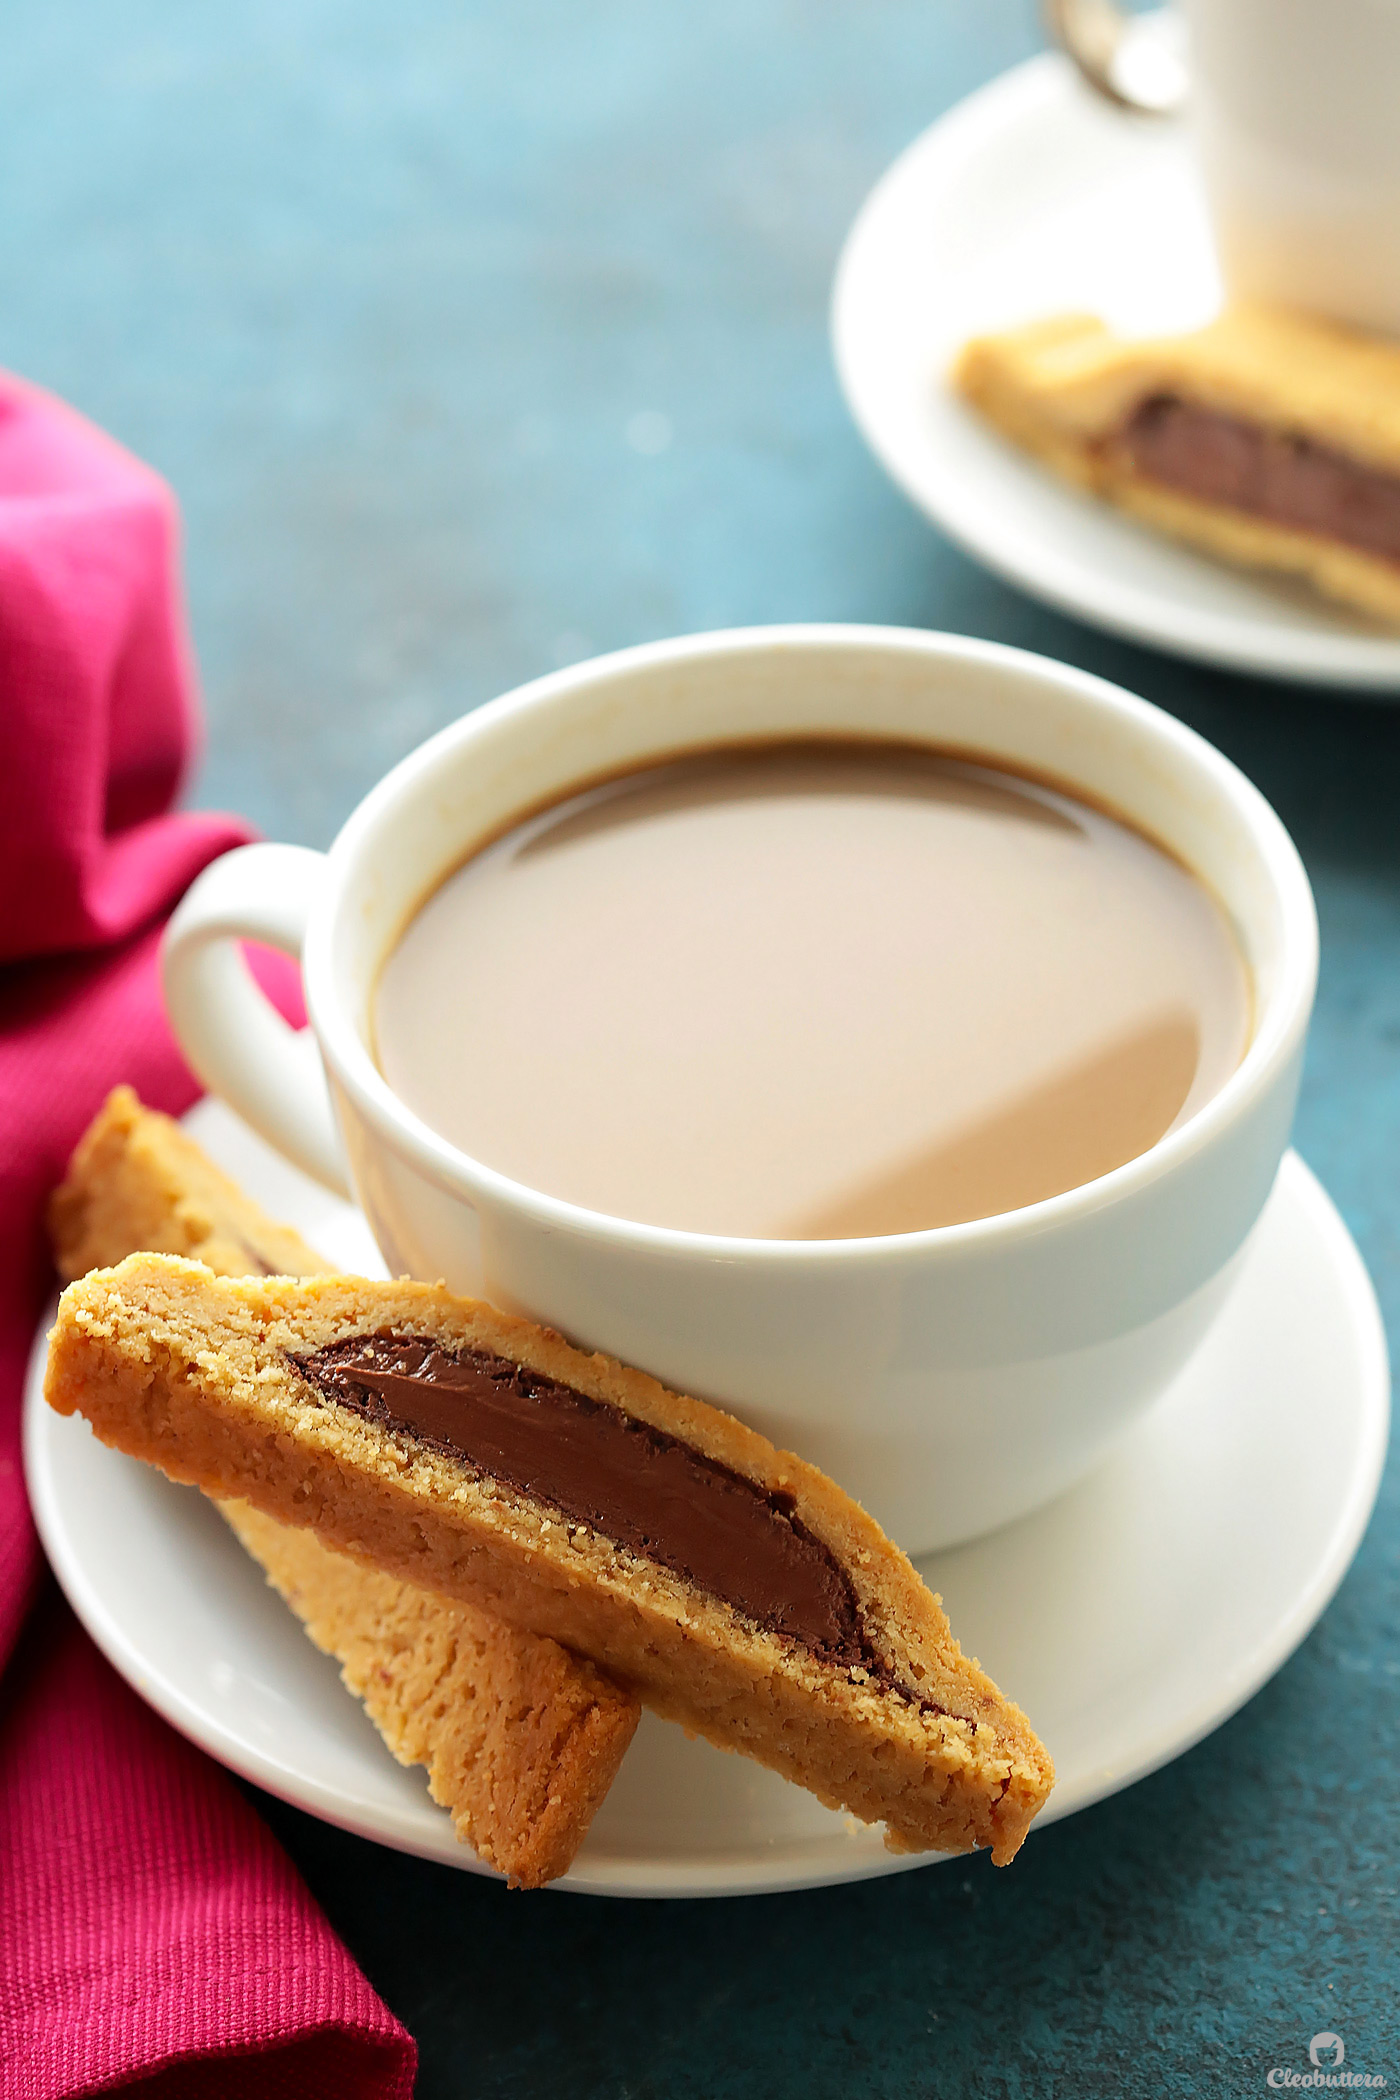
Now I bet you’re wondering by now…how do we get the Nutella in there?
Well here’s a sneak peak for you…
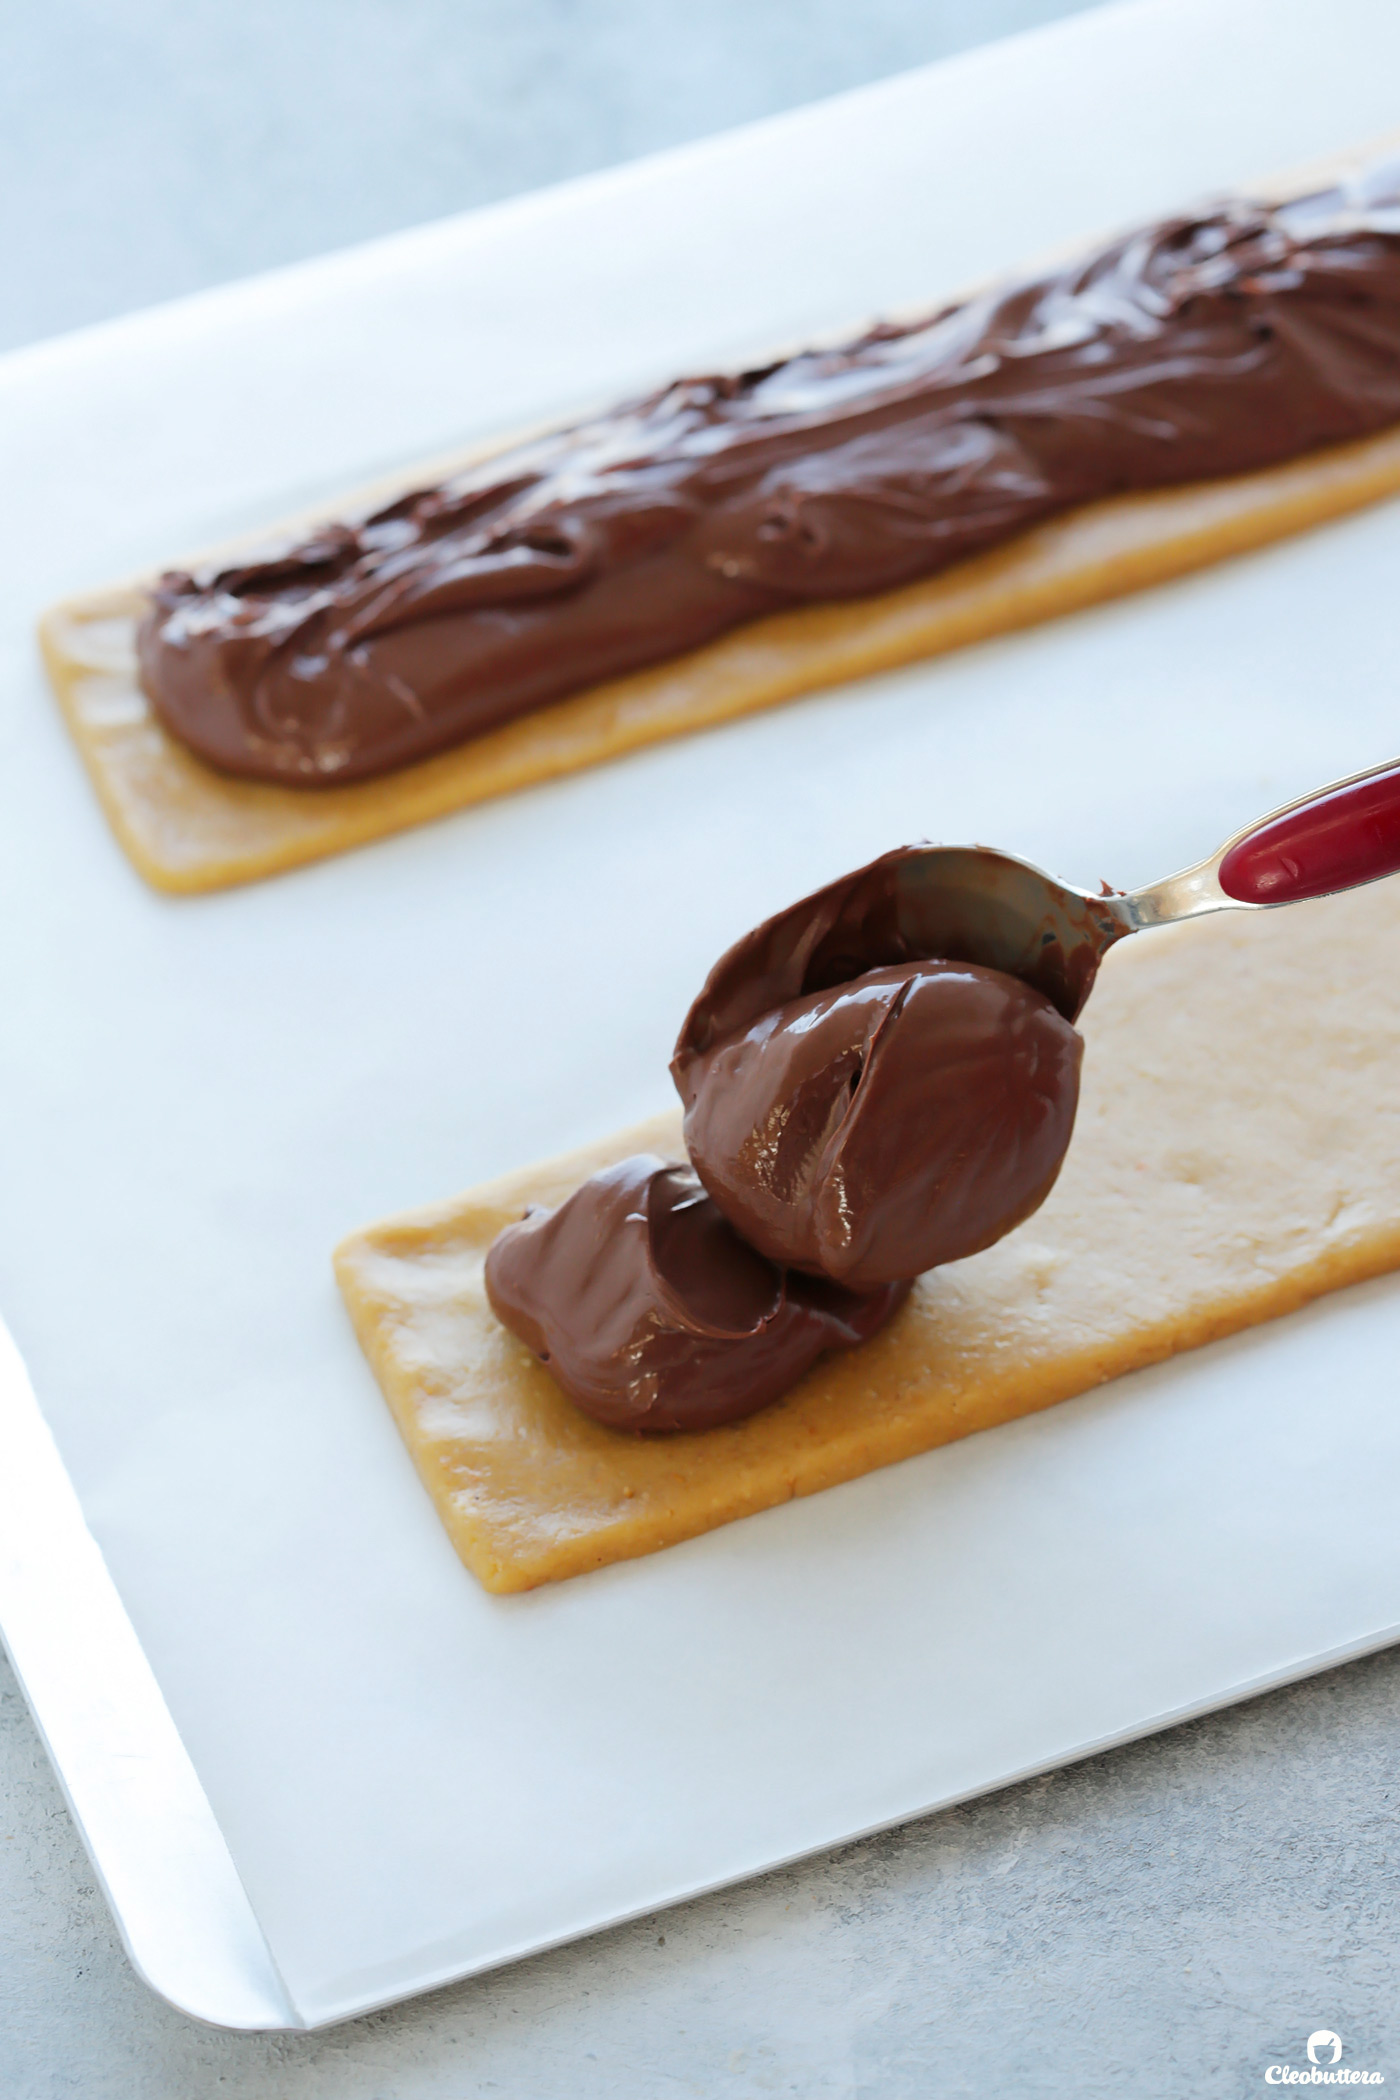
But first…let’s make the dough!
In a bowl you’re going to mix together all the dry ingredients: flour, baking powder and salt.
You might notice that the amount of baking powder here is about half as much as traditional biscotti recipes, and that’s by design. Going full force with the baking powder, caused deep cracks in the baked dough’s surface, which in return made for a flimsy cookie that broke easily. A large amount of baking powder helps biscotti achieve bigger pores, so while we’re only gonna get smaller ones here…we have Nutella to compensate. How’s that for a trade?
Now take a heaping 1/4 cup of the dry ingredients; doesn’t have to be exact…
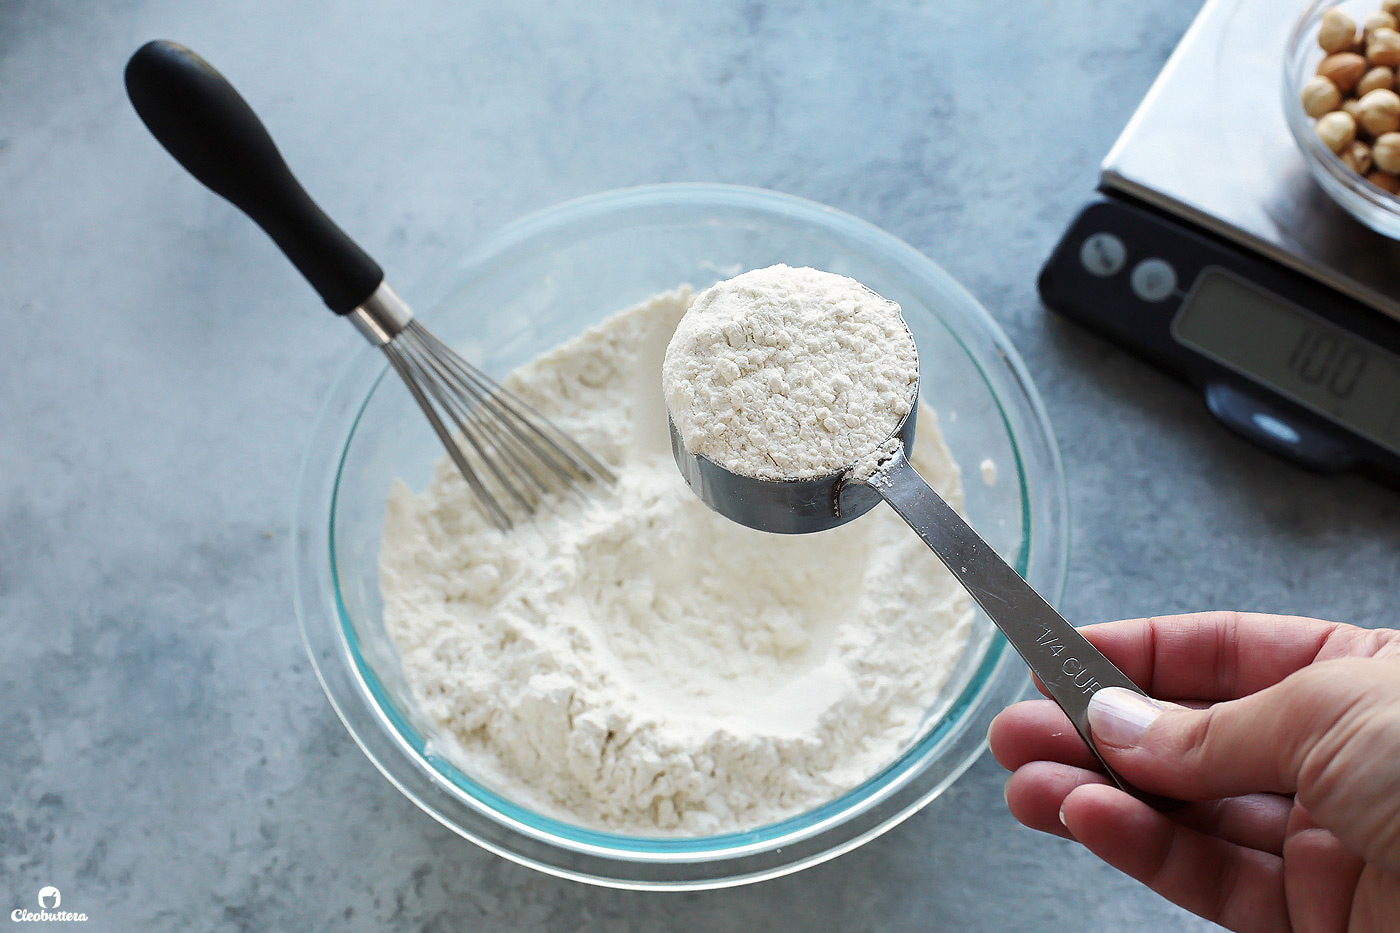
And place it in a coffee/spice grinder or food processor with the toasted hazelnuts.
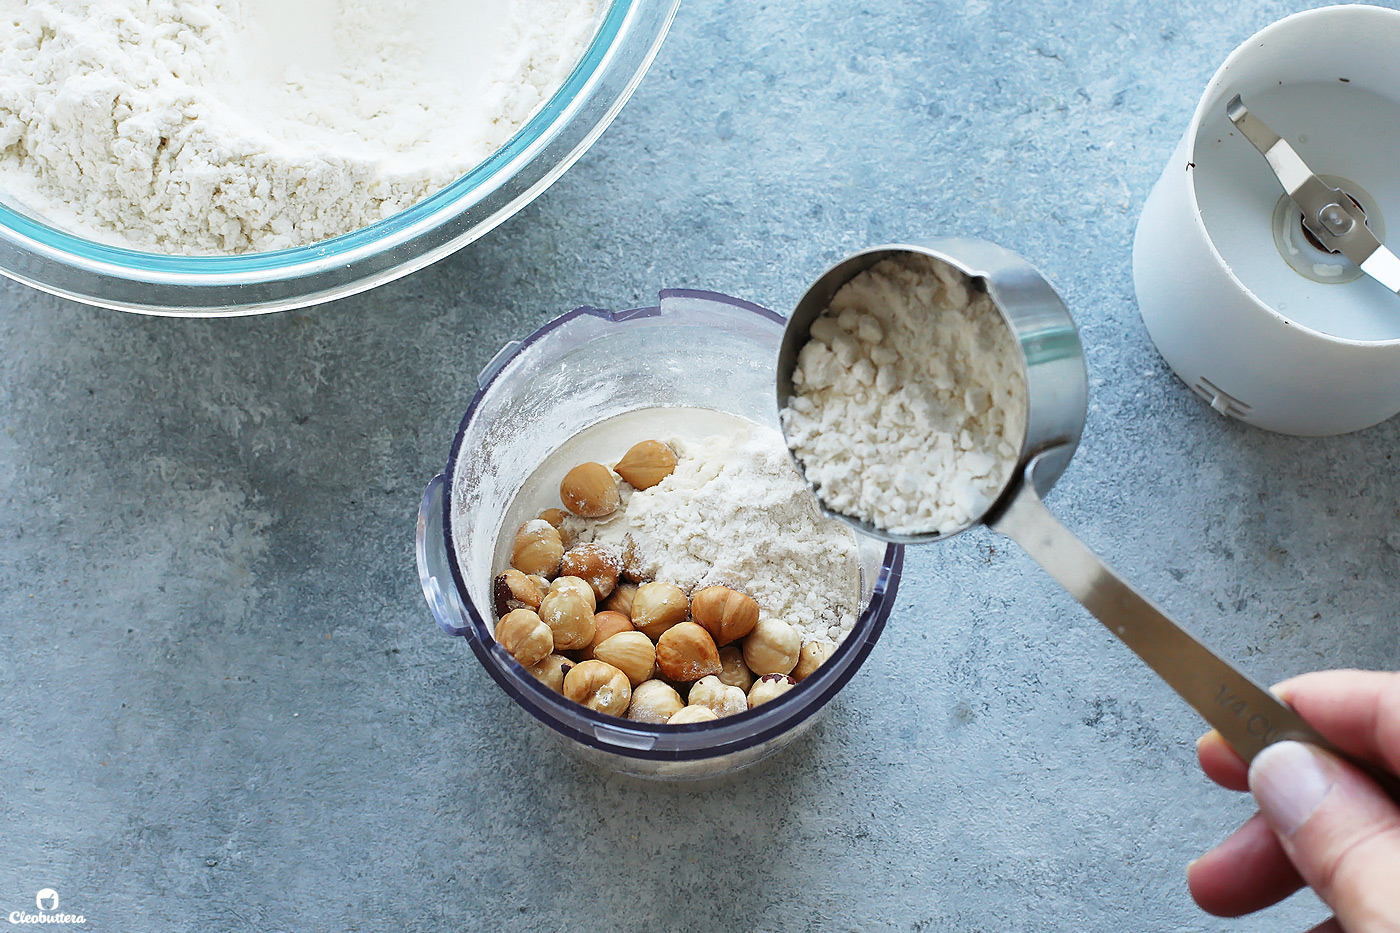
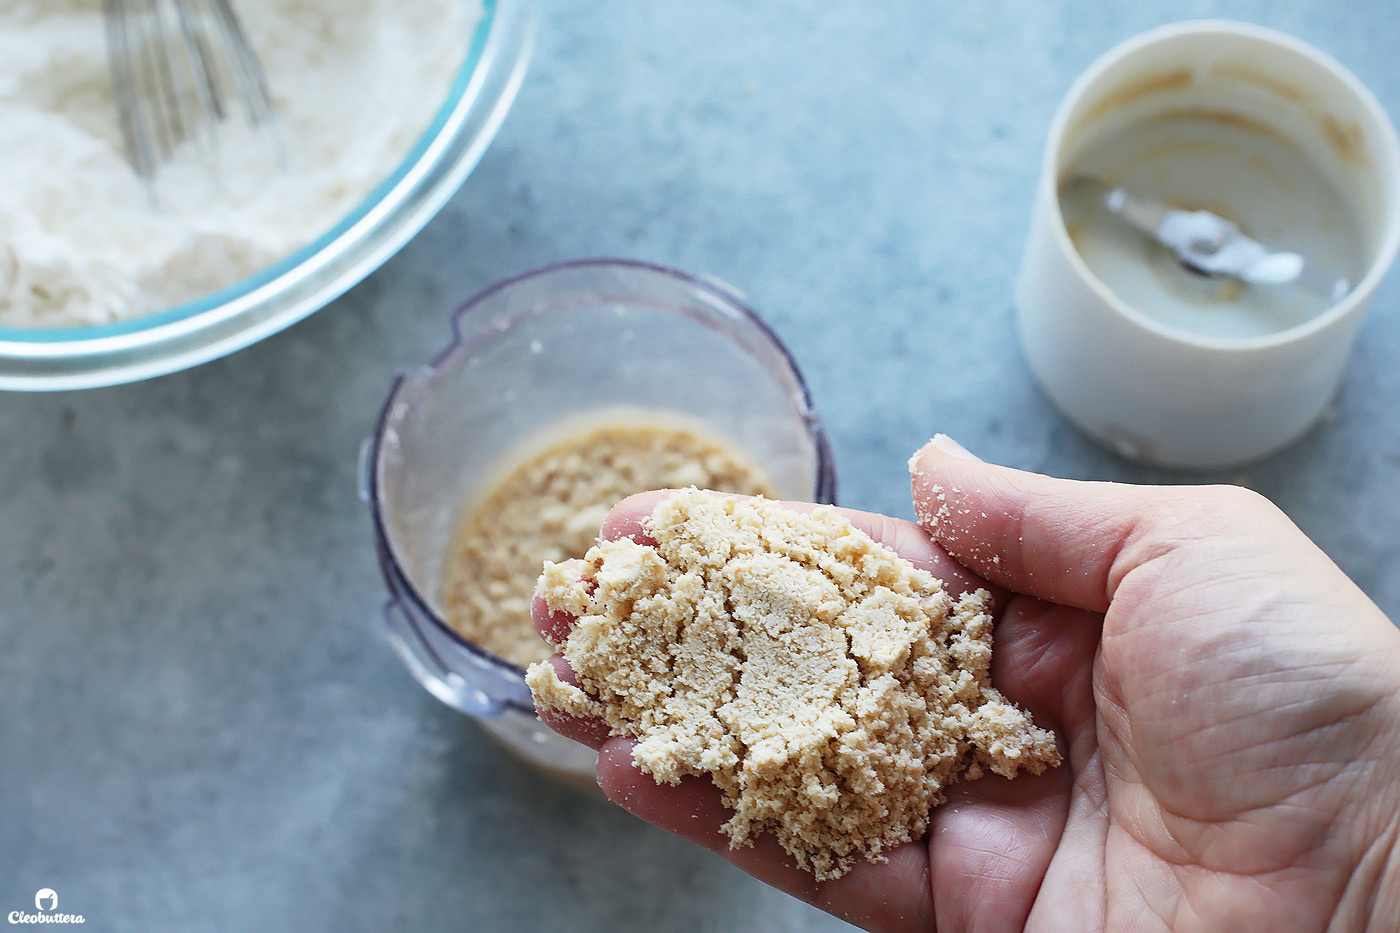
Process these guys together until the hazelnuts are very finely ground and powdery.
Grinding the hazelnuts with some of the flour mixture, instead of on its own, reduces the chance that the hazelnuts might turn into nut butter. But you still want to be careful not to over-process.
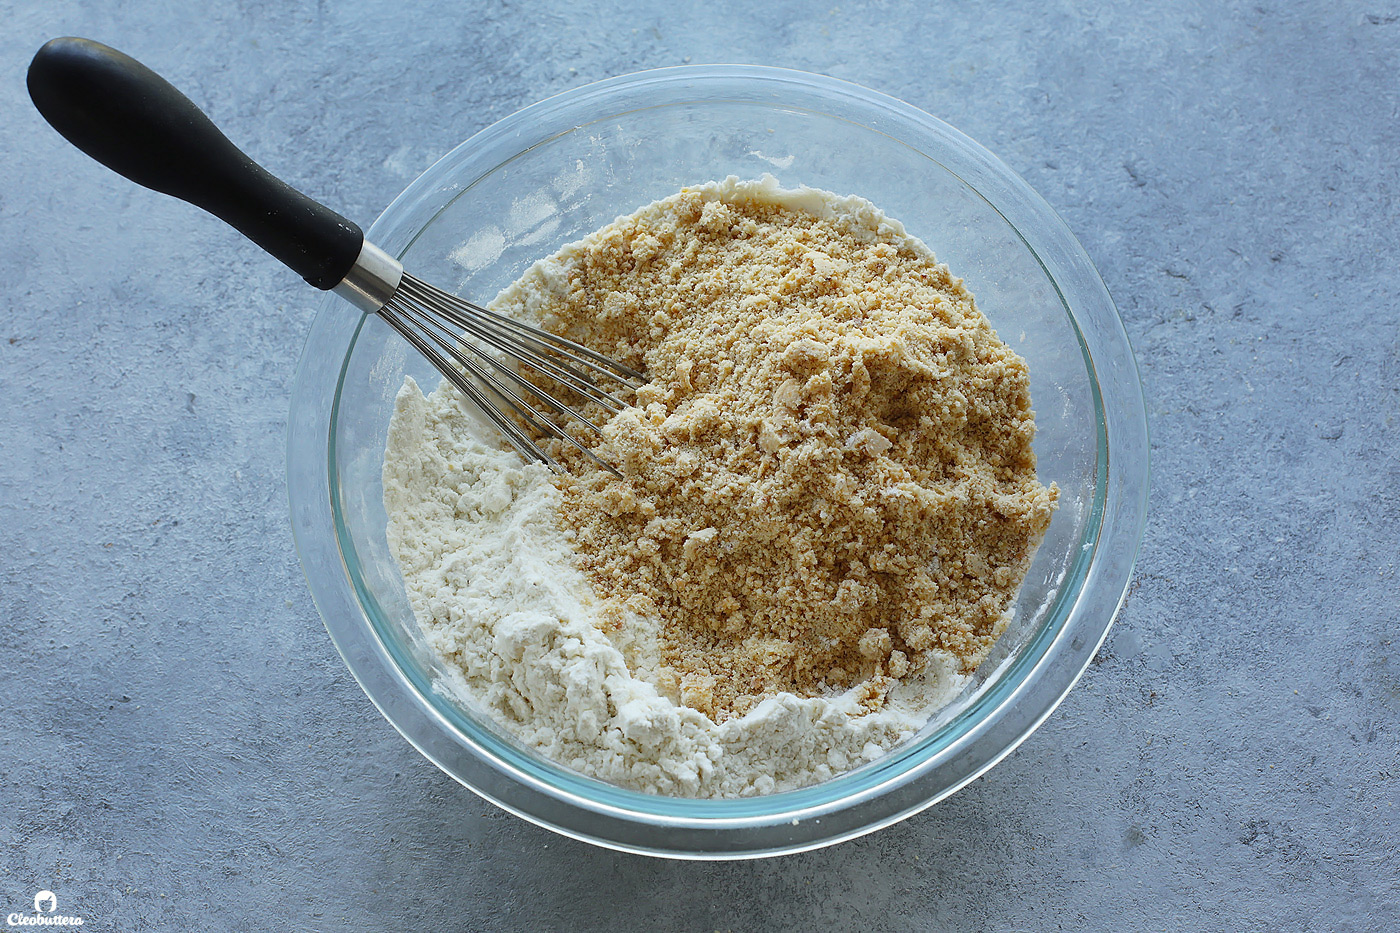
Now return the ground hazelnut/flour mixture to the bowl with the reserved flour and whisk together until well combined.
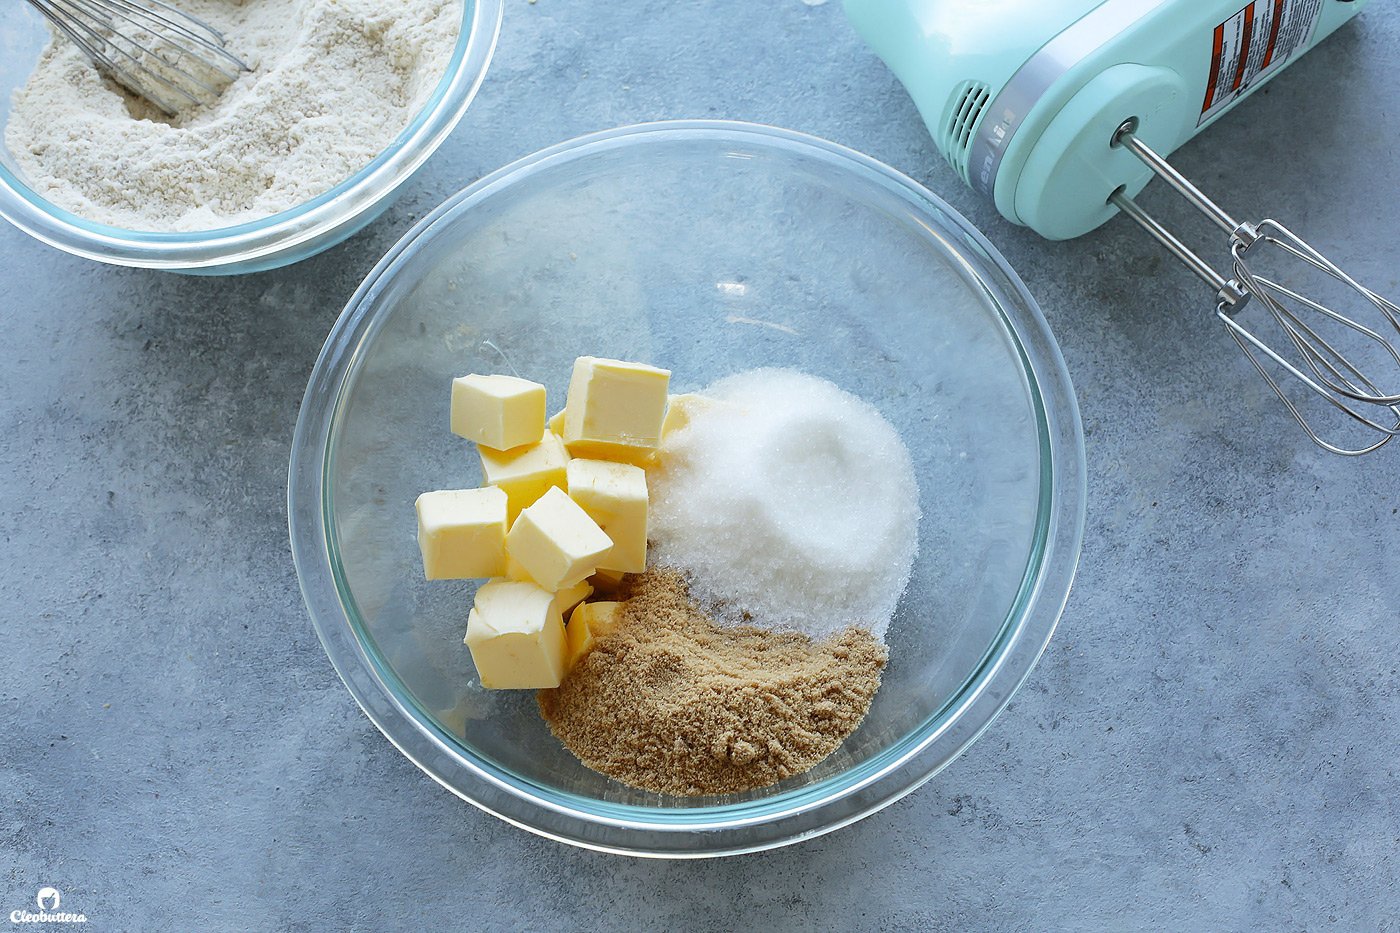
In another bowl combine together butter, brown sugar, and granulated sugar. I love the addition of brown sugar here; adds wonderful caramel undertones.
Now beat both sugars with the butter until slightly light and fluffy.
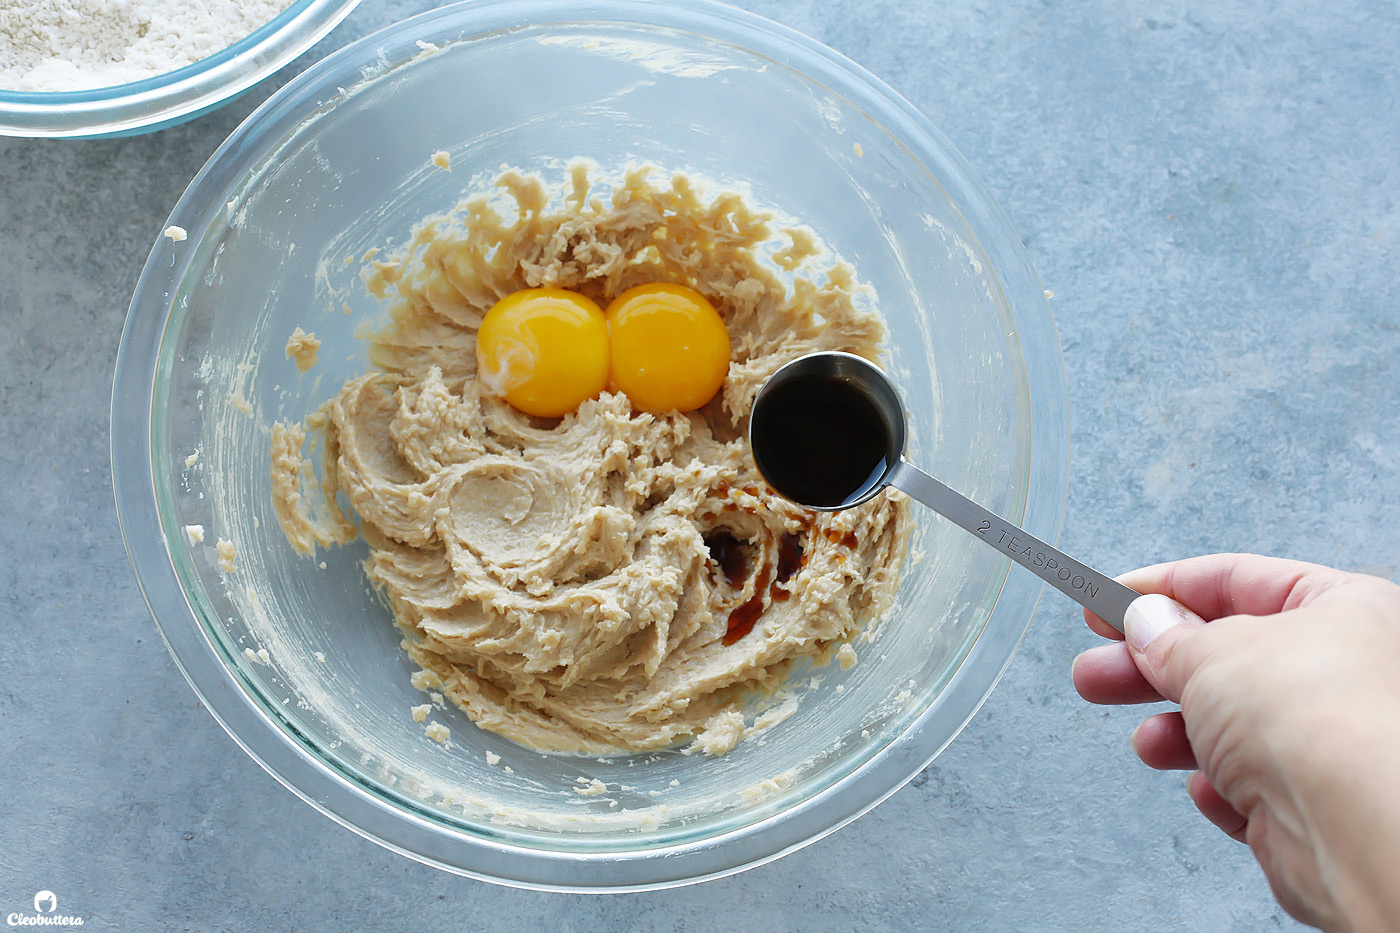
Then add in the egg yolks and the vanilla.
I tried using a whole egg instead of 2 egg yolks, but the texture was so off. It’s amazing how little changes make a huge difference in baking.
You’ll then gradually add in the ground hazelnut/flour mixture.
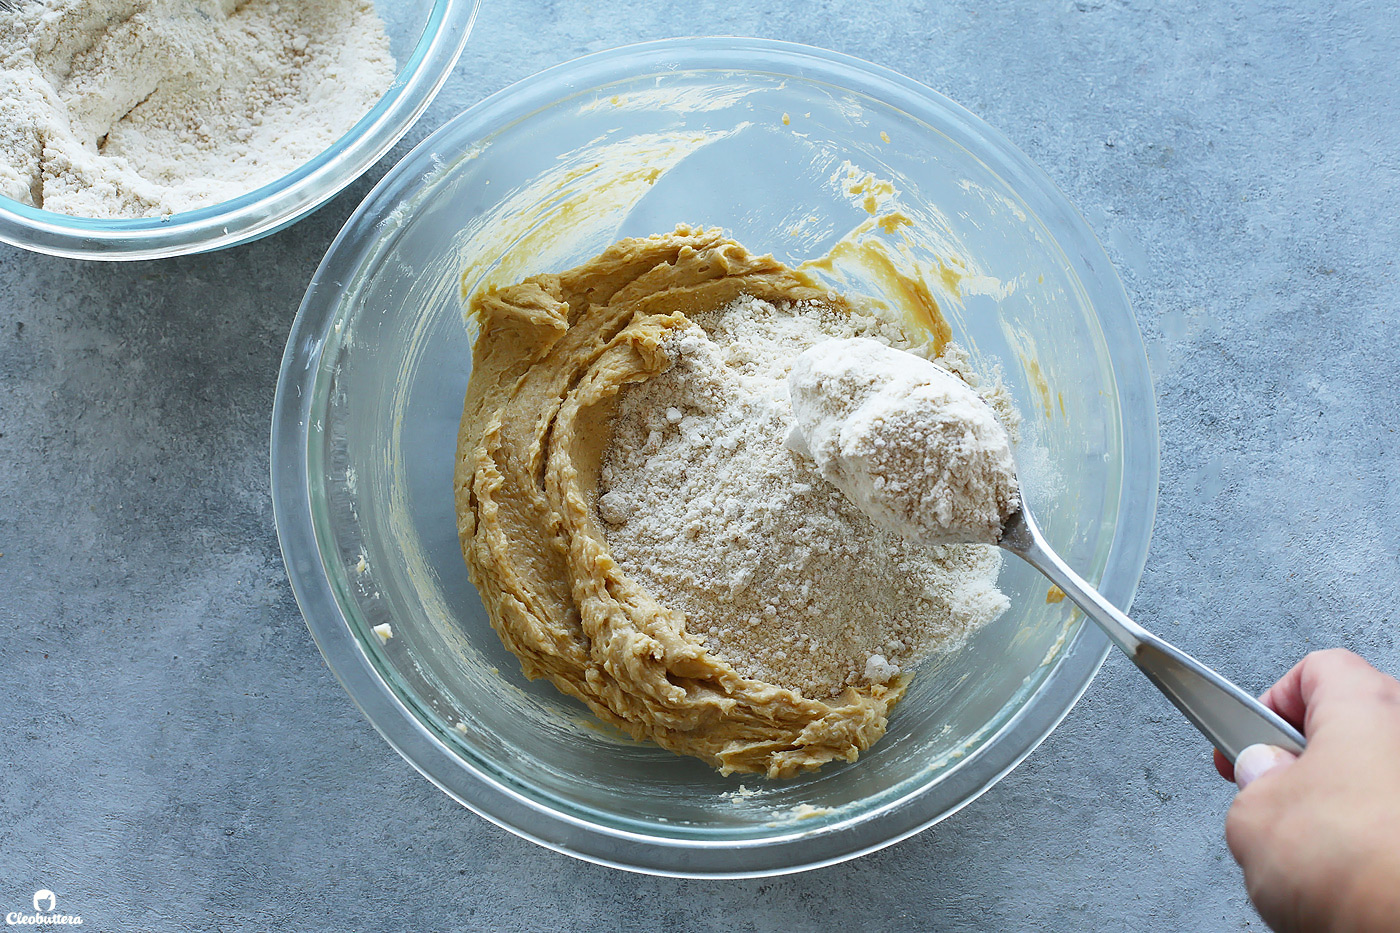
And mix until crumbly.
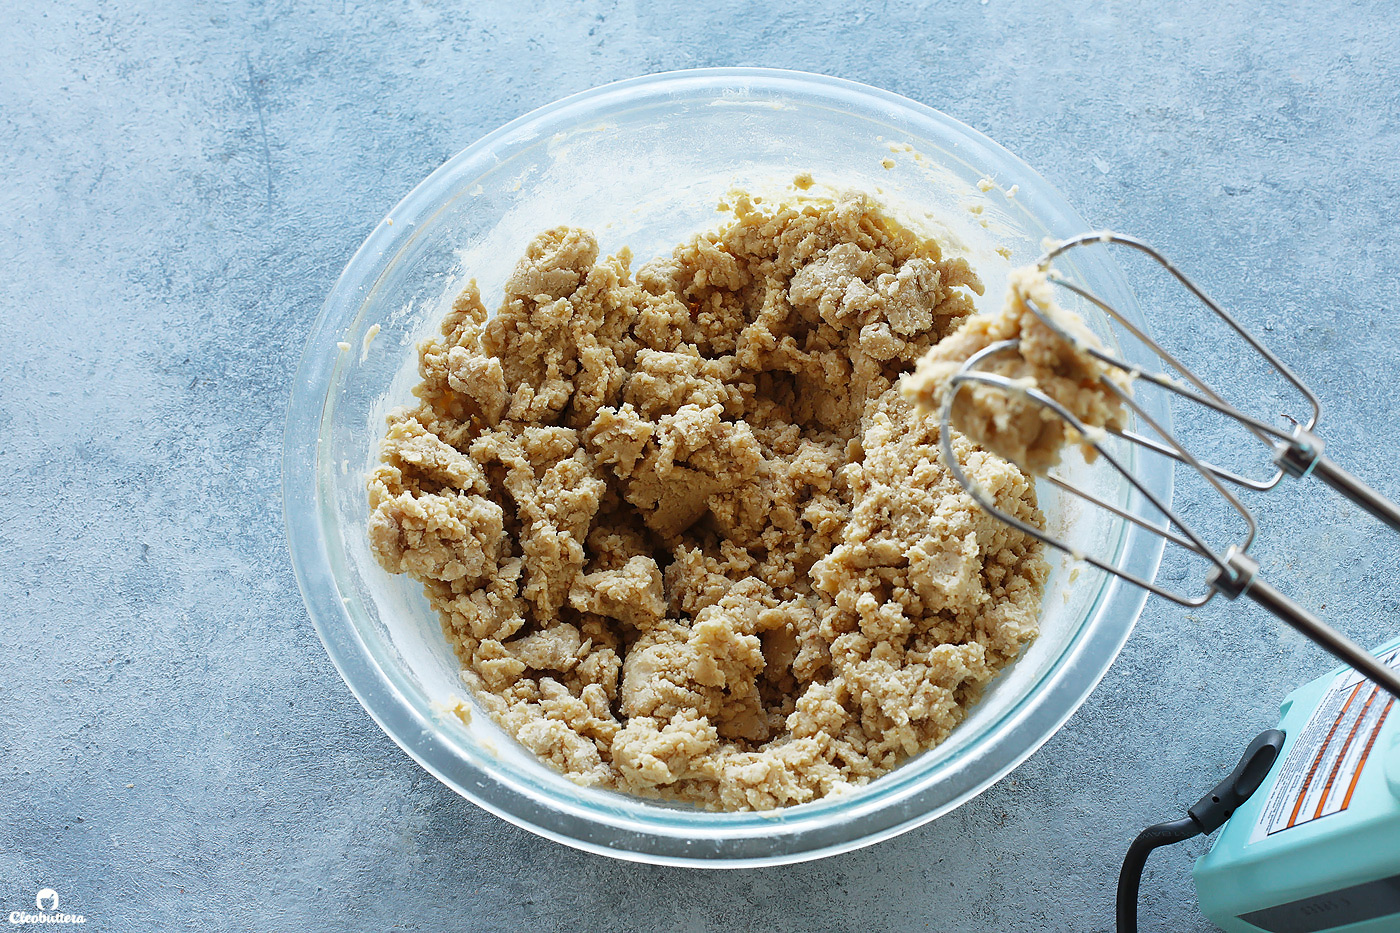
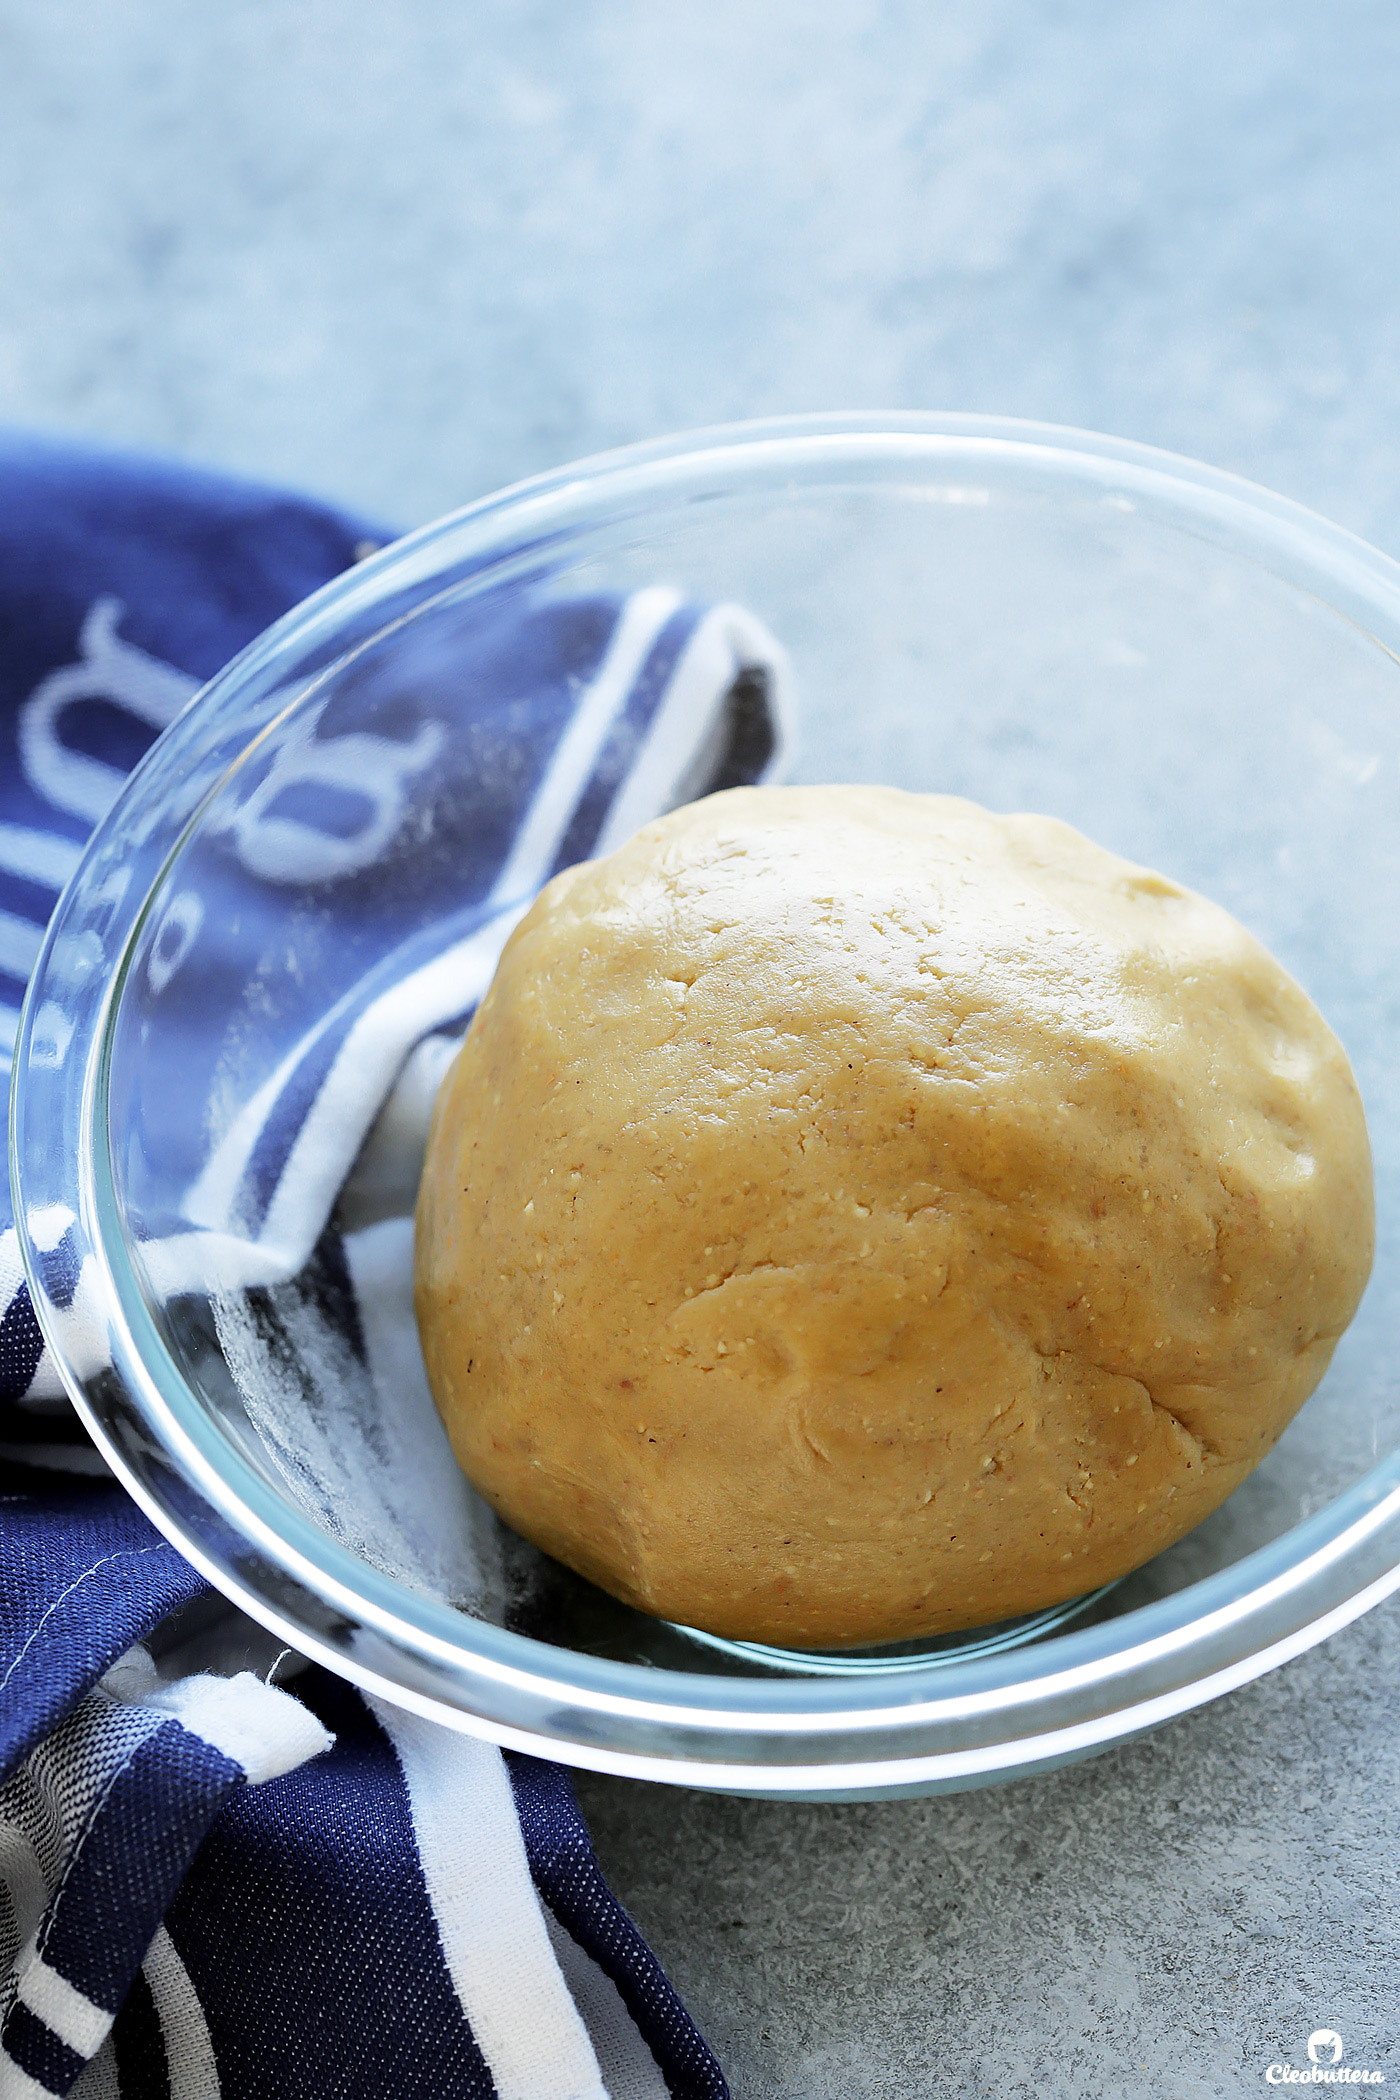
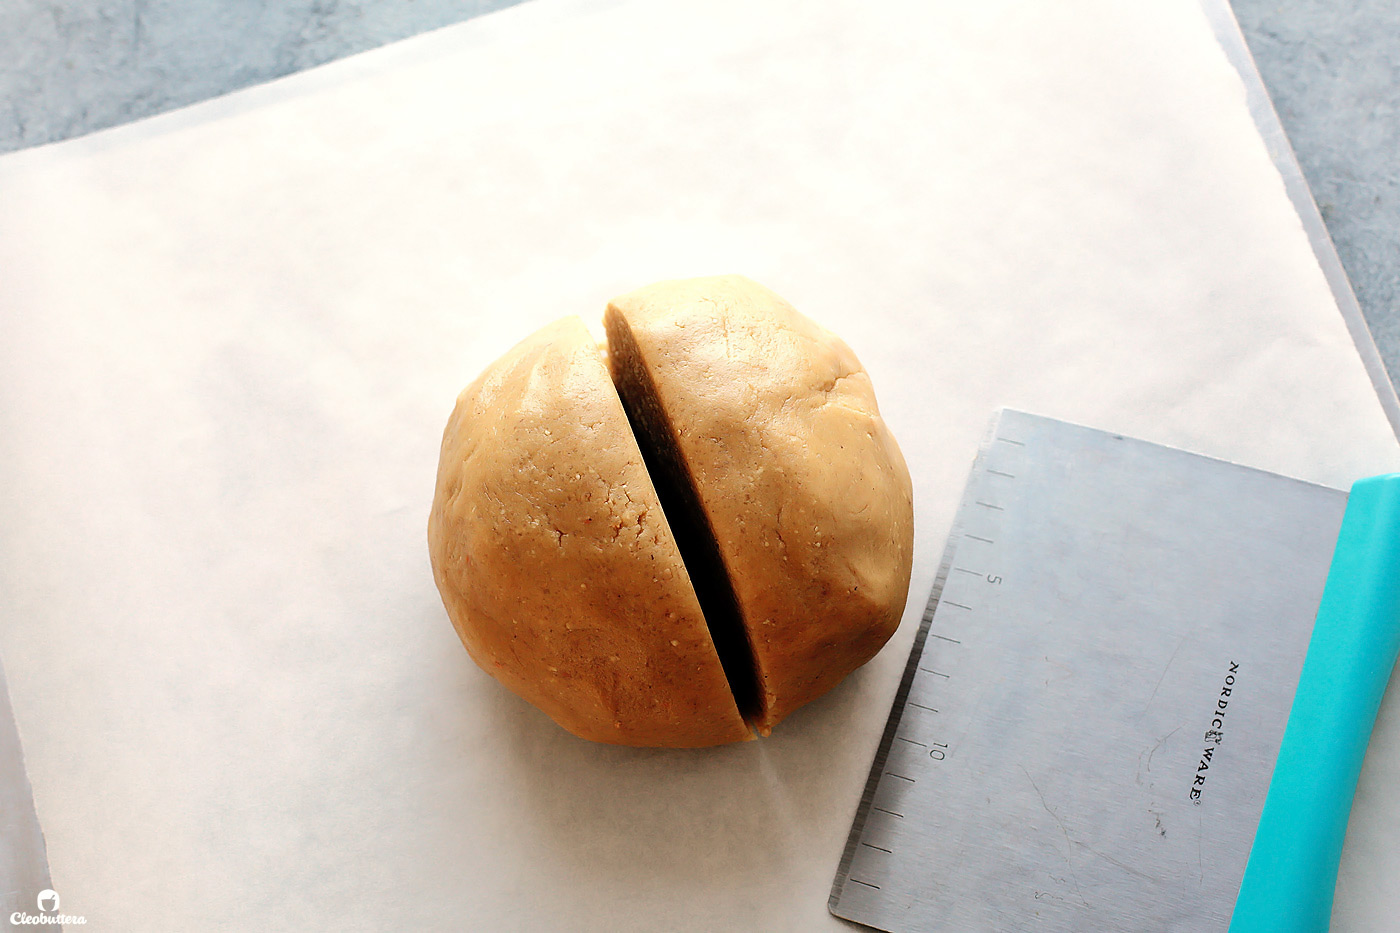
You’ll then gather the dough into a smooth, taut ball, then using a sharp knife or bench scraper, cut it in half evenly.
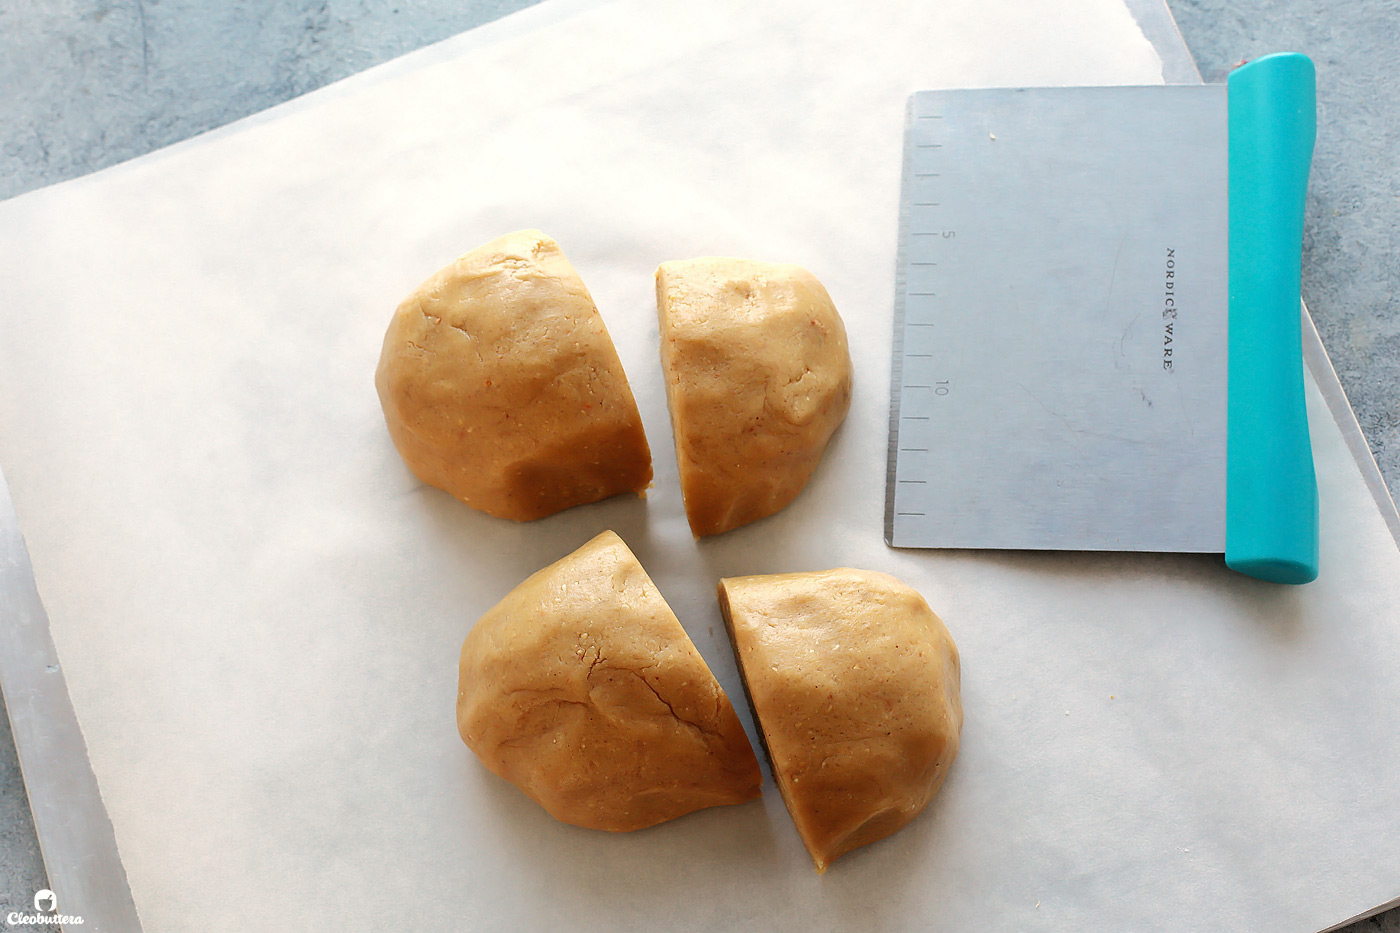
Then cut each half in half, but this time, make one slightly bigger than the other. You should now have 4 quarters of dough; 2 slightly larger, than the other 2.
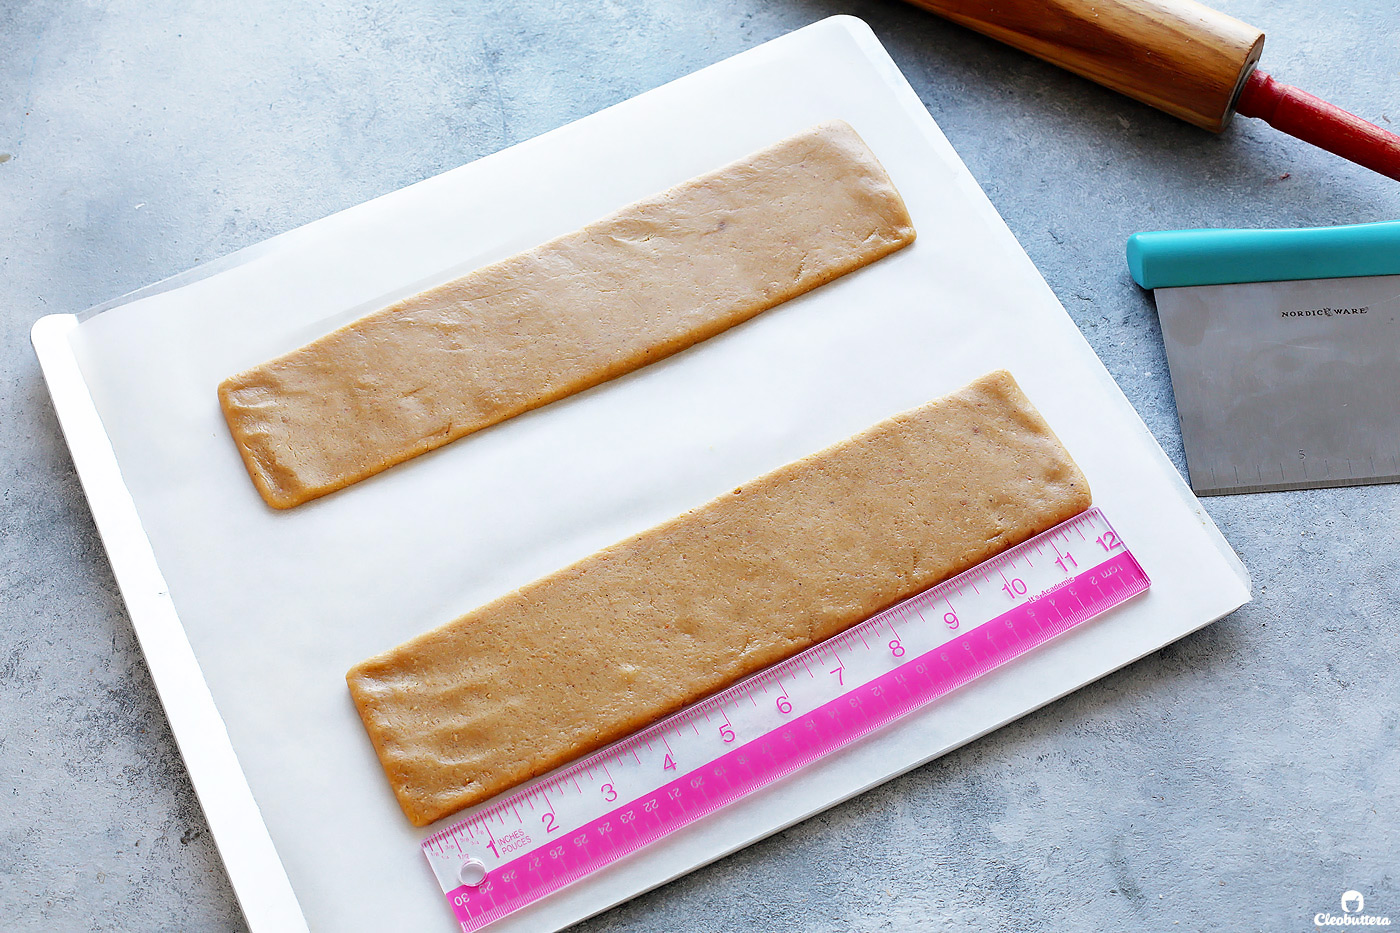
Pat and roll the smaller quarters of dough into 12″X3″ (30.5cm X 7.5cm) rectangles of even thickness. Use a bench scraper or the sides of ruler to straighten the edges of the rectangle.
Exact measurements are important here…so get that ruler out!
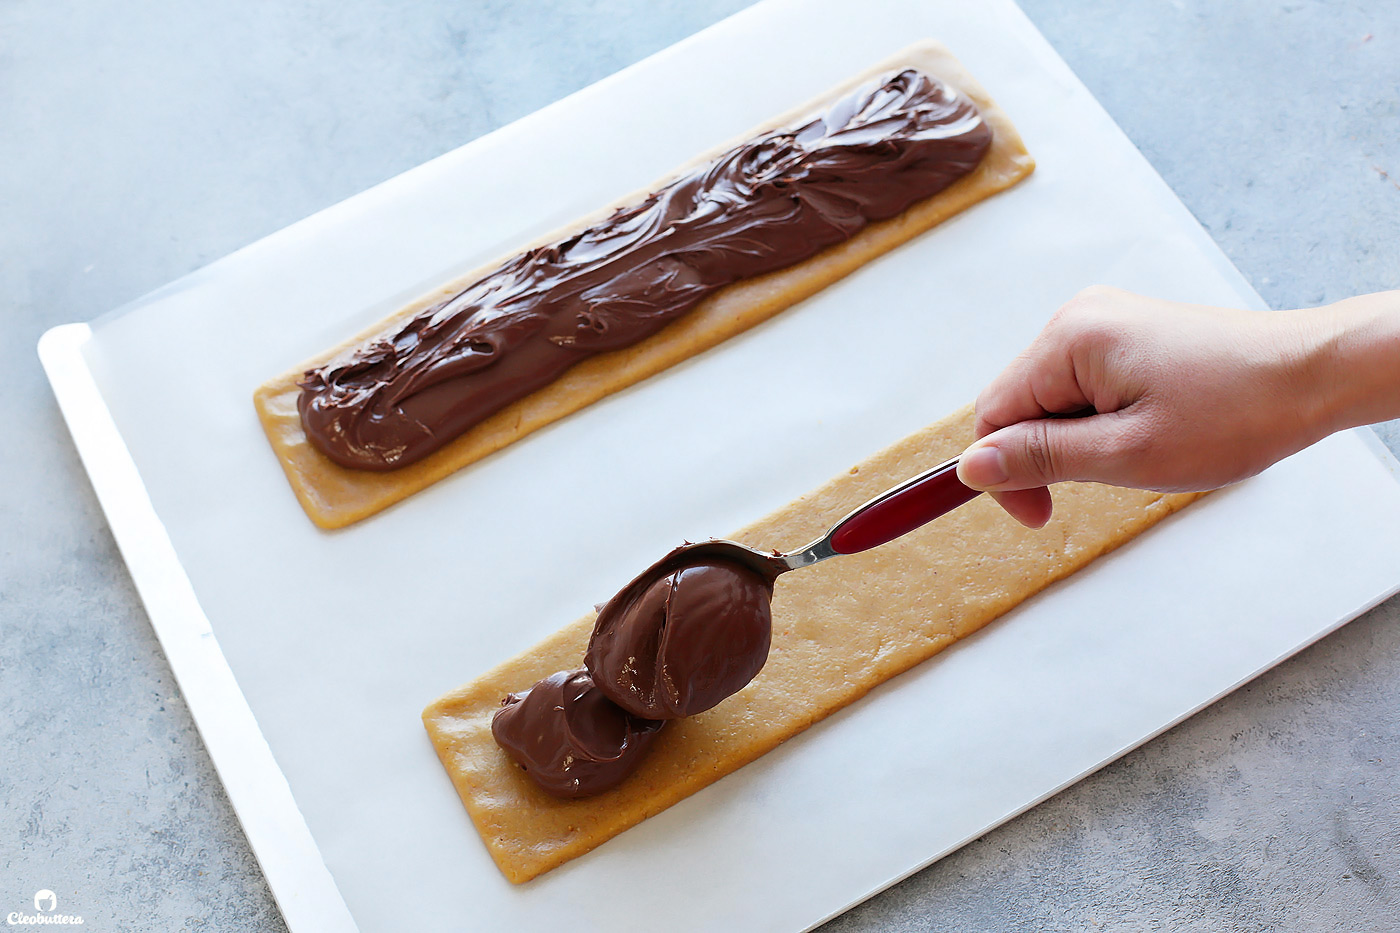
Then use a spoon or a piping bag to center the Nutella down the length of the dough, leaving a 1/2″ (1cm) border around the edges.
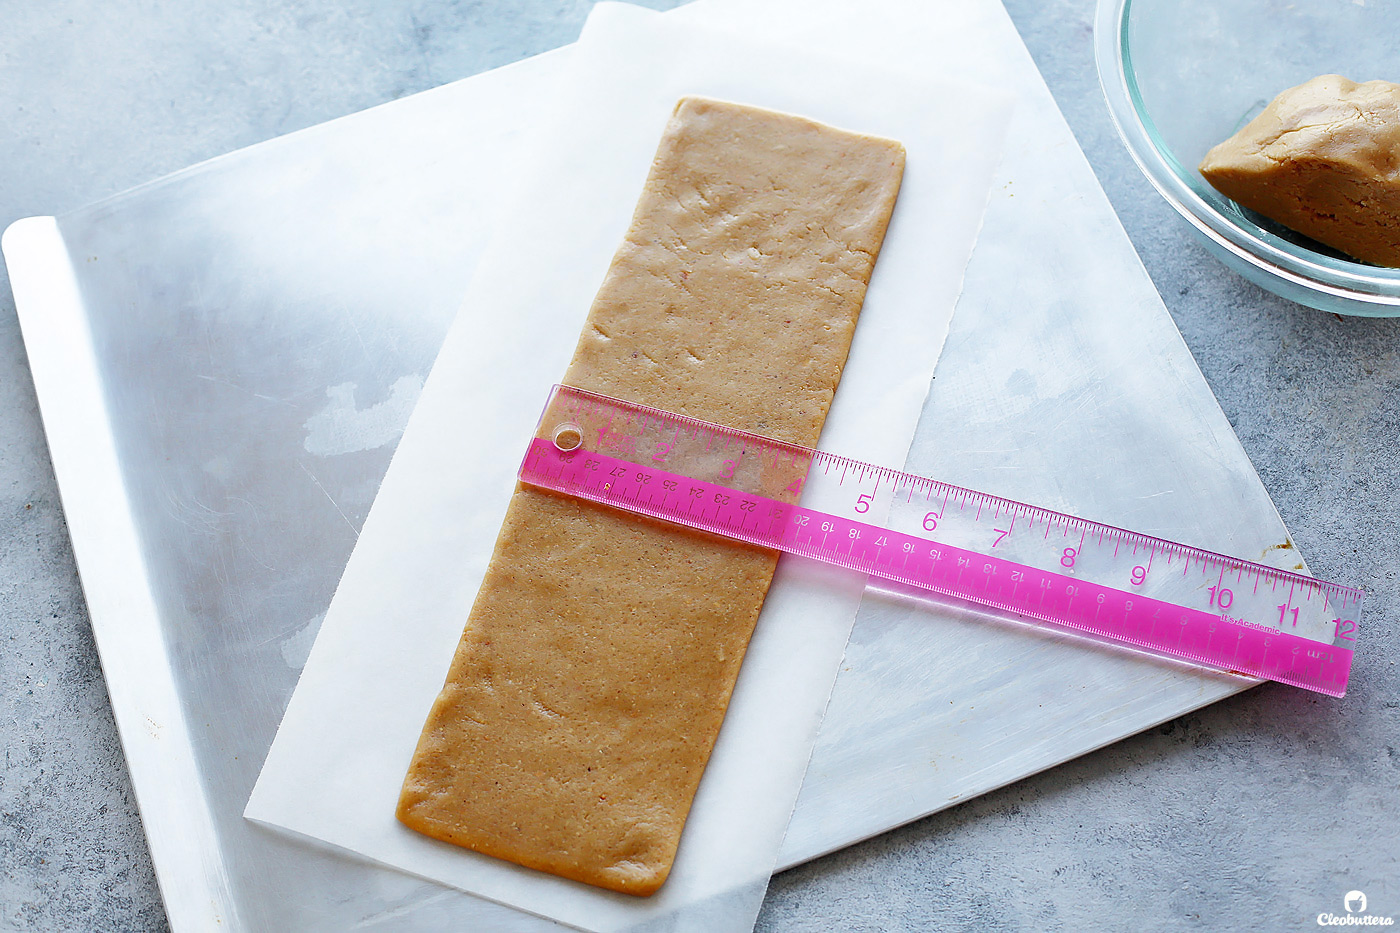
Remember those larger quarters of dough? Pat and roll those on top of a separate piece of parchment paper into a 12″X4″ (30.5cm X 10cm) rectangle.
With the dough sticking to the parchment, lift the parchment paper by its edges and use it to transfer the dough over the Nutella topped dough. Line the long side of both doughs together.
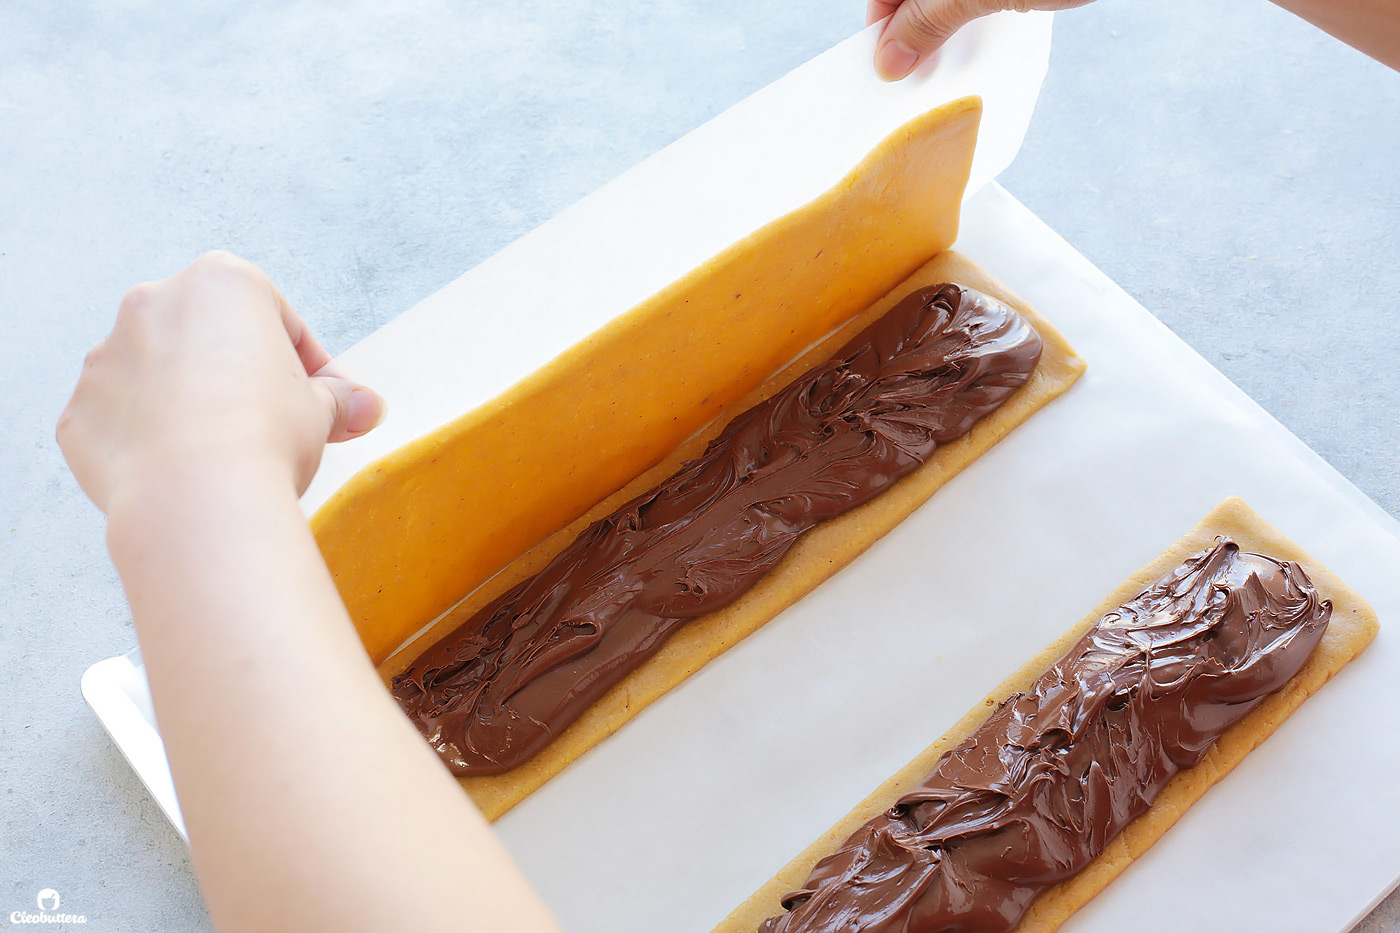
Then carefully place the empty dough over top the Nutella-topped dough.Peel off the parchment paper from the top dough.
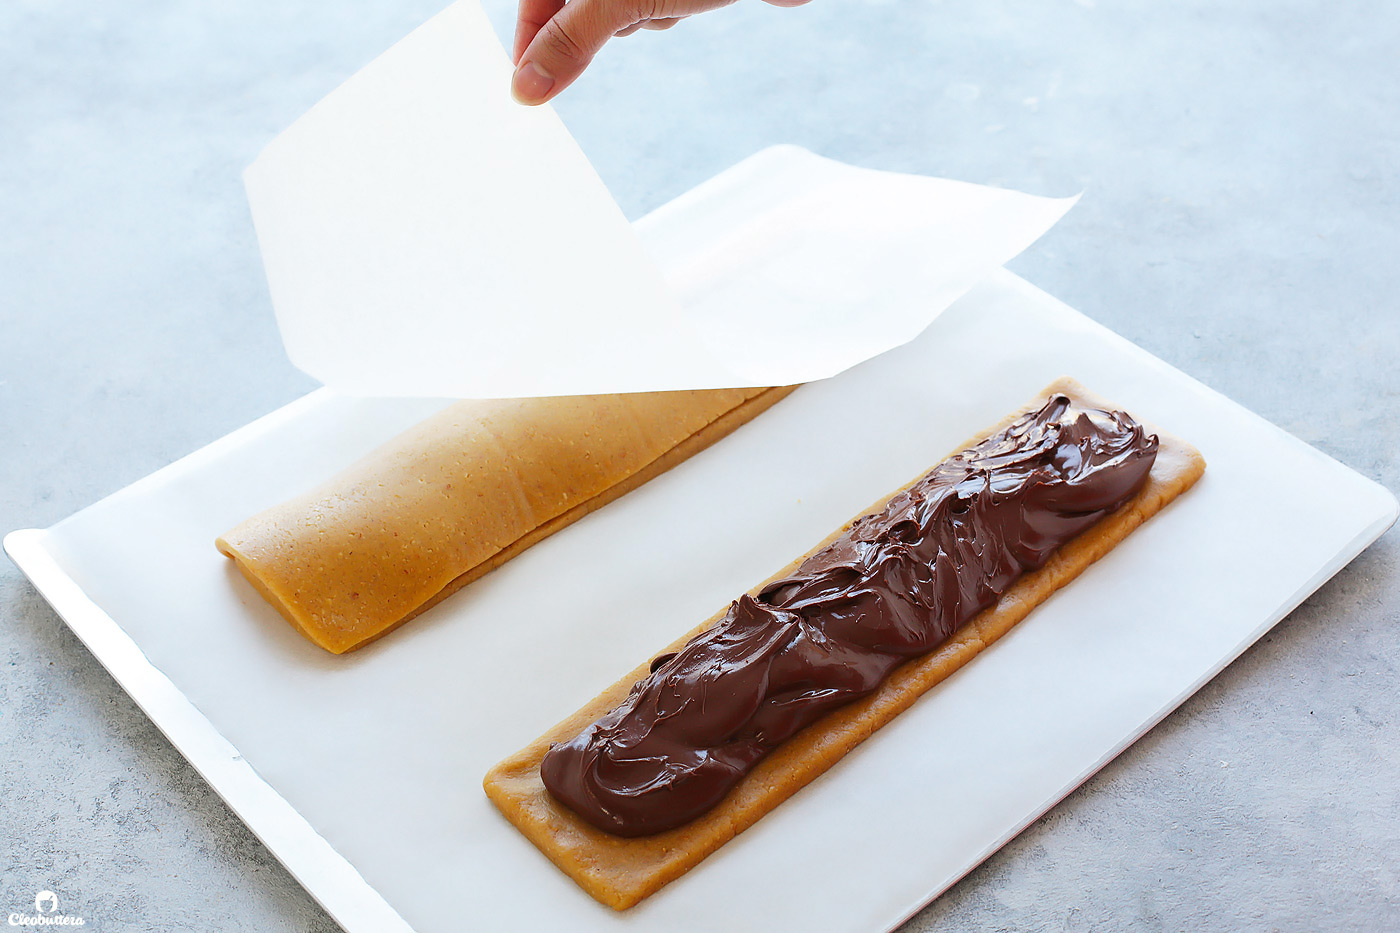
Then press all around the edges of the dough to seal shut.
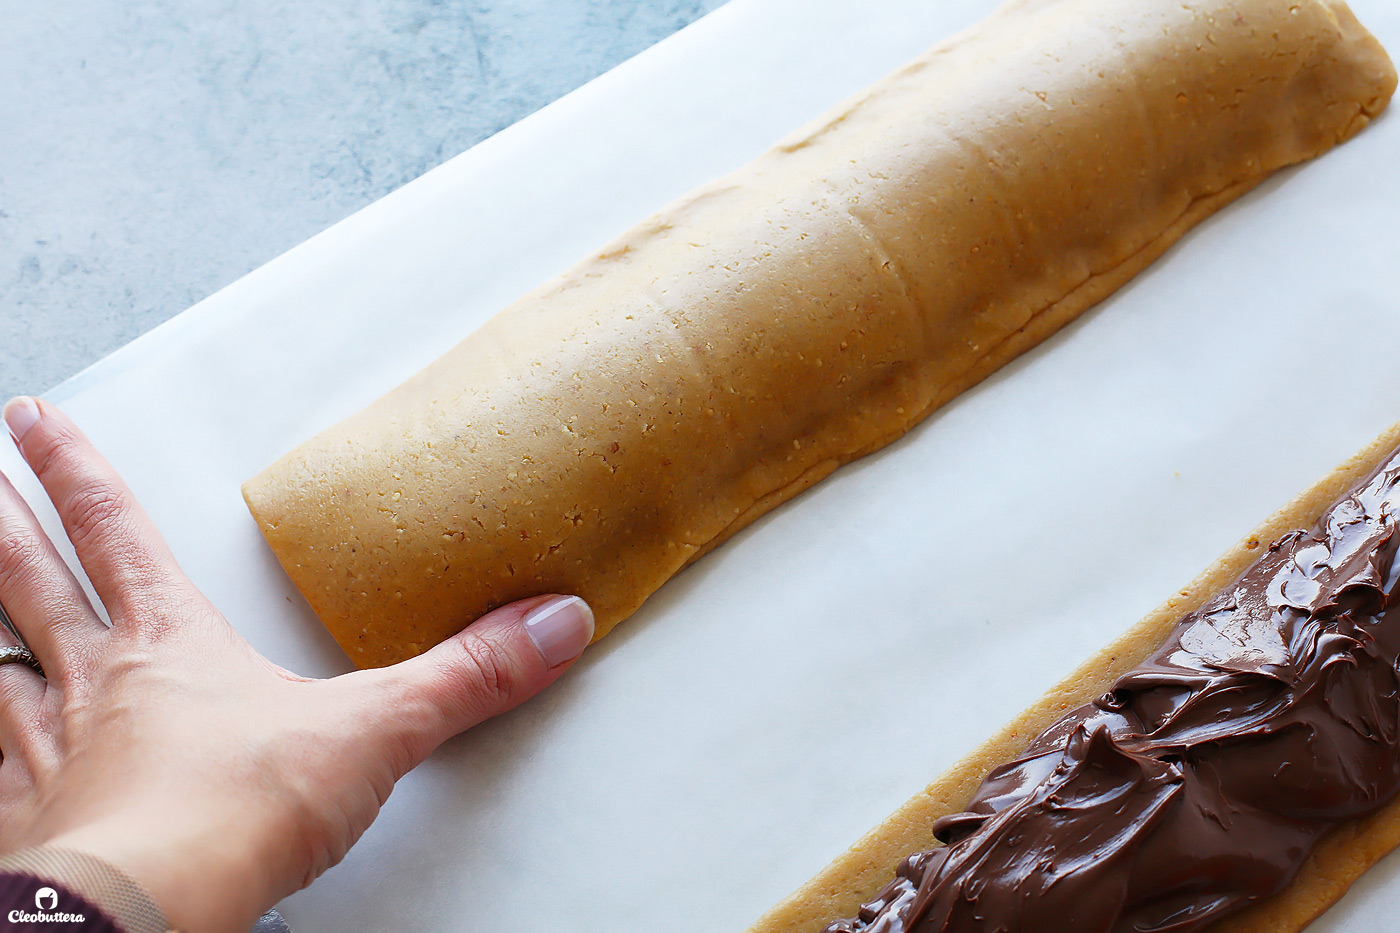
And now you have two very lame looking loaves of dough, with a very exciting surprise hiding in the center.
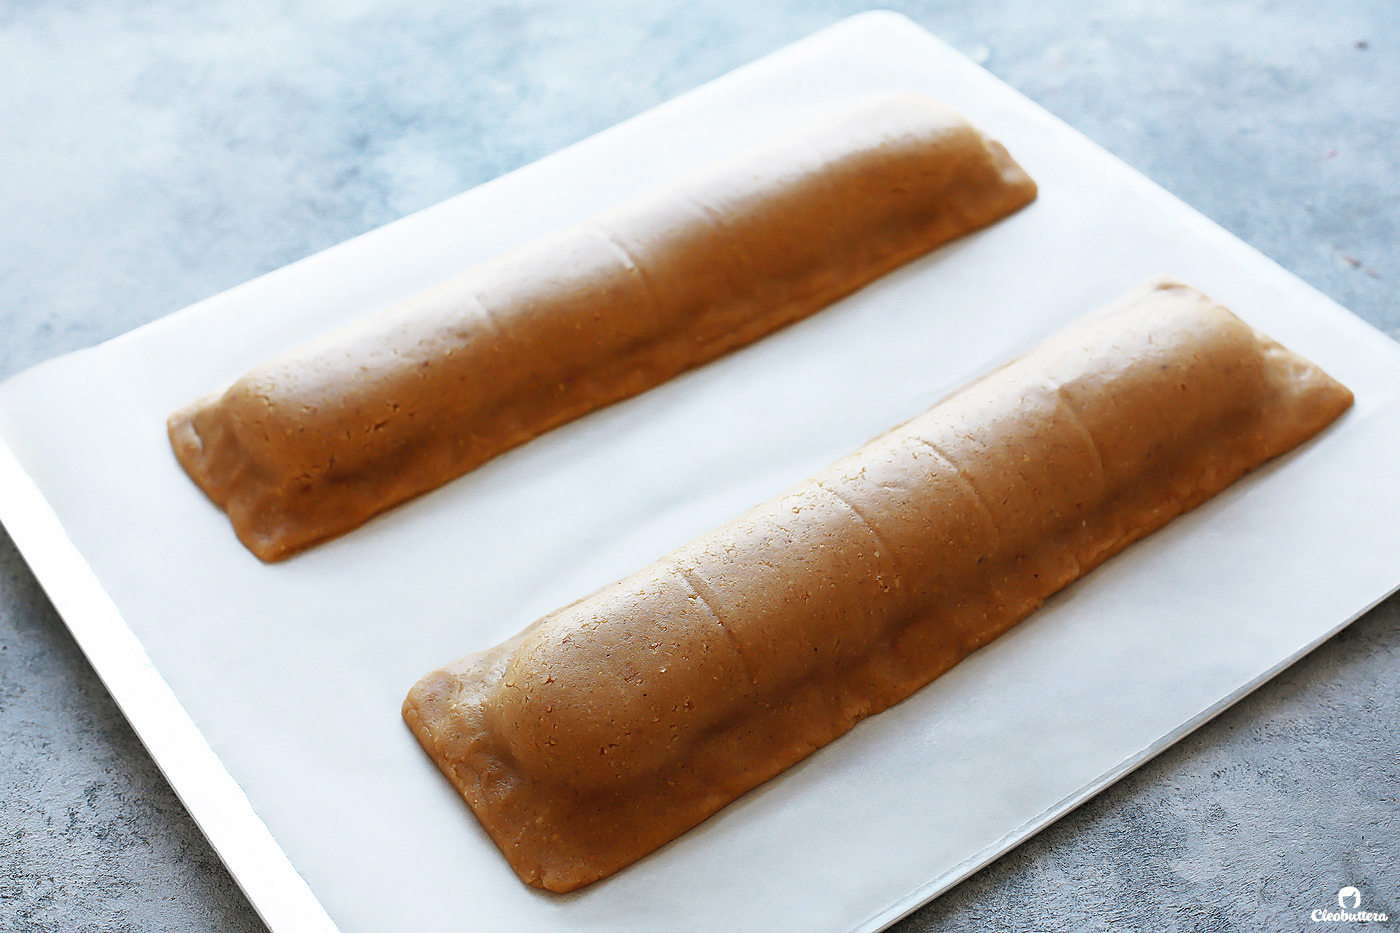
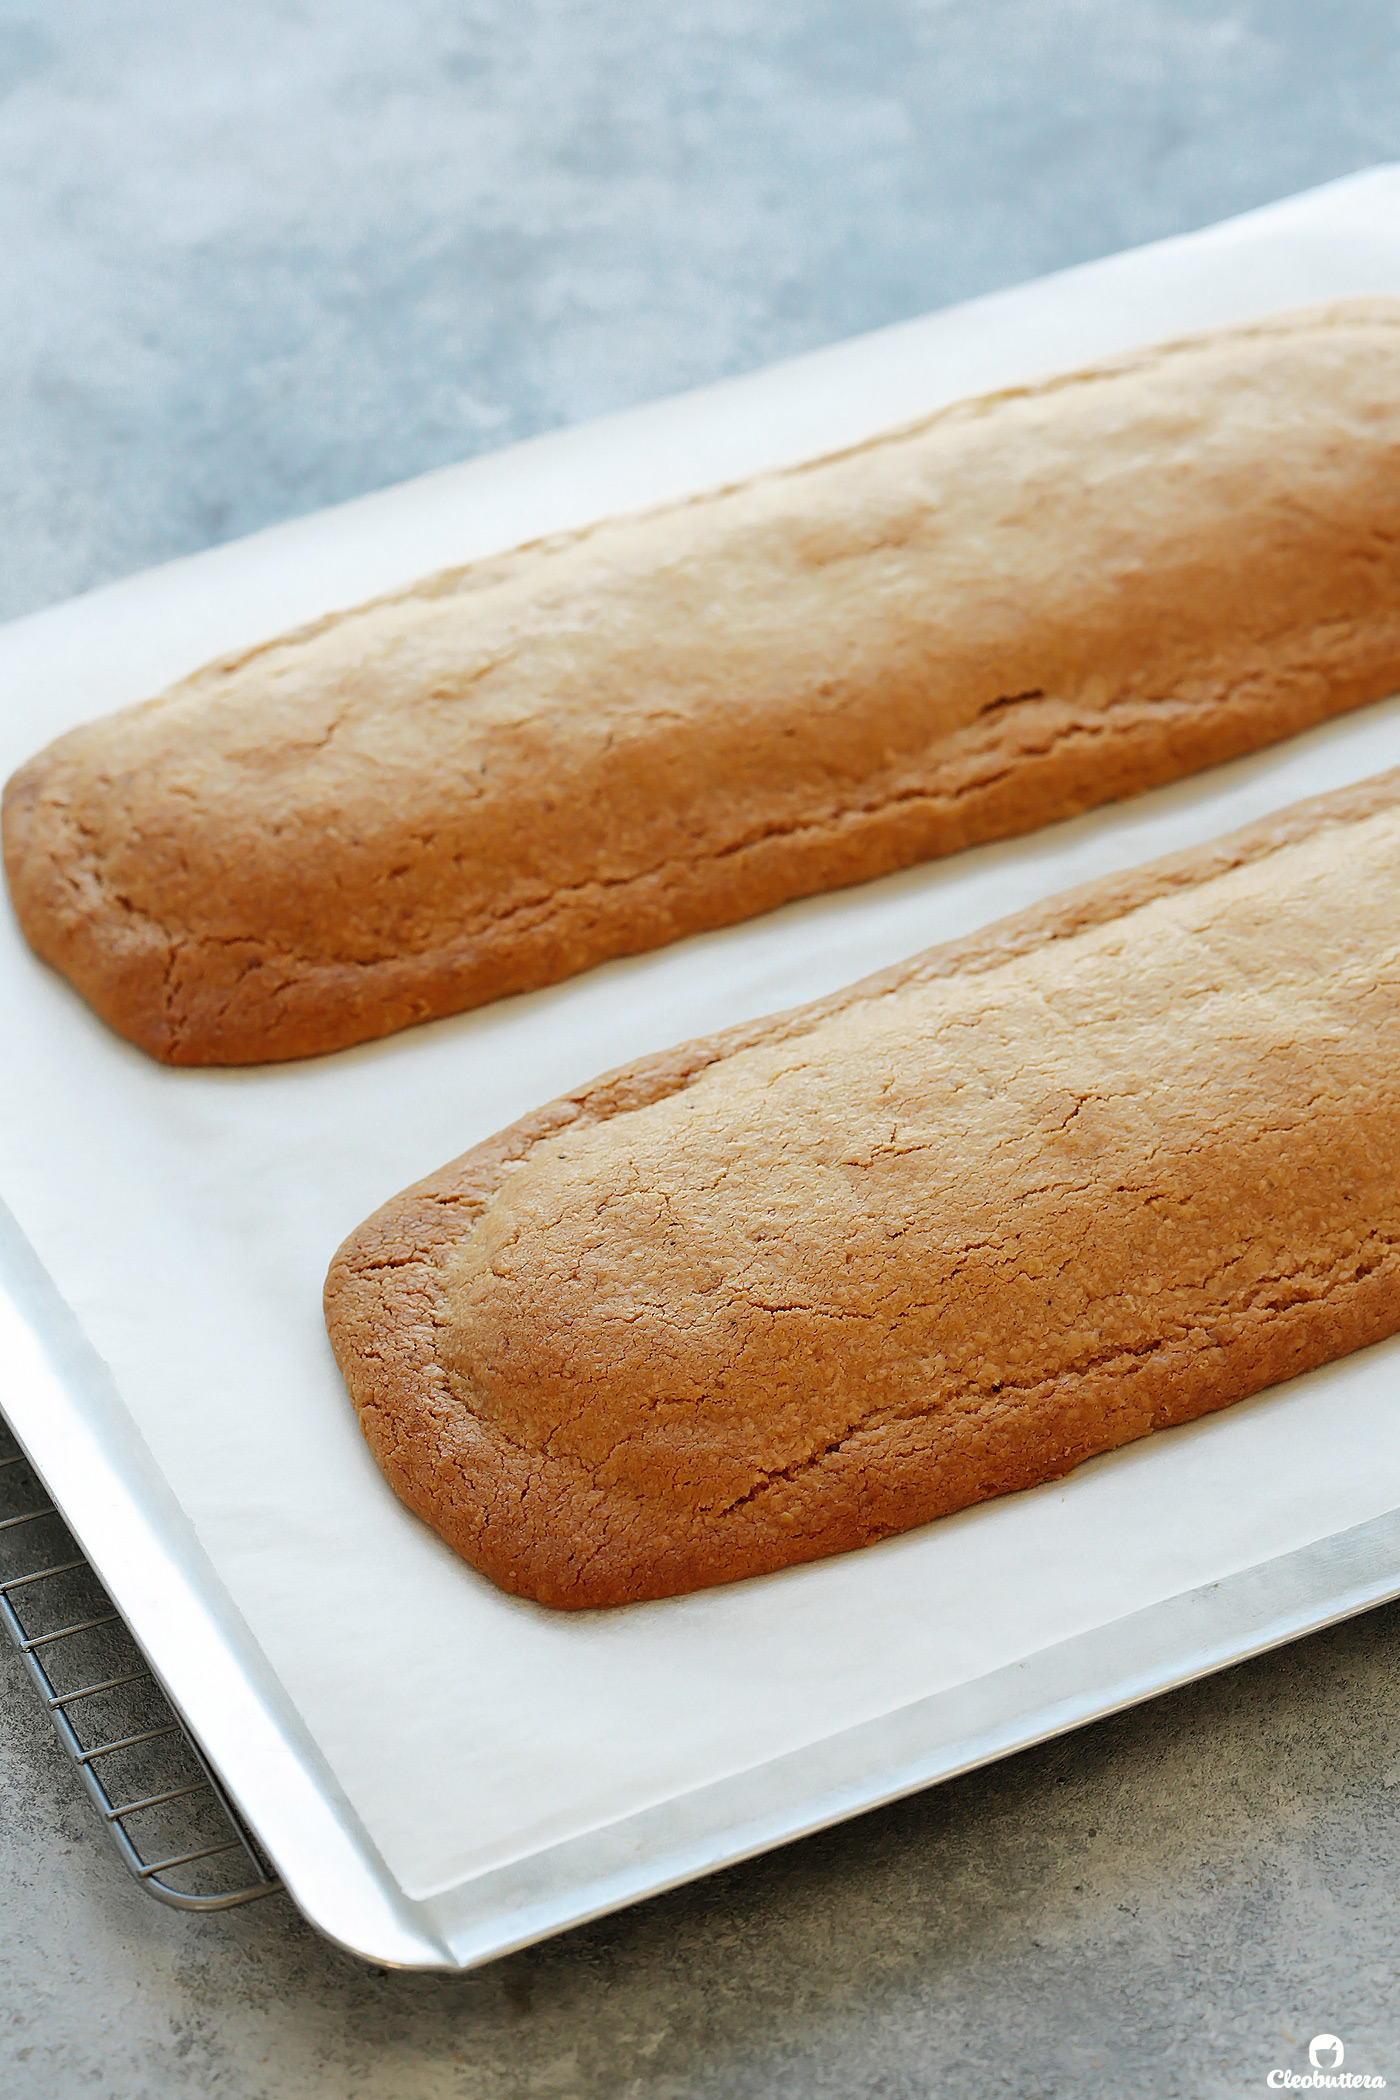
You’ll want to bake the loaves low and slow to give the dough a chance to bake all the way through.
At higher temperatures, the crust baked nicely, but the inside would turn dense and doughy. An oven temperature of 150C/ 300F proved to work best here. It will take about 40 to 45 minutes to bake in the oven.
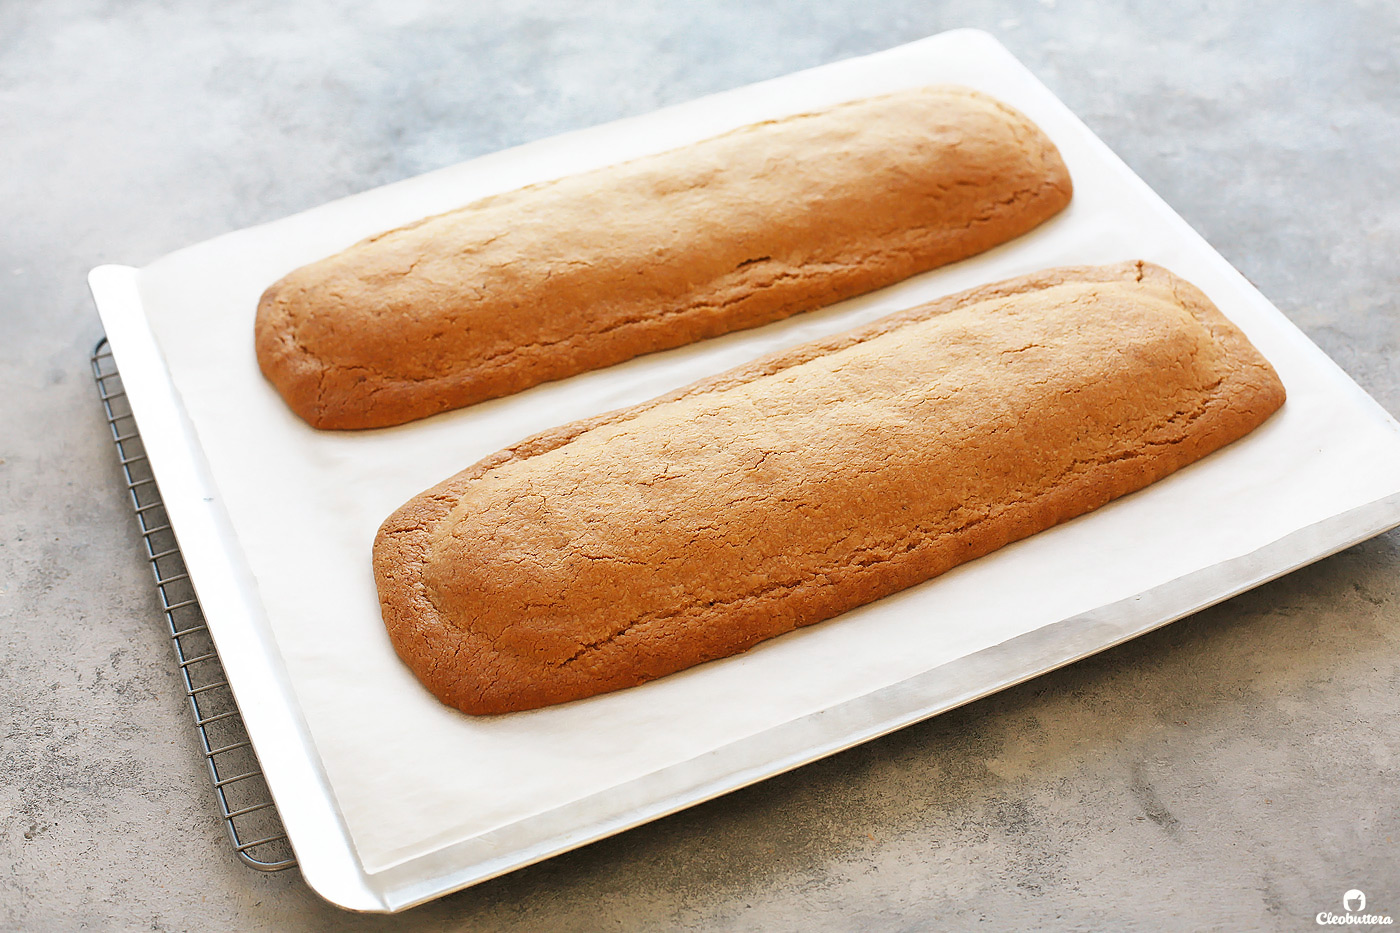
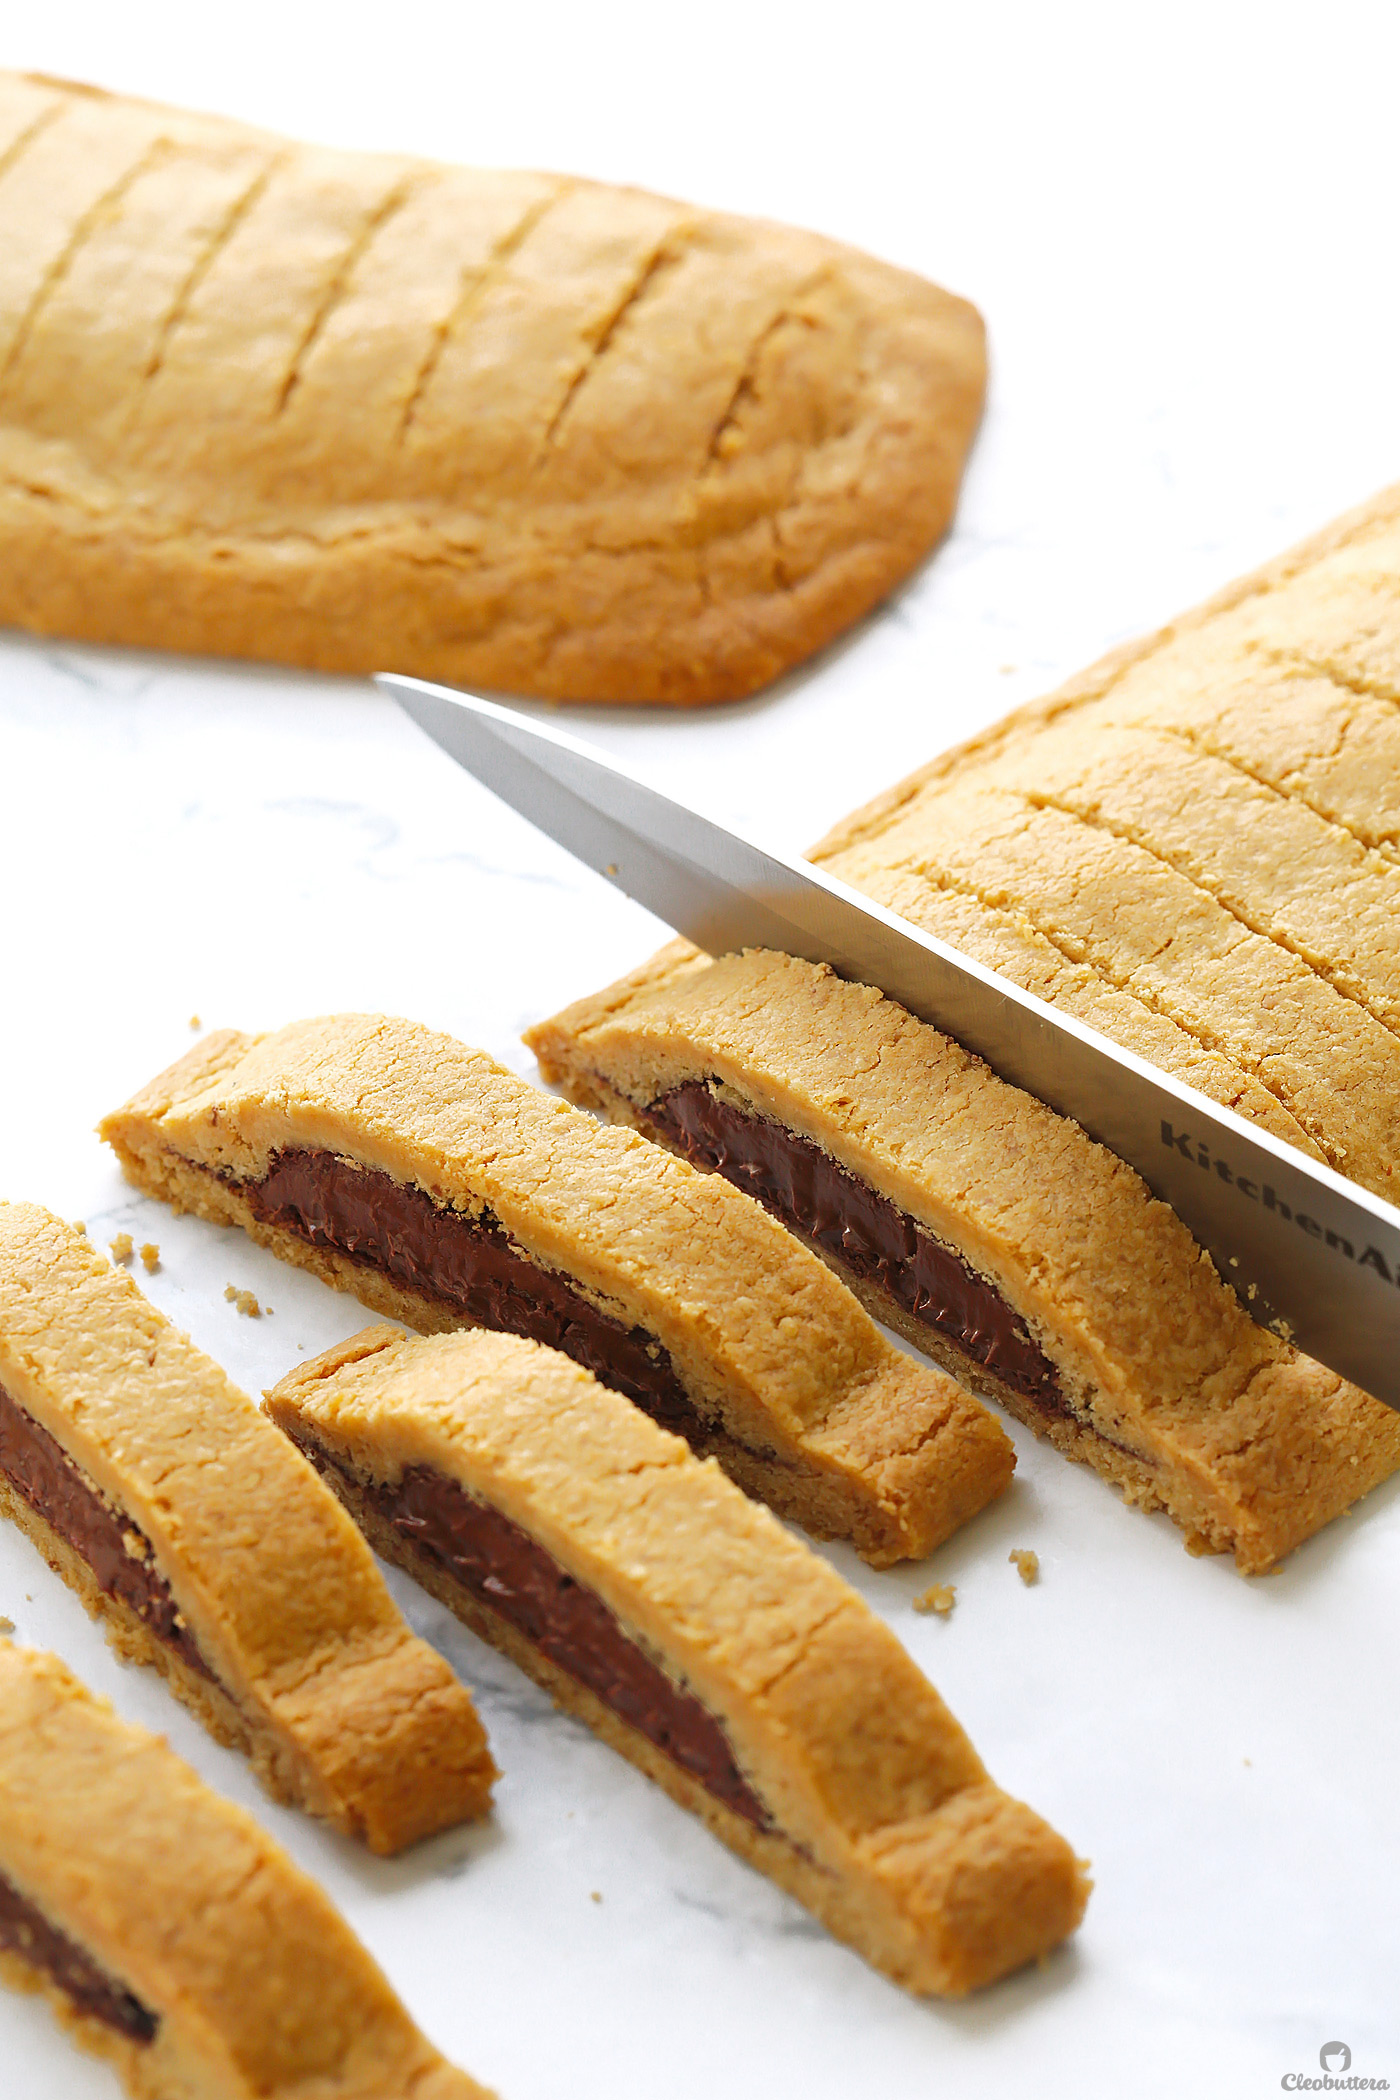
Allow the loaves to cool completely, then use a serrated knife, with a gentle sawing motion, to score each loaf’s surface into 1-inch-thick slices.
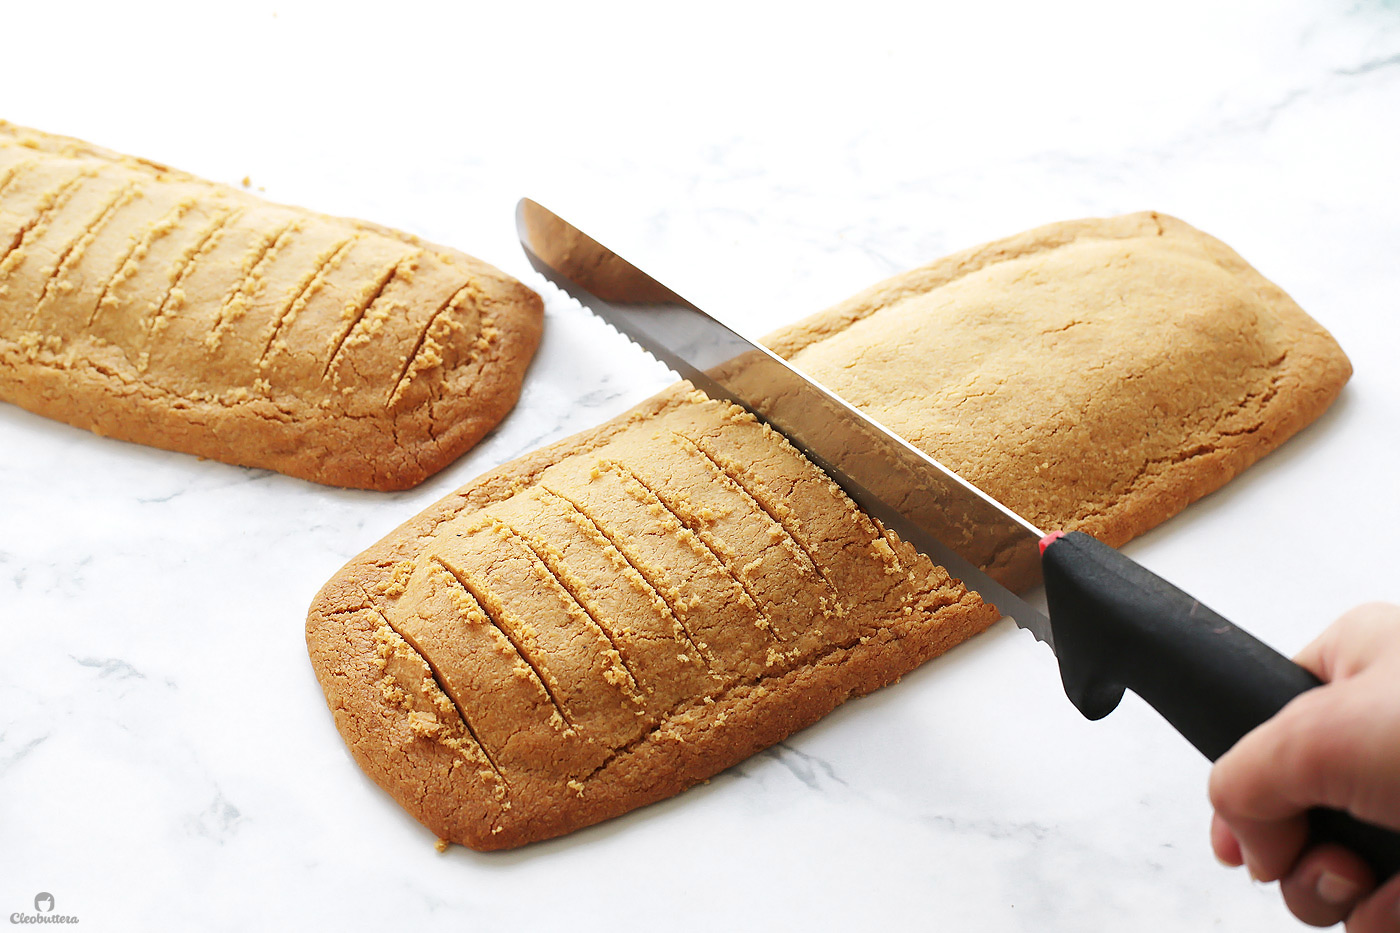
Then switch to a sharp chef’s knife, and cut through the scores using one, heavy press on the knife.
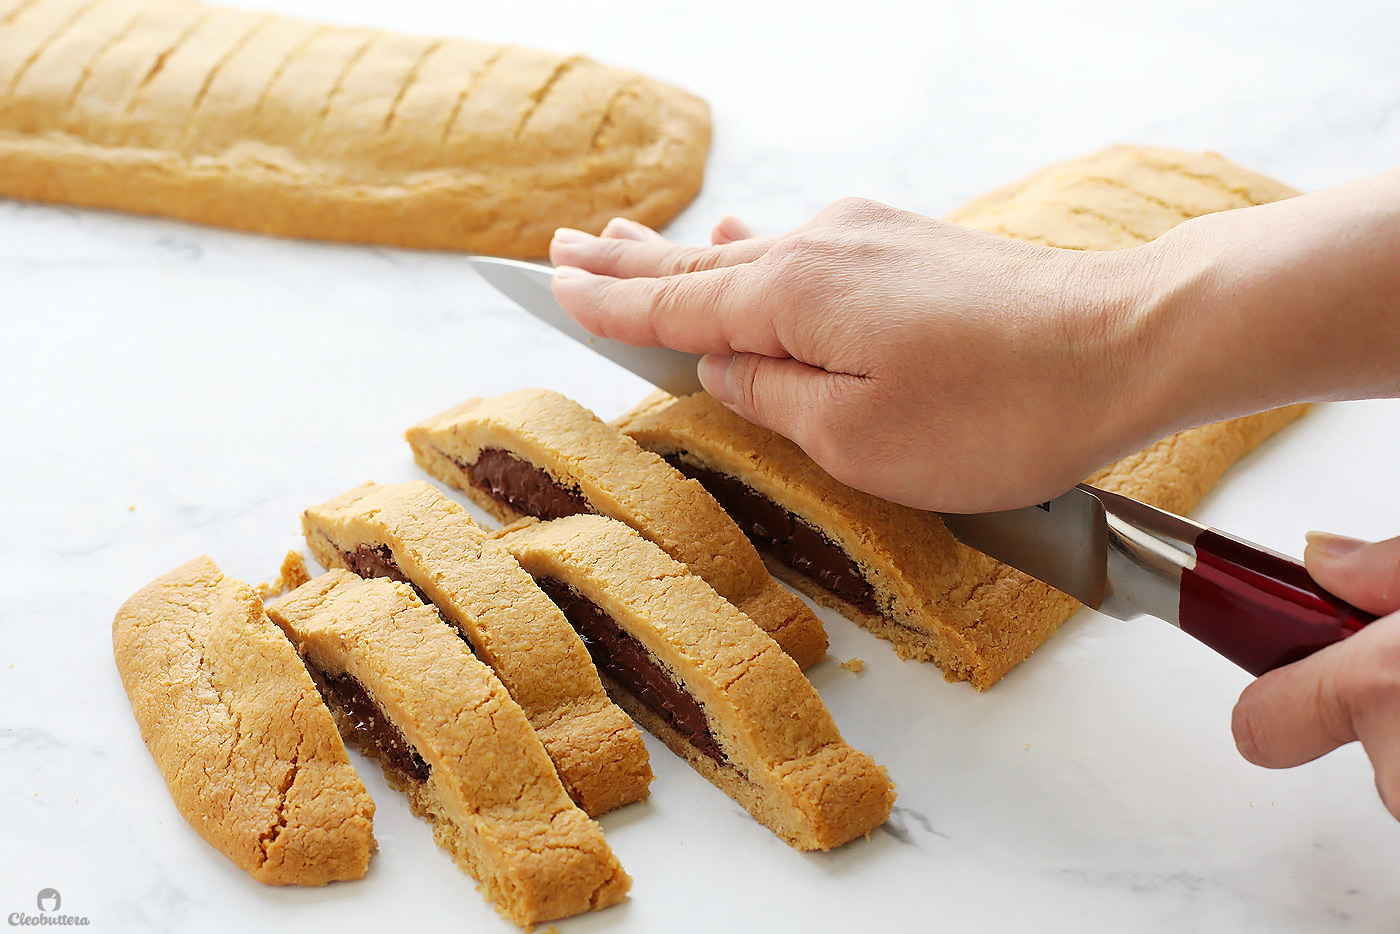
The baking will cause the Nutella’s consistency to thicken slightly to our advantage, so they won’t ooze out as they sit.
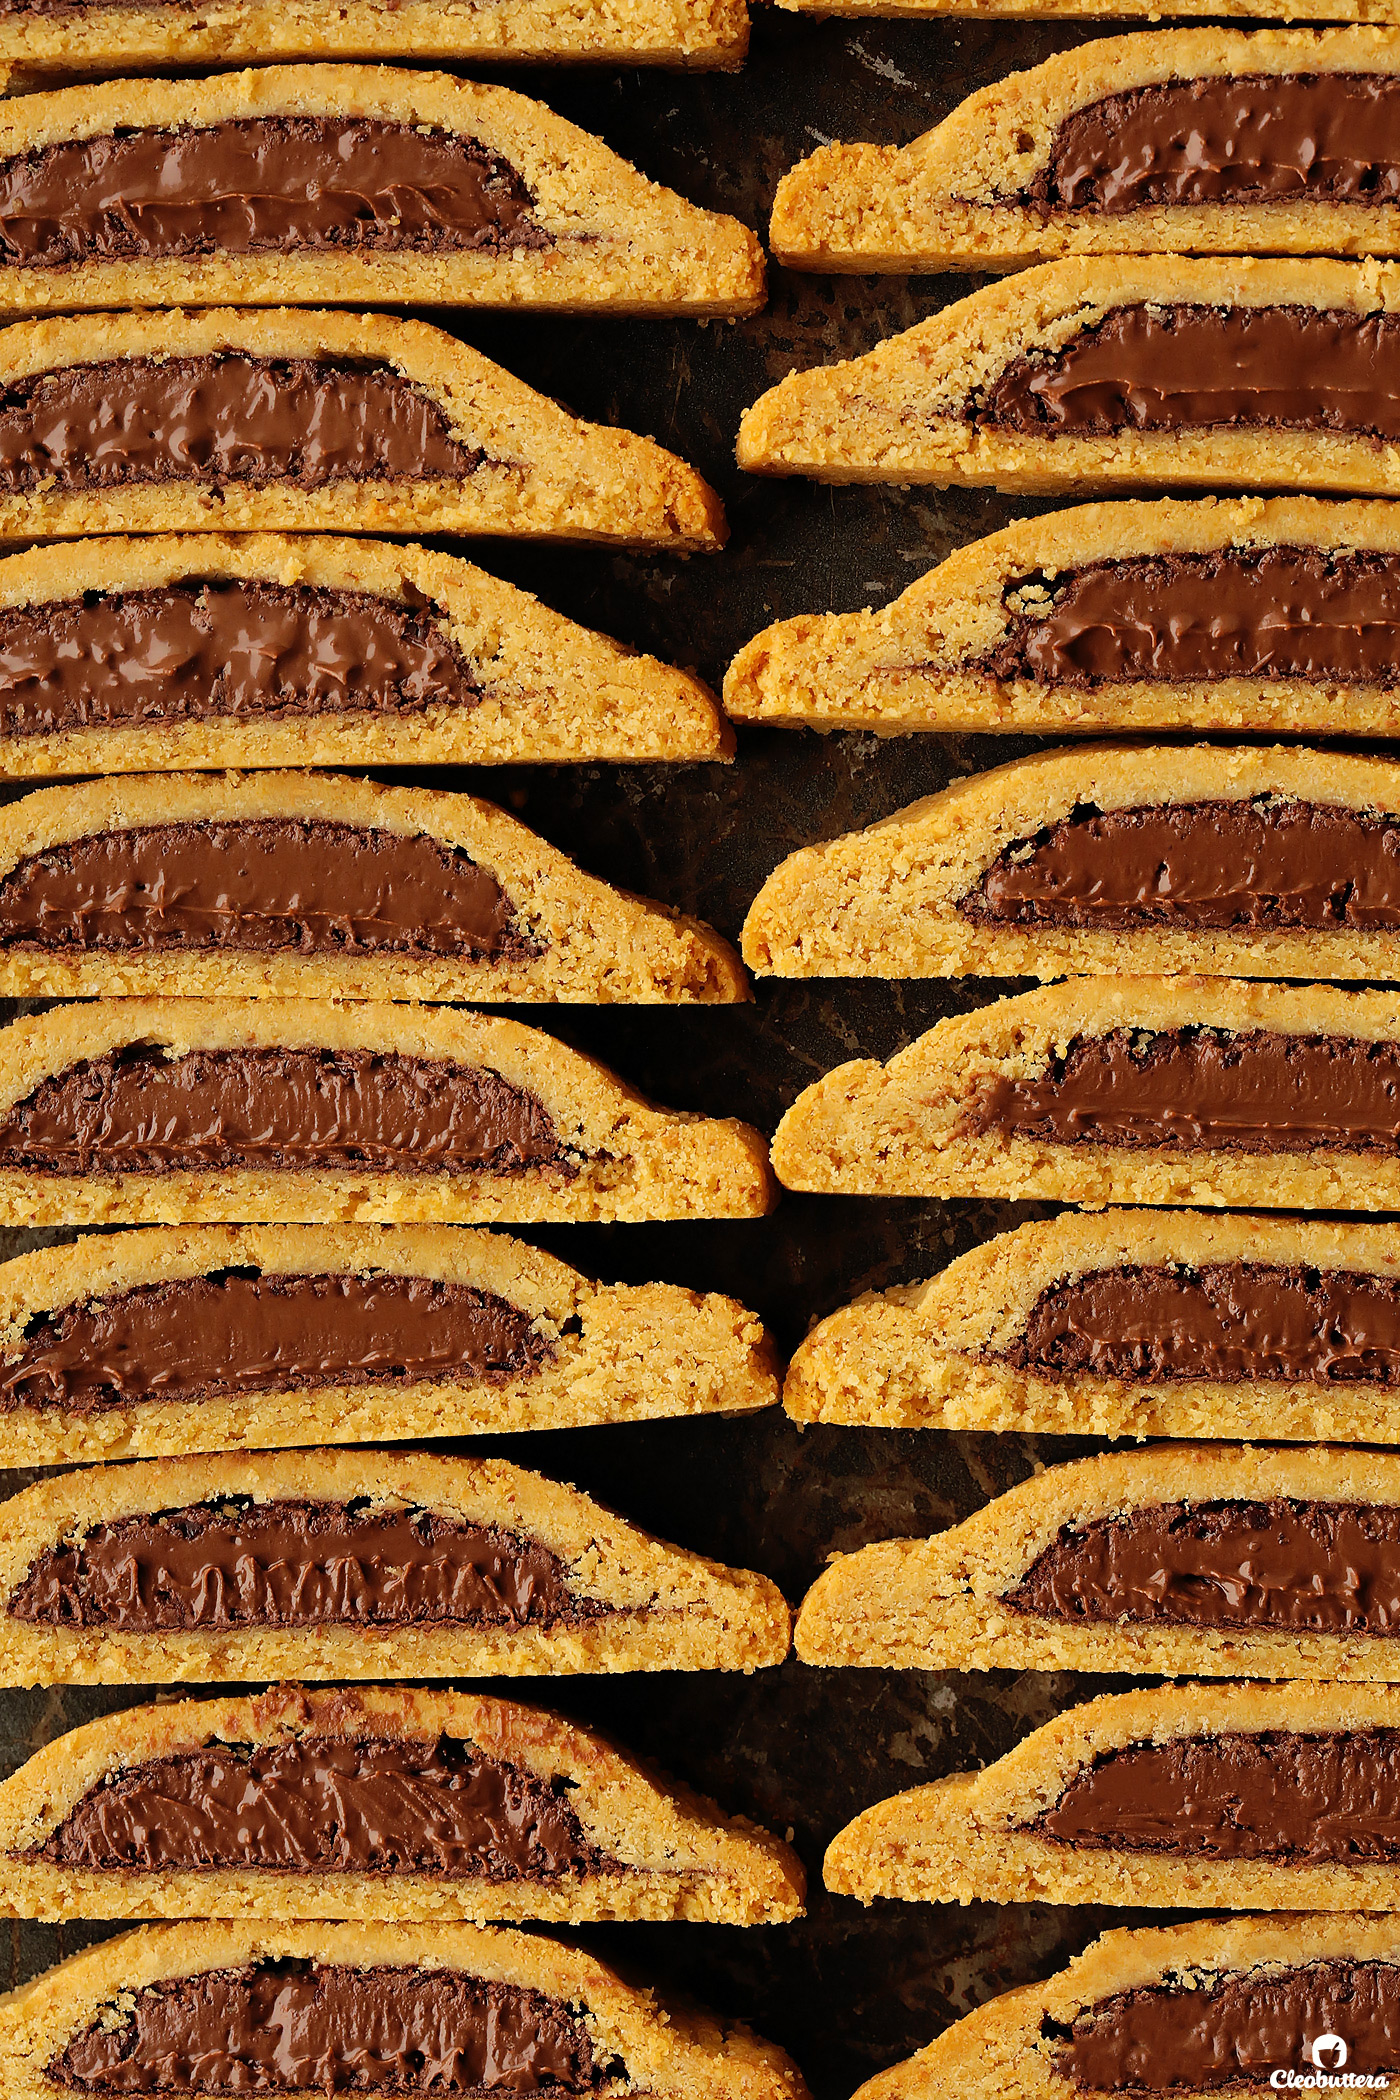
But they’ll still remain soft enough to the bite in the best way possible.
The cookies are incredible on their own…
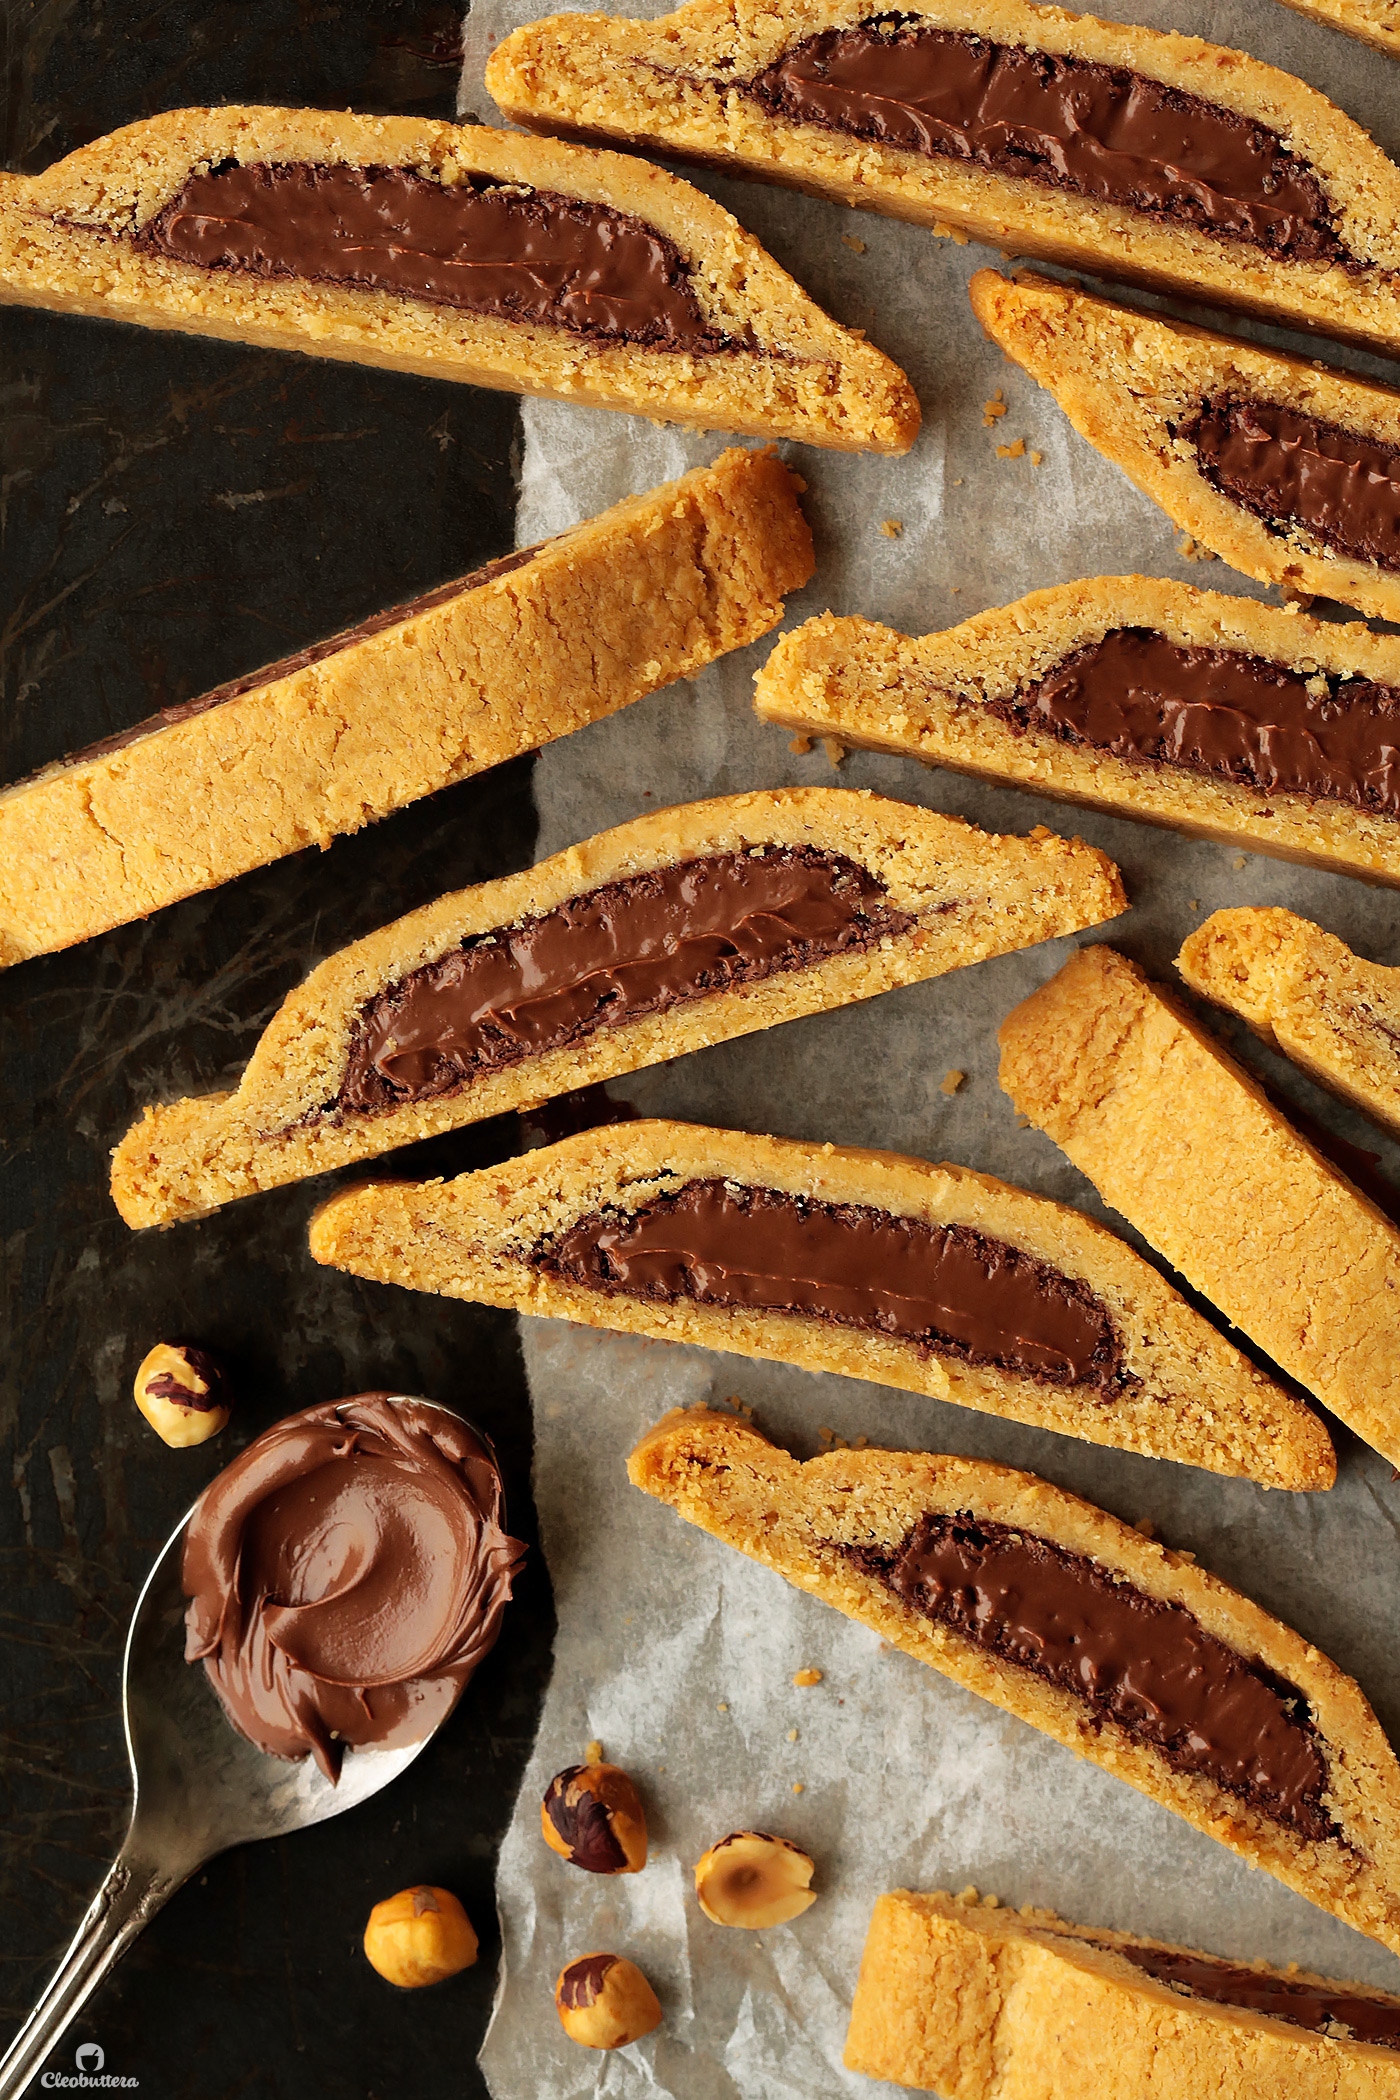
But dipping them in a hot drink, warms up the Nutella, softens up the cookie, and will make you shed a tear or two of joy.
 Enjoy my friends!
I hope you love these indulgent Biscotti as much we do! Or as my son calls them…Biscatti.
Nutella Biscotti

Hazelnut flavored biscotti filled with Nutella all the way through for the ultimate coffee break indulgence. These cookies will have everyone begging for more!
Ingredients
- 100g (about ⅔ cup) hazelnuts, skinned & toasted*
- 2½ cups (300g) all purpose flour (preferably weighed)*
- 1½ teaspoon baking powder
- ½ teaspoon salt
- ¾ cup (170g) unsalted butter, softened to room temperature
- ½ cup (100g) soft light brown sugar, packed
- ½ cup (100g) granulated sugar
- 2 large egg yolks, at room temperature
- 1 teaspoon vanilla extract (or 2 teaspoons if using imitation vanilla flavoring)
- 2 cups (460g) slightly cooled Nutella (a little more, a little less is also fine)*
Instructions
- Adjust oven rack to middle position and preheat oven to 150C/300C. Line a baking sheet (preferably rimless) with a sheet of parchment paper or a silicon mat.
- In a medium bowl, whisk together the flour, baking powder and salt to combine.
- Take a heaping ¼ cup of the flour mixture and place In the canister of a spice/coffee grinder or a food processor with the hazelnuts. (Do not crowd the grinder; so work in two batches if needed). Pulse the hazelnuts and flour together until the hazelnuts are very finely ground and powdery. Be careful not to over-process the mixture, to avoid turning the hazelnuts into hazelnut butter.
- Transfer the ground hazelnut/flour mixture to the bowl with the reserved flour. Whisk together until well combined.
- In the bowl of a stand mixer fitted with the paddle attachment (or in a large bowl and an electric hand mixer) beat together the butter, brown sugar, and granulated sugar on medium-high speed, until slightly lightened in both color and texture; about 2 minutes.
- Add in the egg yolks, one at a time, mixing after each addition until incorporated. Then beat in the vanilla.
- With the mixer running on lowest speed, gradually add in ground hazelnut/flour mixture and just combined. Mixture will be crumbly; do not overmix.
- Gather the dough into a smooth, taut ball, then using a sharp knife or bench scraper, cut in half evenly. Cut each half in half, but this time, make one slightly bigger than the other. You should now have 4 quarters of dough; 2 slightly larger, than the other 2.
- Pat one of the smaller quarters of dough into a long log on top of the parchment-lined baking sheet. Use a rolling pin, to roll out the log of dough into a 12"X3" (30.5cmX7.5cm) rectangle of even thickness. Use a bench scraper or the sides of ruler to straighten the edges of the rectangle. Use a spoon or a piping bag to center the Nutella down the length of the dough, leaving a 1cm border around the edges. Set aside; if working in a warm kitchen, keep in the fridge.
- Pat and roll one of the larger quarters of dough on top of a separate piece of parchment paper into a 12"X4" (30.5X10cm) rectangle. With the dough sticking to the parchment, lift the parchment paper by its edges and use it to transfer the dough over the Nutella topped dough. Line the long side of both doughs together, then carefully place the empty dough over top the Nutella-topped dough. Peel off the parchment paper from the top dough. Then press all around the edges of the dough to seal shut. Repeat with the other 2 quarters of dough.
- Bake until the dough loaves are deep golden in color and the edges are firm to the touch; 40 to 45 minutes. Allow the loaves to cool on top of the baking sheet until cool enough to handle without breaking; about 30 minutes. Carefully remove the loaves from the baking sheet and peel off parchment. Place the logs over a wire rack to cool completely without a hint of warmth; to speed things up, you can cool them in the refrigerator.
- Transfer the loaves to a cutting board. Using a serrated knife, with a gentle sawing motion, score each loaf's surface into 1-inch-thick slices. Then switching to a sharp chef's knife, cut through the scores using one, heavy press on the knife.
- Serve with coffee or tea; dipping them in the hot drink, if desired. Store leftover in an airtight container.
Recipe Notes
- If you can't find readily skinned and toasted hazelnuts, here's how you can prepare them. Place hazelnuts in one layer on a baking sheet and toast in a 180C(350F) oven for 10 to 15 minutes, or until very fragrant, the nuts turn golden and the skins are blistered. Wrap the nuts in a kitchen towel and let steam for 1 minute. Rub the nuts vigorously in the towel to remove loose skins. It's ok if some of the skins don't come off. Cool completely before using.
- Weighing ingredients, especially flour, is ideal in baking due to its consistency. If you don't have a kitchen scale to weigh the flour, use the Spoon & Sweep method: Use a spoon to lightly fill measuring cup with flour until required amount is obtained, then sweep access with the back of a knife.
- Slightly cooled Nutella makes for a mess-free process, because it doesn't run over the dough. So stick the jar of Nutella in the fridge as you prepare the biscotti dough.
- It's important not to over-crowd your grinder with the flour/hazelnut mixture, as that can risk it turning into hazelnut butter. Divide the process over 2 increments if needed. This shouldn't be an issue if you're using a food processor, but ultimately, a coffee/spice grinder will give you the finest grind.
Idea inspired by La Dolce Vita in Oakville, Canada
Method slightly adapted from Whip Up Italian
Measurements Note: All recipes of this site have been developed using weight measurements. Although US volume measurements have been included for your convenience, it is highly encouraged that you weigh your ingredients using a kitchen scale to get the best possible results. Due to the sensitive nature of baking, kitchen scales are proven to yield more accurate and consistent results than measuring cups. Enjoy!
Nutrition Information:
Yield:
30Serving Size:
1 BiscottiAmount Per Serving: Calories: 196Total Fat: 10gSaturated Fat: 7gTrans Fat: 0gUnsaturated Fat: 2gCholesterol: 31mgSodium: 73mgCarbohydrates: 24gFiber: 1gSugar: 15gProtein: 3g
This post may contain affiliate links.
All images and content are owned by Cleobuttera® and are copyright protected. Please do not use my images without prior permission. If you would like to republish a recipe, please rewrite it in your own words and link back to the recipe page on my site. Original recipes and creations of this site are intended for personal and home use. Commercial replication or media consumption are only allowed with a written consent and agreement with Cleobuttera owners. Otherwise it is considered a violation of intellectual property. Thank you for respecting and appreciating the amount of time and effort that goes into creating free, unique recipes that make people happy.