No-Bake Oreo Cake
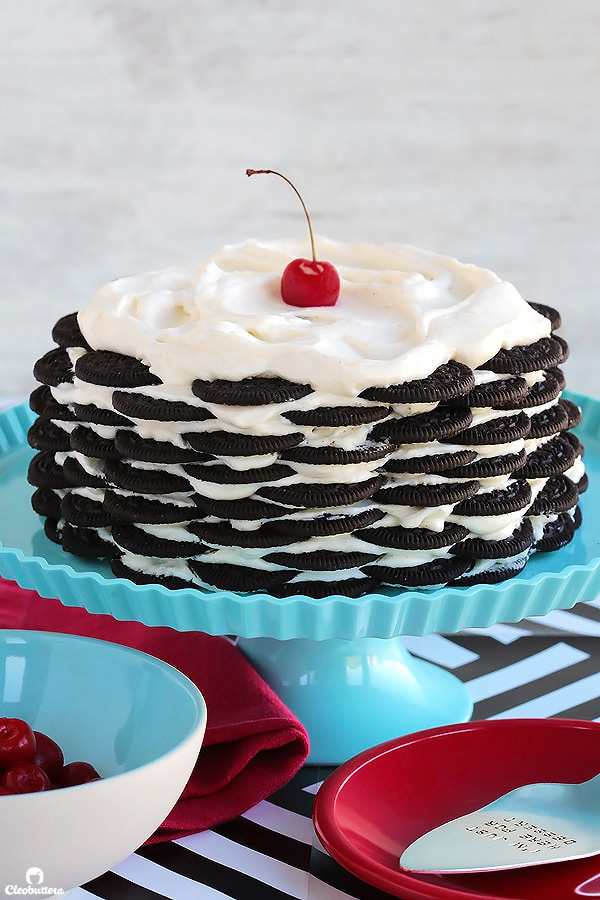
This no-bake cake is incredibly delicious and so easy to make! Alternating layers of Oreo and Oreo filling-flavored whipped cream transform in the fridge into a super soft cake that tastes like a cross between a giant Oreo and an ice cream sandwich. SO GOOD!
Hello my long-lost friends! It’s been exactly 1 month and 1 day since I’ve gotten in touch with you and its causing a HUGE void in my life. The past month has been jammed with overseas trips, that’s been lagging my performance on the blog. No complaining here…I LOVE to travel, but I miss you guys just as much.
I couldn’t take our long-distance relationship any longer, so I though I’d peak by, say ‘Hi from Canada!’ (my home away from home), and grace your palate with a little recipe that might just become the highlight of your summer. I still have another month before going back to Cairo, so please bare with me as I ever-so-sporadically dot the blog with only a few new recipes till I get my act back together in September.
Sooooo…this cake.
Have you ever had something so good, that left you wondering where it has been all your life?
In my case…this was it!
Oh my goodness people, for years and years I’ve been been stumbling upon no-bake icebox cakes similar to this one, but never really gave it much attention. A cake made from chocolate cookies, covered in whipped cream, left in the fridge till soft and cake-y, sounded too easy to be good. But now that I’ve experienced its deliciousness first-hand, I’m kicking myself for the lost time.
Something about its stupid simplicity, unusually short list of ingredients, and absence of oven use, that made me doubt every single bite of it. Not to mention that the idea of having to scour Cairo’s supermarkets to hunt down the nonexistent main ingredient, Mr. Chocolate Wafer Cookies, was off-putting.
On top of that, I had a hard time believing that some hard, crunchy cookies thrown together with whipped cream, would eventually turn into cake in the comfort of its own fridge. According to my baking belief system, the fridge doesn’t make cake; only the magical oven does.
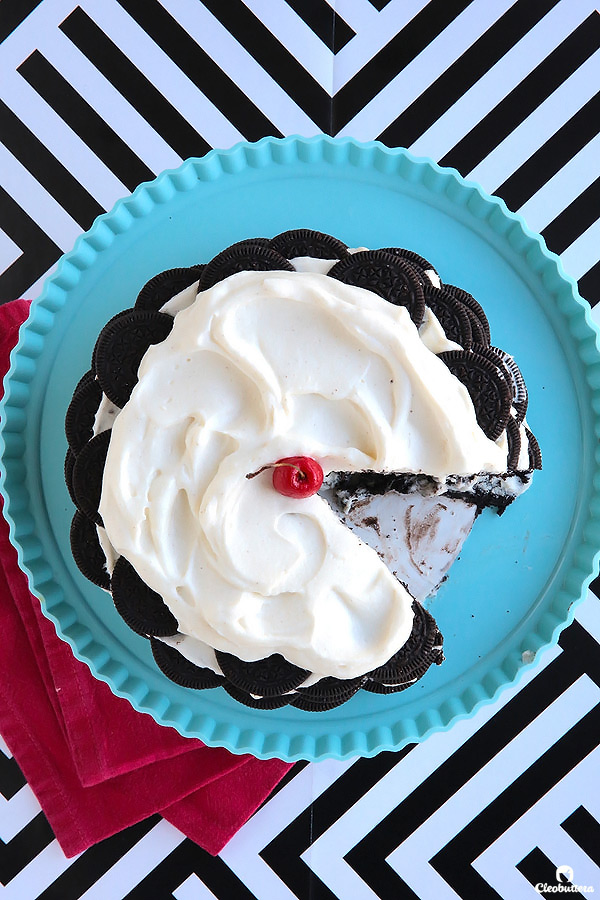 But boy was I wrong.
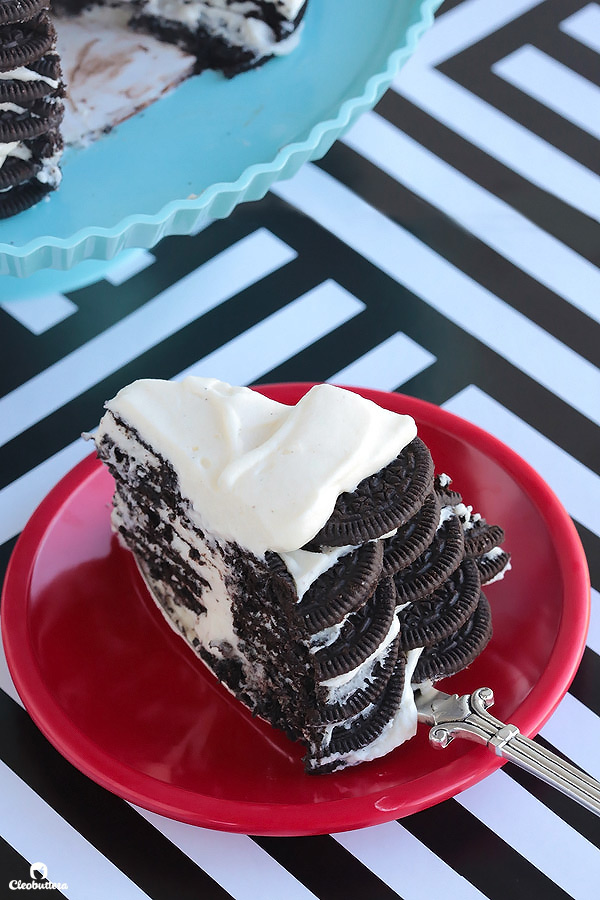
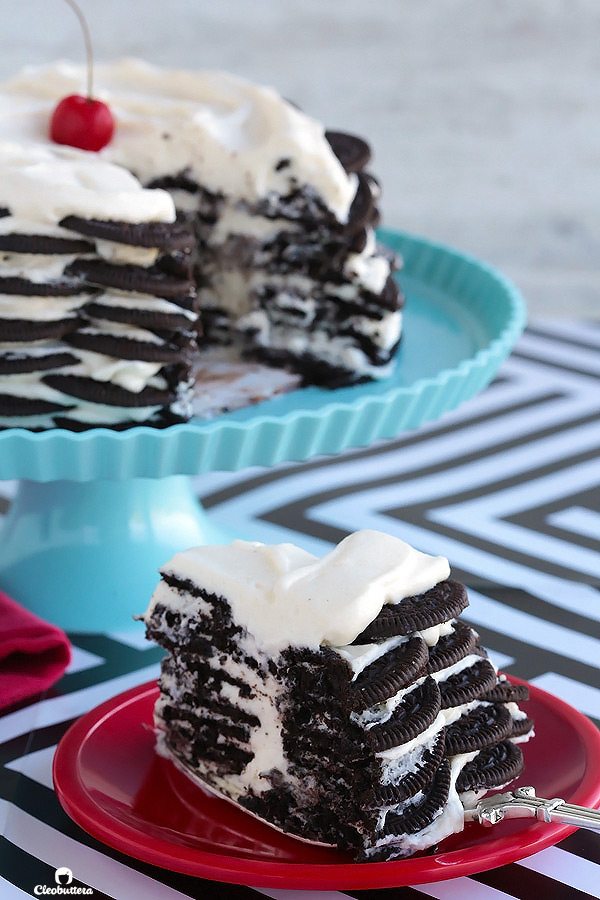
The darn thing slices like buttaaaaaah.
And I’m now happy to report back that this oven devotee right here, has a new appreciation for the refrigerator. Or as creators of this cake concept love to call it the “Icebox.”
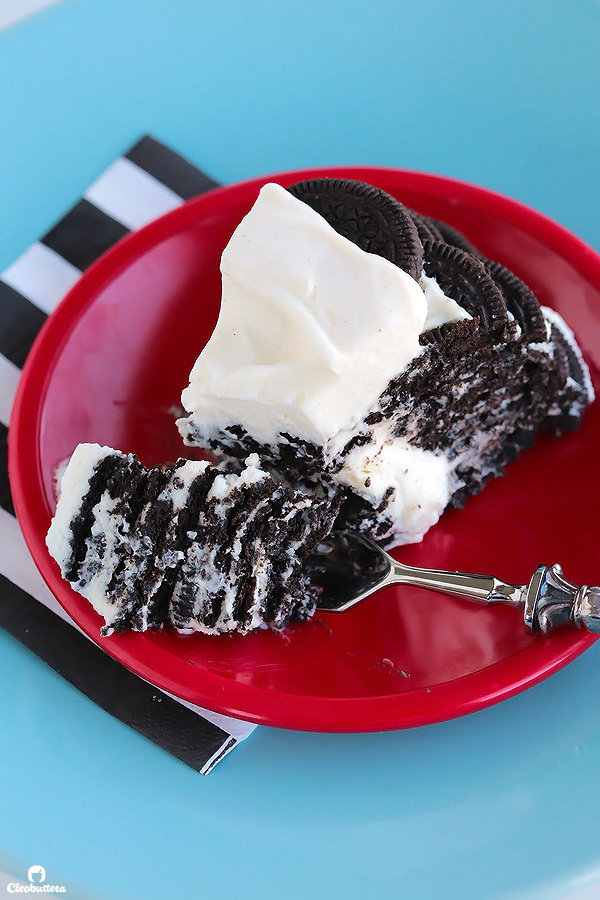
So word of the wise, stop doubting and start making Icebox Cake…Do it! Do it! Do it!
If a soft chocolate cake that tastes like a giant Oreo and does not require turning on the oven doesn’t sell you, maybe the fact that you’re only 4 ingredients away from having one of the most satisfying desserts of your life will. Okaaaay…six if you count a pinch of salt and a 1/2 teaspoon of vanilla which you could totally skip, if you’re so inclined.

Not only that…but I’ve solved the dreaded problem of having to search high and low for the chocolate wafer cookies that are typically called for in this cake. How?
Oreos guys! Oreos! Good ol’ familiar and convenient Oreos. It’s everywhere, reasonably priced and “milk’s favorite cookie.” Who doesn’t love that?!
We use the chocolate cookie portion as the base and get this…use the cream filling to make our whipped cream! Now tell me this isn’t clever?! And mighty tasty?! No waste, mega taste…win win! Oh that just rhymed!!!
I did run into a few icebox cake recipes that use Oreos too but as is; in their full form, filling intact and all. The Oreos get dunked in milk then slathered with classic whipped cream. I had to try this technique of course, but it didn’t work out for me. The cookies took over a full day to soften and with the Oreo filling unadulterated with, the whole thing tasted like a sugar bomb.
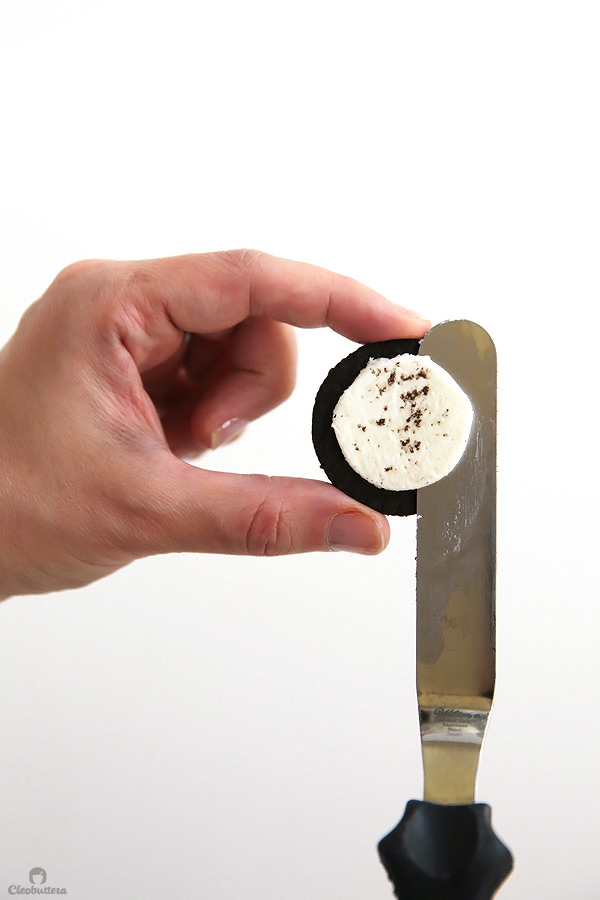
Using the Oreo as 2 separate entities and lightening up the filling seemed like the better thing to do. And it was! I know that I’m no pioneer with today’s recipe, but I’ve never seen an Icebox Cake that flavors its whipped cream with the famous Oreo filling. So that alone, takes the classic Icebox Cake, from good to AWESOME! Imagine the notorious Oreo filling, only fluffier, creamier, more ethereal and less sweet…that’s what you’re getting here.
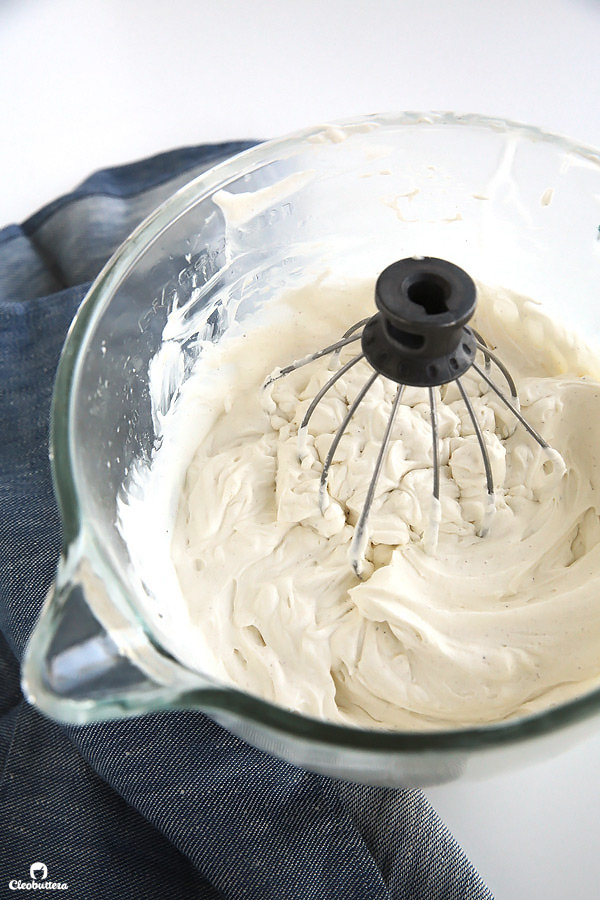
In fact, the whole thing tastes like a softer, creamier, less sweet version of Oreos. As the assembled cookies and cream layers take their chill pill in the fridge for several hours, the cookies become very cake-y, sliceable and irresistible. And did I mention that the cake will also remind of ice cream sandwiches? YUM! My son pointed this out and I couldn’t agree more. Upon his first bite, you know what he said? “This is beyond bloggable Mommy!” Hahahaaaa…the kid knows me too well.
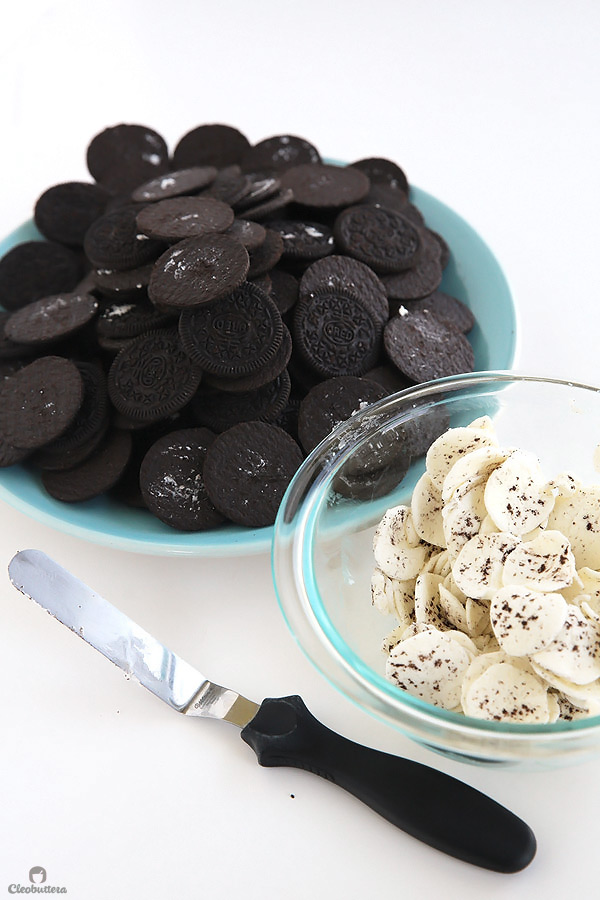
The cake starts with 72 Oreo cookies! You heard that correctly! SEVENTY TWO! And after you pull the sandwiches apart and scrape off the cream filling, they become 144! Yep! This right here my friends is the foundation to some serious deliciousness.
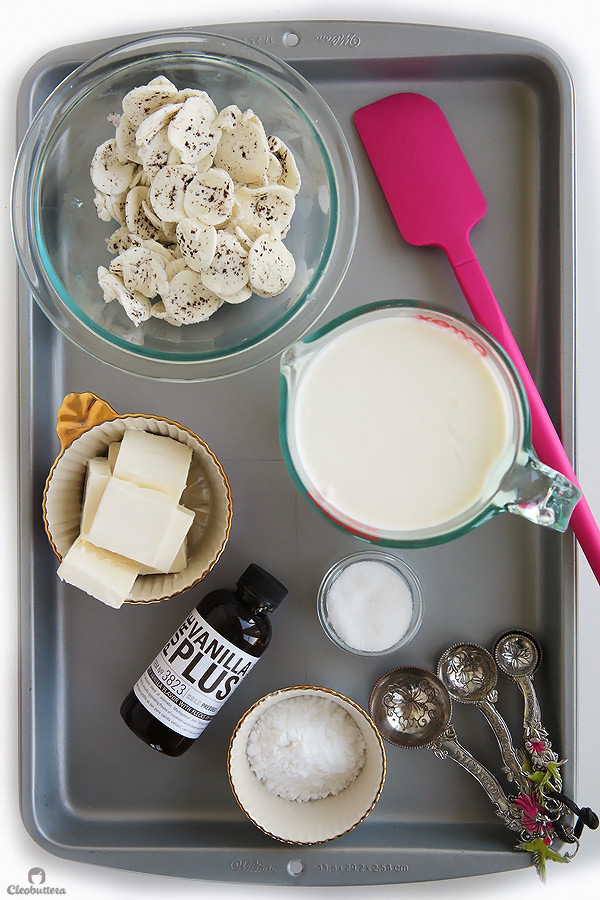
Now to make the whipped cream, we are gonna use the Oreo filling as our base, add a little cream cheese for stability and depth of flavor, a touch of powdered sugar for sweetness, a pinch of salt for balance, vanilla for extra yumminess and of course…whipped cream for well, cloud-like creaminess. All these additions make for a more flavorful, thicker, sturdier filling than your typical whipped cream, which makes it a lot easier to work with.
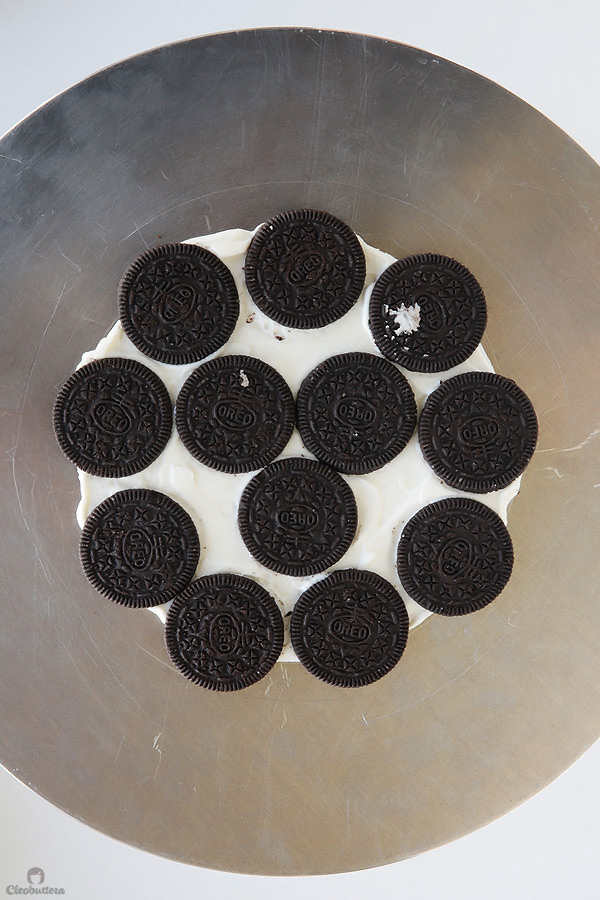
We’ll start assembling this baby by spreading a thin layer of the whipped cream on a cake board or directly on your serving platter. This will keep your first layer of cookies from moving around. We’ll follow that by arranging 3 cookies in the center and 9 around; a total of 12 cookies per layer. Oh I’m good with math like that?
Then on goes another thin layer of cream and 12 more cookies.
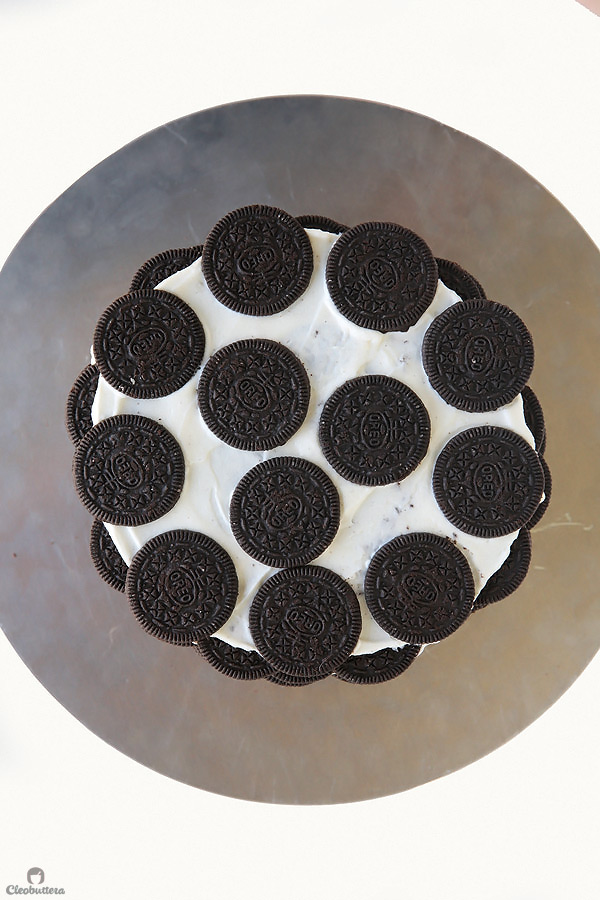
We’ll keep repeating this step till we reach 12 layers of cookies.
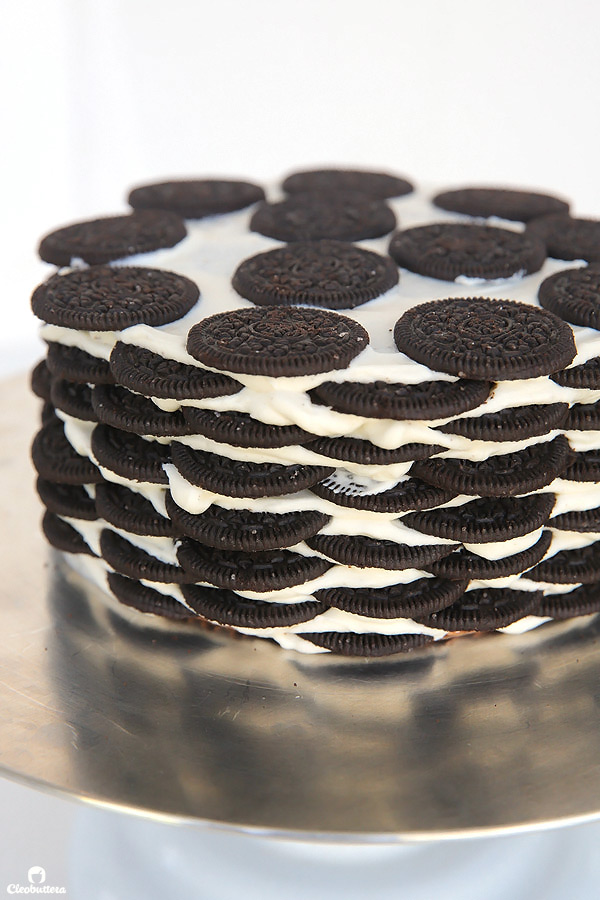
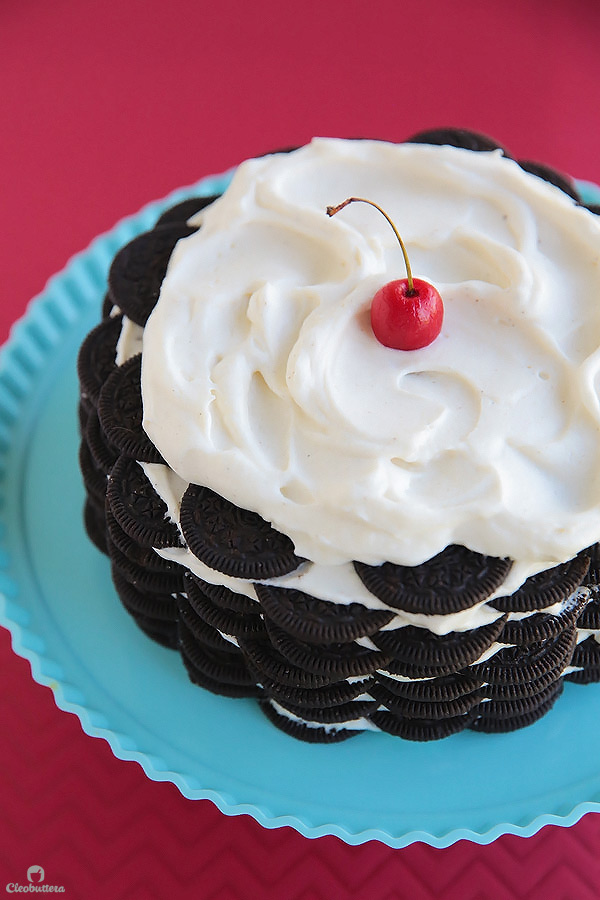
Finish off the last layer with swooshes and swoops of a thicker layer of whipped cream, then ship it off to fridge to sleep over night.
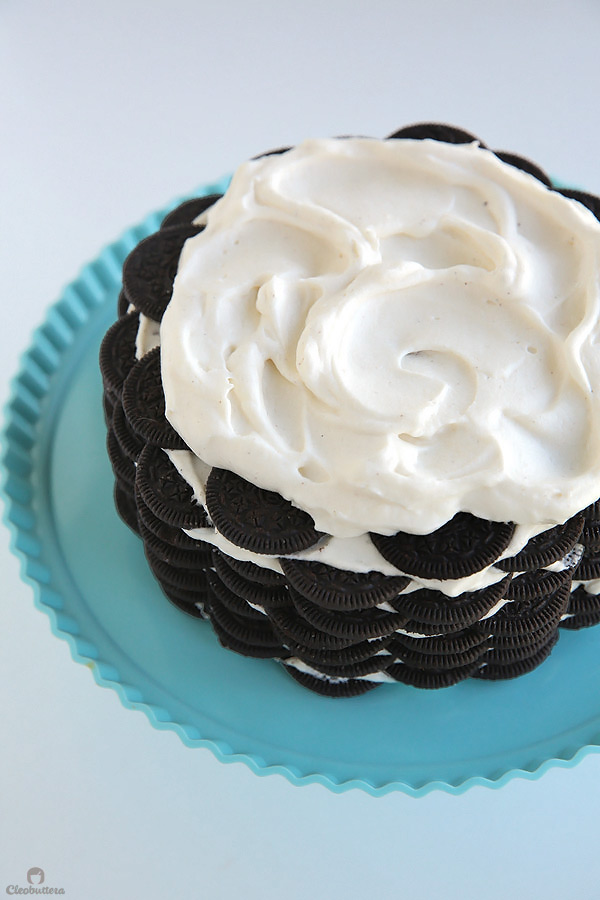
When ready to serve, place a cherry on the top for cuteness overload. But sprinkles would make a gorgeous alternative if you like.
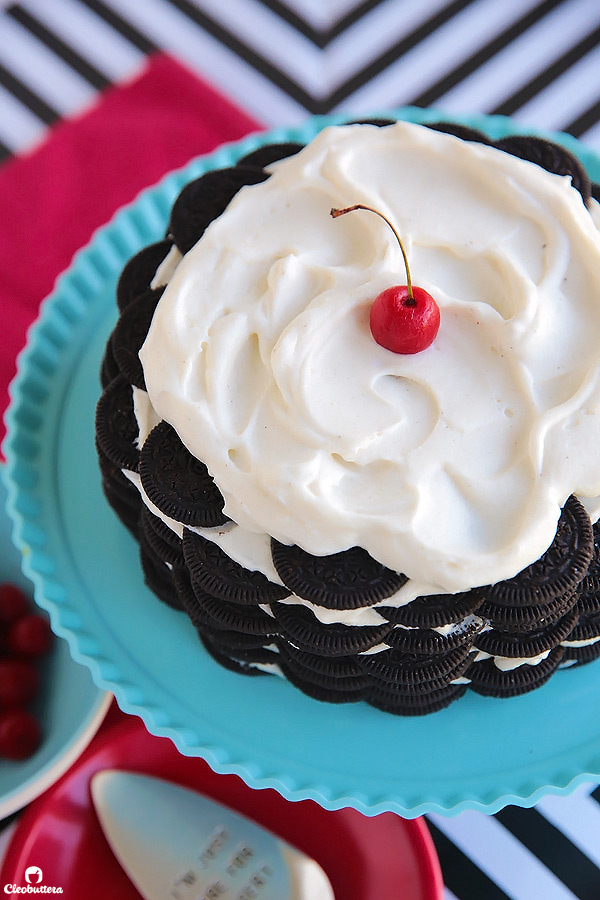
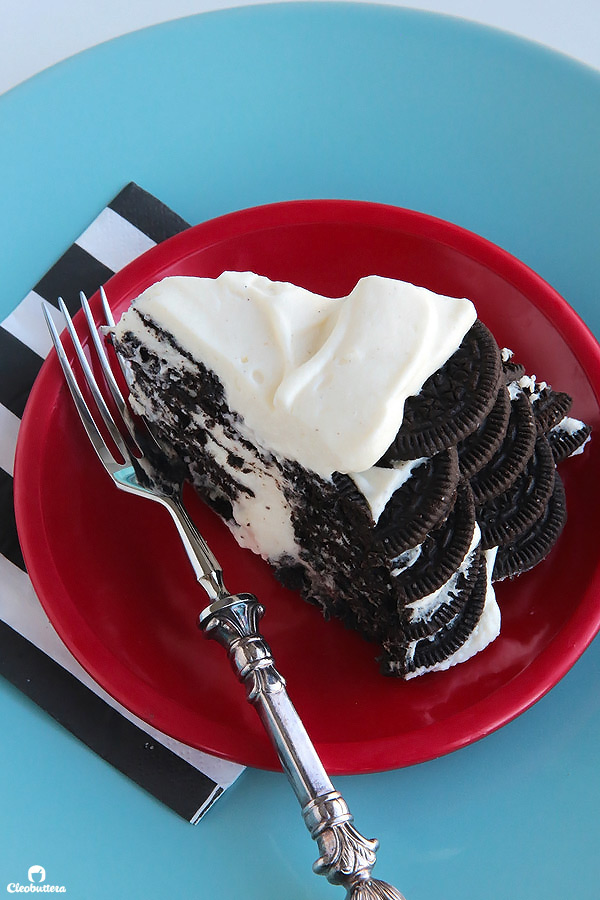
Now look at all these layers wrapped around the clouds of fluffy filling. This is simplicity at its best!
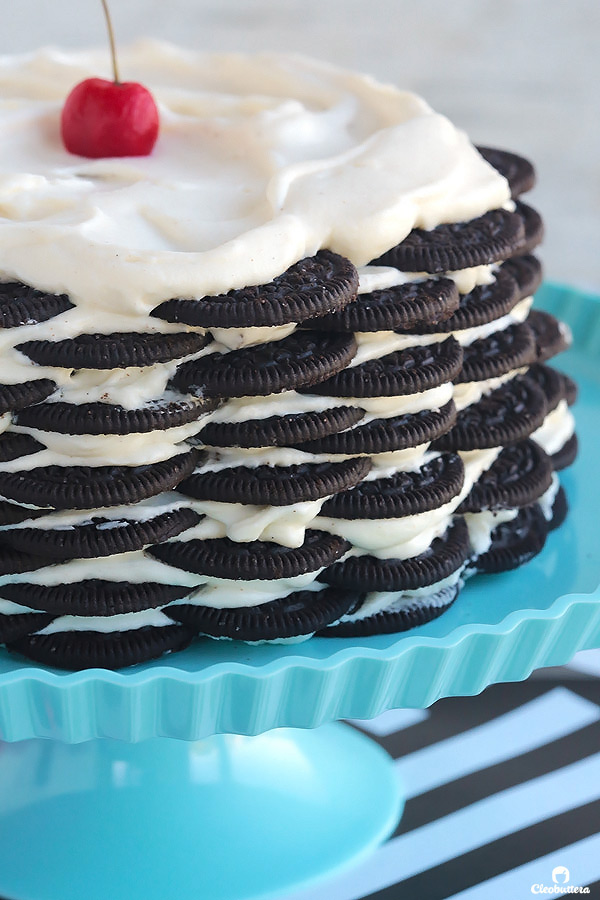
And I know it might look like it will still crunch under your teeth, but you won’t believe how soft it has become till you try it yourself.
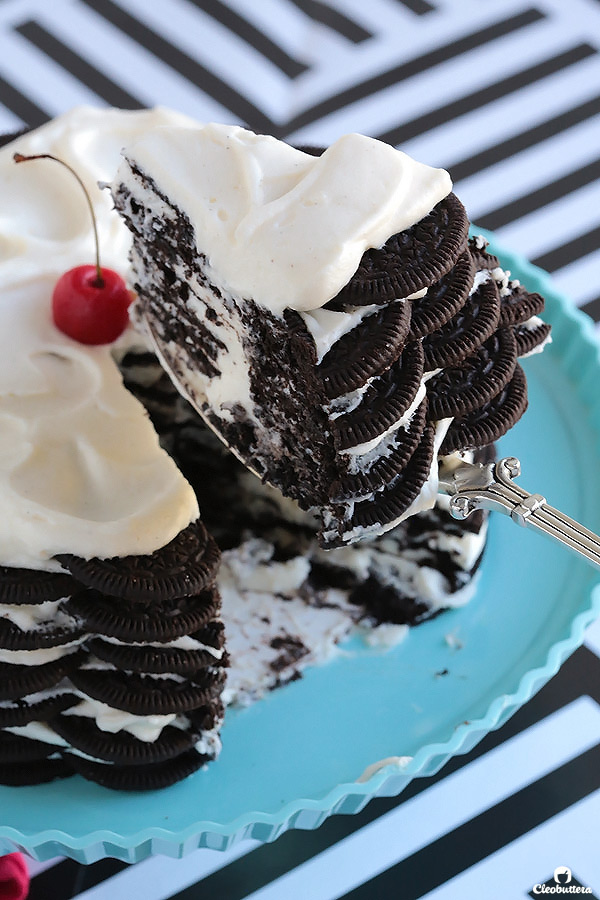
And savor every bite.
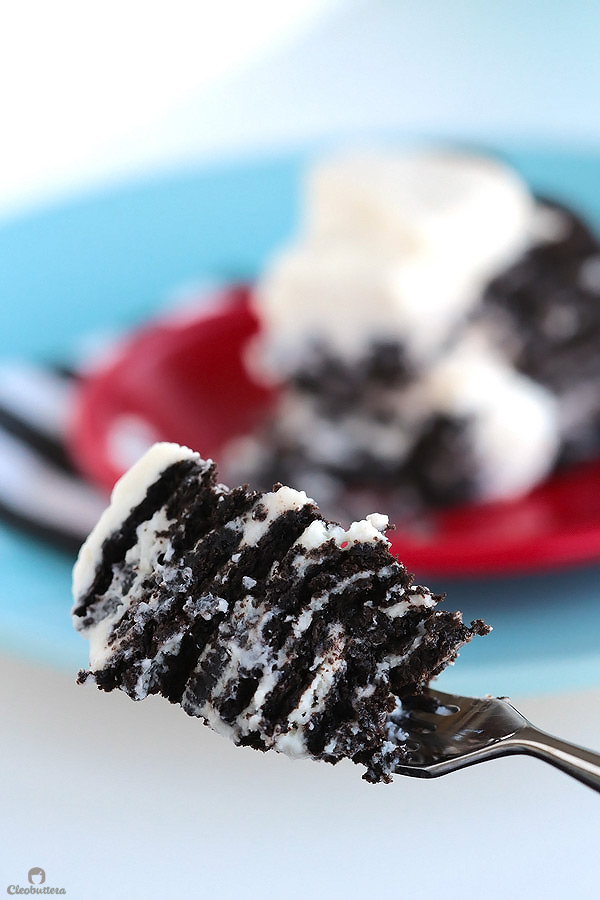
FYI I have photographic evidence of children ranging between the age of 5 and 67 fighting over this cake. It’s that good and yes, brings out the child in you!
No-Bake Oreo Cake

Please note that this cake requires at least 6 hours of refrigeration for the cookies to soften up to a cake-y texture. So plan ahead; better yet, make it the night before!
Ingredients
- 72 Oreos (12 packs of 6 cookies or two 14.3oz packages)
- 1/2 cup (4oz/ 113g) cream cheese (I used 8 squares of Kiri cream cheese), cold
- Pinch of salt
- 1/2 teaspoon vanilla extract
- 2 1/4 cups (532ml) heavy whipping cream, cold
- 1/4 cup (1oz/ 28g) powdered sugar
Instructions
To make the Oreo filling-flavored whipped cream:
- Place the bowl and whisk attachment of a stand mixer (or any large mixing bowl and beaters of a hand mixer) in the freezer until very cold.
- Twist the Oreo cookies open and using an offset spatula or butter knife, scrape off the cream filling into a separate medium bowl. Set aside the emptied Oreo cookies for later use.
- Take the chilled bowl and whisk attachment out of the freezer and attach to the stand mixer.
- Transfer the Oreo cream filling to the chilled bowl, and beat on medium speed until smooth. It will be very lumpy at first but will come together.
- Add in the cream cheese, salt and vanilla and beat until well combined and a smooth, lump-free mixture forms.
- Add in about a 1/4 cup of the heavy whipping cream and beat on medium low speed until smooth and homogeonus. Stop the mixer, scrape down the sides and bottom of the bowl, then add in about another 1/2 cup of the whipping cream. Beat again until smooth and the mixer has loosened up. Scrape down the bowl.
- Add in the powdered sugar and the remaining whipping cream. Beat until just incorporated.
- Turn up the mixer speed to medium-high and whip until stiff peaks form. Be careful not to overbeat the mixture.
To Assemble the Cake:
- Reserve about 3/4 cup of the cream filling aside to decorate the top of the cake.
- On a 6-inch cake board or a flat serving plate, spread a thin layer of the cream filling to hold the bottom layer of cookies in place. Arrange 12 Oreo cookies side by side (but not touching) in a circle, keeping 9 cookies on the outside and 3 in the center. Place any broken cookies in the center and reserve the pretty ones for around the edges.
- Spread a thin layer of the cream filling on top of the cookie layer, just enough to cover it. Leave the very edges of the outer cookies uncovered for a more attractive presentation. Continue layering 12 cookies followed by a thin layer of the cream filling, making a total of 12 layers of cookies.
- Top the final layer of cookies with the reserved 3/4 cups of the cream filling, making swoops and swirls for a decorative presentation.
- Cover the cake with a cake dome or transfer to a covered cake carrier or very carefully cover it with plastic wrap. Refrigerate until the Oreo cookies have softened to a cake-y texture; about 6 hours to overnight.
- Take the cake out of the fridge 30 minutes before serving to take the chill out. Top with a maraschino (or fresh) cherry, berries of your choice or sprinkles. Cut into slices and enjoy. Store any leftovers covered in the fridge.
Recipe Notes
Recipe is a Cleobuttera Original.
Measurements Note: All recipes of this site have been developed using weight measurements. Although US volume measurements have been included for your convenience, it is highly encouraged that you weigh your ingredients using a kitchen scale to get the best possible results. Due to the sensitive nature of baking, kitchen scales are proven to yield more accurate and consistent results than measuring cups. Enjoy!
This post may contain affiliate links.
All images and content are owned by Cleobuttera® and are copyright protected. Please do not use my images without prior permission. If you would like to republish a recipe, please rewrite it in your own words and link back to the recipe page on my site. Original recipes and creations of this site are intended for personal and home use. Commercial replication or media consumption are only allowed with a written consent and agreement with Cleobuttera owners. Otherwise it is considered a violation of intellectual property. Thank you for respecting and appreciating the amount of time and effort that goes into creating free, unique recipes that make people happy.