Chocolate Konafa Cookies
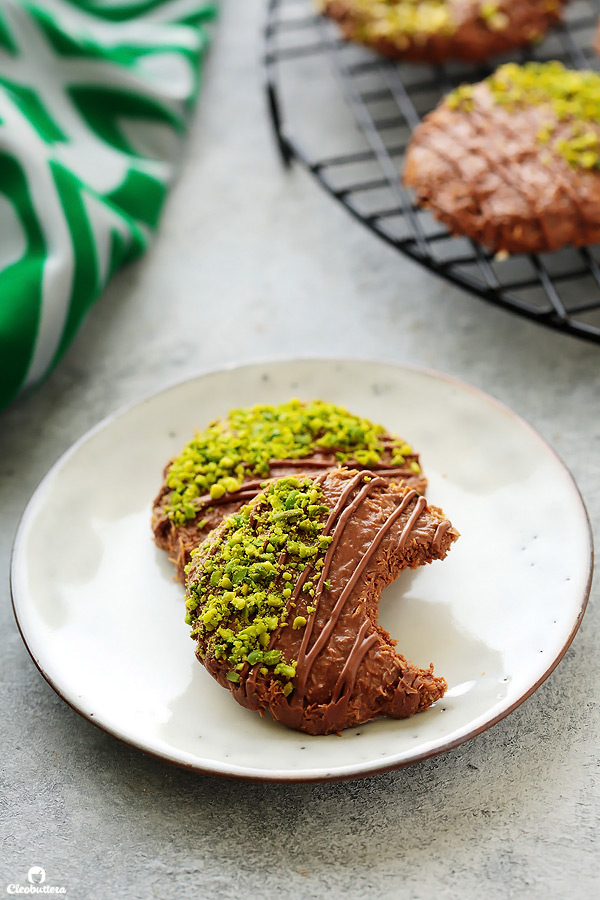
Konafa like you’ve never seen it before! These no-bake Chocolate Konafa Cookies are made from crunchy, buttery konafa crumbs and glorious melted chocolate. Add candied nuts to the mix for an elevated experience or keep them plain and simple. Either way, they will not disappoint! Plus…recipe VIDEO included!
This post is sponsored by Cadbury Dairy Milk Egypt, but all opinions are my own. Thank you for supporting the brands that believe in me.
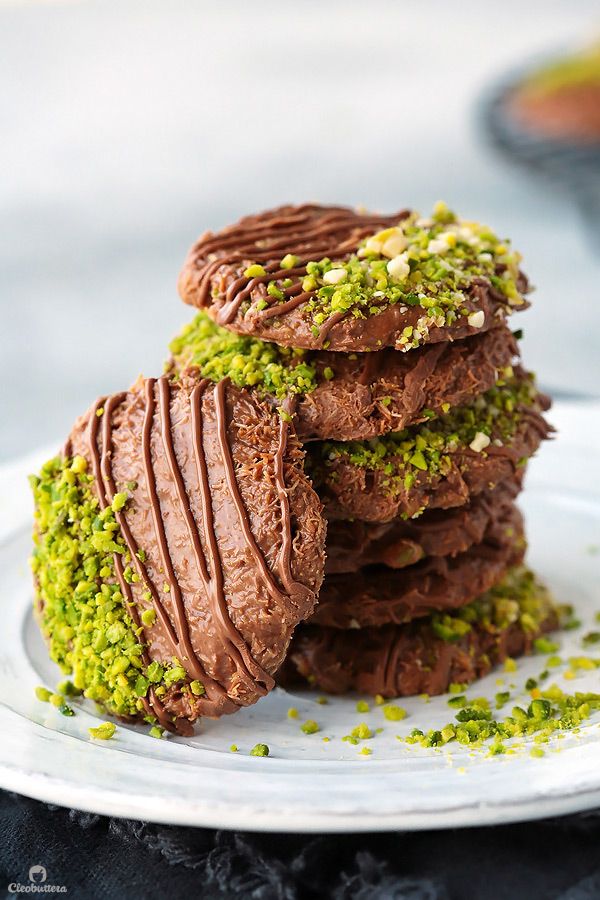
You’ve seen konafa.
You’ve had cookies.
But I bet you’ve never heard of Konafa Cookies!
Can I get some fireworks and confetti here please, because maaaaaan…I wanna feel the celebration!
Oh well…a WOOOHOOOOOO will still work. I’ll take it!
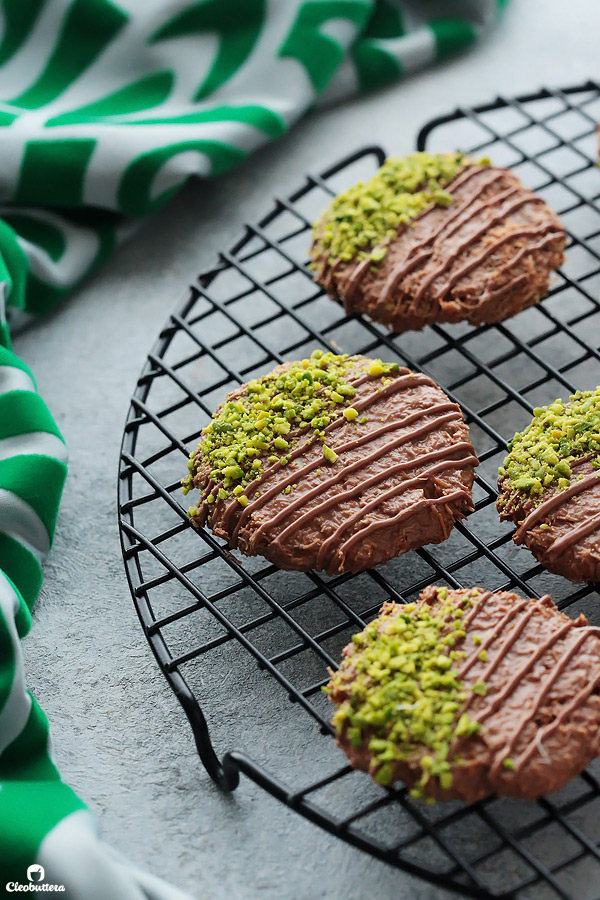
I get excited about almost every recipe I come up with, but this one had me doing somersaults! (In my mind that is, because I can’t really do somersaults).
People people people…we are talking here about the birth of a food concept that not only never existed, but one that is ridiculously so delicious it will blow your mind.
A Middle Eastern fusion that I’m more than confident that everyone will agree on. Unless of course you don’t like chocolate, at which point I’m not sure if we can get along in the first place.
I know how a lot of people believe that chocolate and Middle Eastern desserts don’t belong together. I do agree to some extent, that if not done right, things can get pretty cloying. But with this cookie right here…I’m ready to change minds.
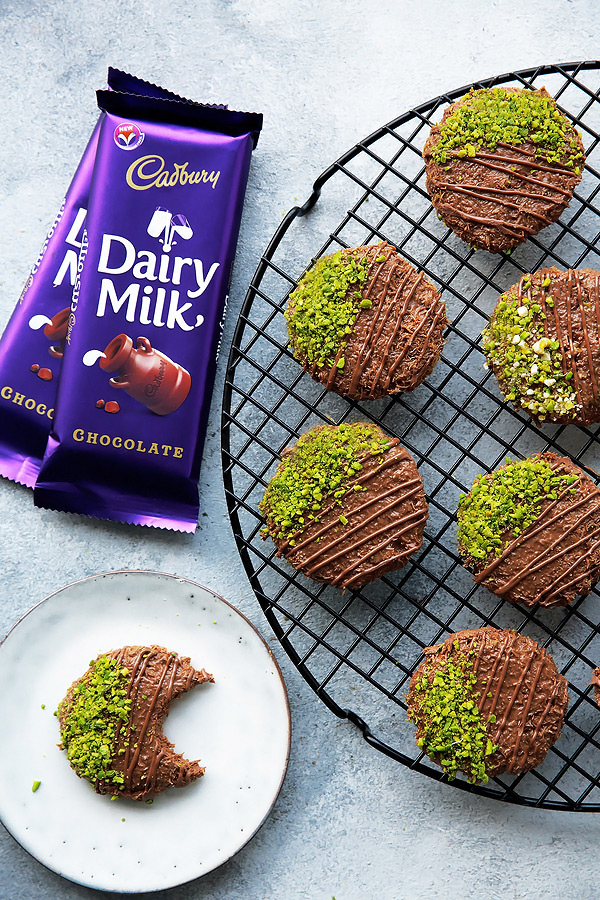
Helping me achieve this mission, and introduce you to the Ramadan innovation of the year, is the great Cadbury Dairy Milk Egypt.
With heaps of its gloriously, melty chocolate, hand in hand with crunchy konafa crumbs…we bring you the new cookie in town!
You know those popular no-bake cookies made with melted chocolate and cornflakes? Well these are sort of like that, but instead of cornflakes, you get delicately, crunchy strands of buttery toasted konafa. Can I get a YUM?!
My kids are crazy about these and that’s saying something, because while I hate to admit it, they’re not that into konafa. But cookies? Who are we kidding? Everyone loves cookies.
The konafa flavor is not too obvious here, but its enough to keep you lingering on its toasted flavor and shattering crispness.
If you’re not familiar with konafa, I’ll get from this that it’s probably your first visit to my blog, because while I can’t seem to settle on a spelling for it, there’s no shortage of it around these parts. Love this stuff! Just click here to eye a sample.
In a nutshell, konafa (or kunafa, kanafeh, knafeh, knefe) is a Middle-Eastern/ Mediterranean pastry made from shredded, vermicelli-like phyllo dough that crisps up into this beautifully golden dessert when baked or fried. It almost always, comes with a surprise filling and sweetened with sugar syrup. It can be made in all shapes and sizes, but today we’re breaking all the rules, ditching the filling, skipping the syrup and turning it into the most unexpected form…the COOKIE.
These cookies are no bake, chocolate-y, crunchy, toasty, buttery and nutty if you wanted it to be. Just add some of these addictive candied nuts; pistachio and almonds, and you texture freaks will be it heaven.
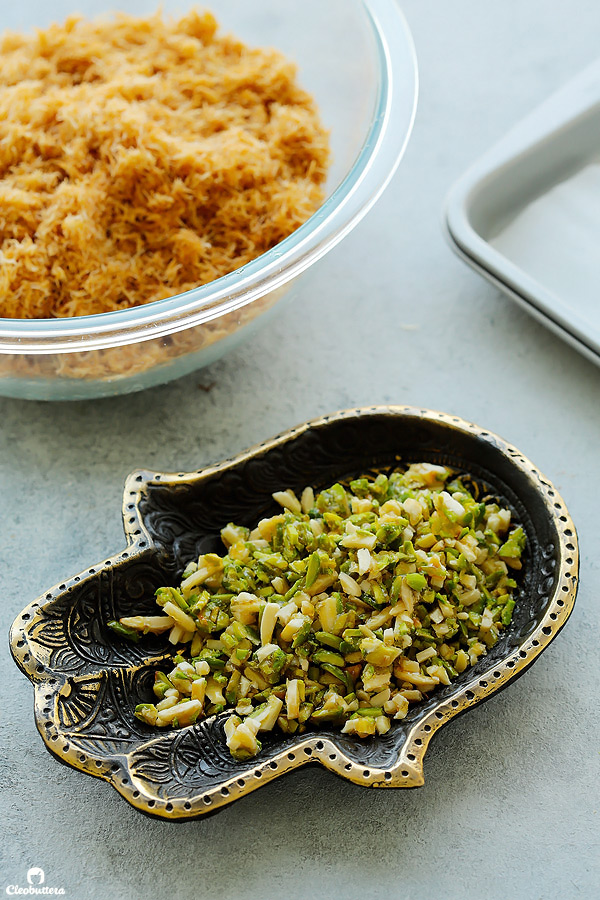
When I was developing this recipe, I had my taste tester (aka my family) try the cookies in 3 variations to pick a favorite; plain, with toasted nuts and candied nuts. Not surprisingly, everyone under the age of 16 voted for the plain ones and the rest of us oldies, chose the ones with candied nuts with a blink of an eye. It was without a doubt our winner.
They add a caramelized nuttiness and bring forth another dimension of crunch to the cookies that is just incredible. I now make half of each kind to satisfy everyone, but you do whatever floats your boat.
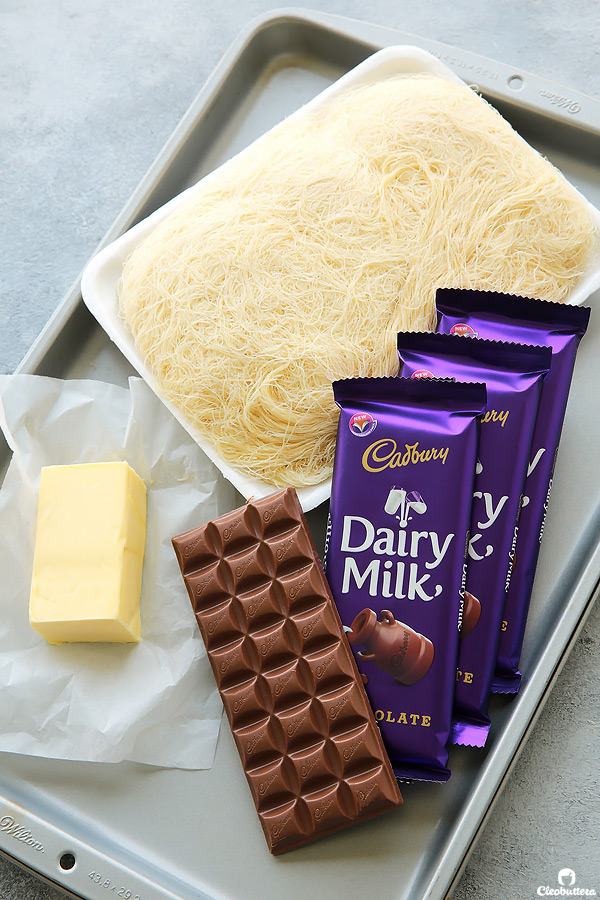
For the base of these revolutionary cookies, we’re only gonna need 3 ingredients.
YES! You heard that correctly…THREE!
It’s part of the brilliance of this recipe. It’s pretty magical like that!
So…count with me:
- Butter
- Konafa (aka kataifi/kadaif pastry)
- Cadbury Dairy Milk Chocolate.
Period.
You start by sautéing the konafa in the butter…
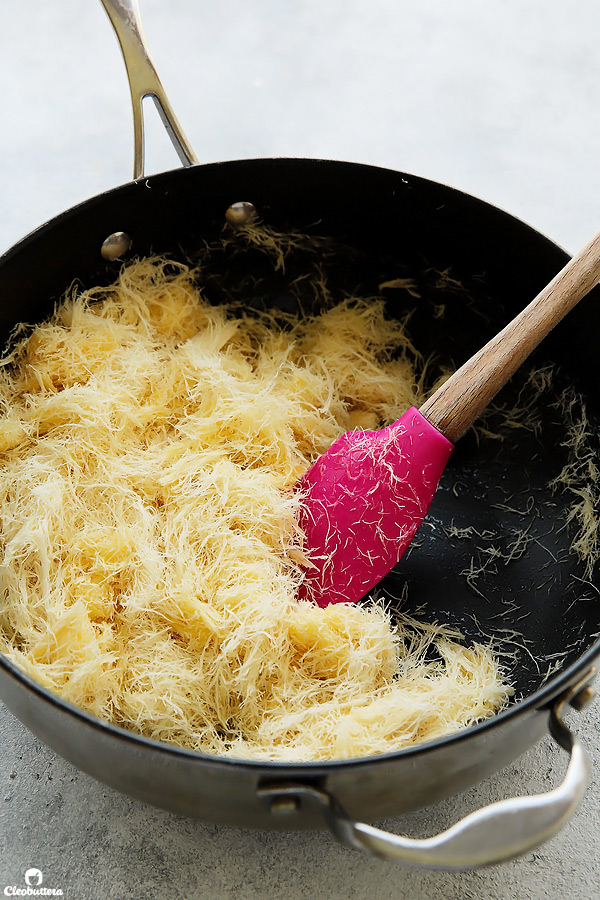
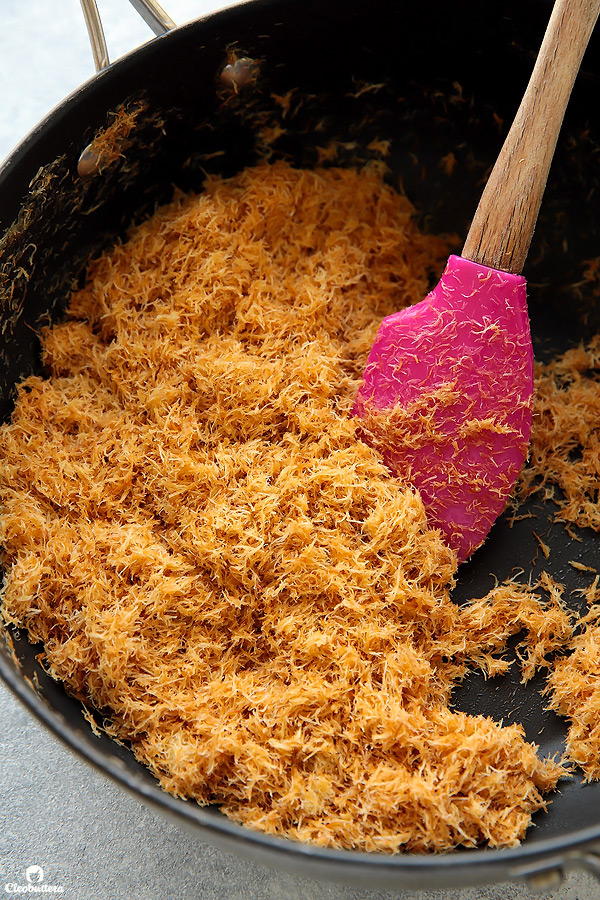
Until gorgeously golden brown in color and super crunchy.
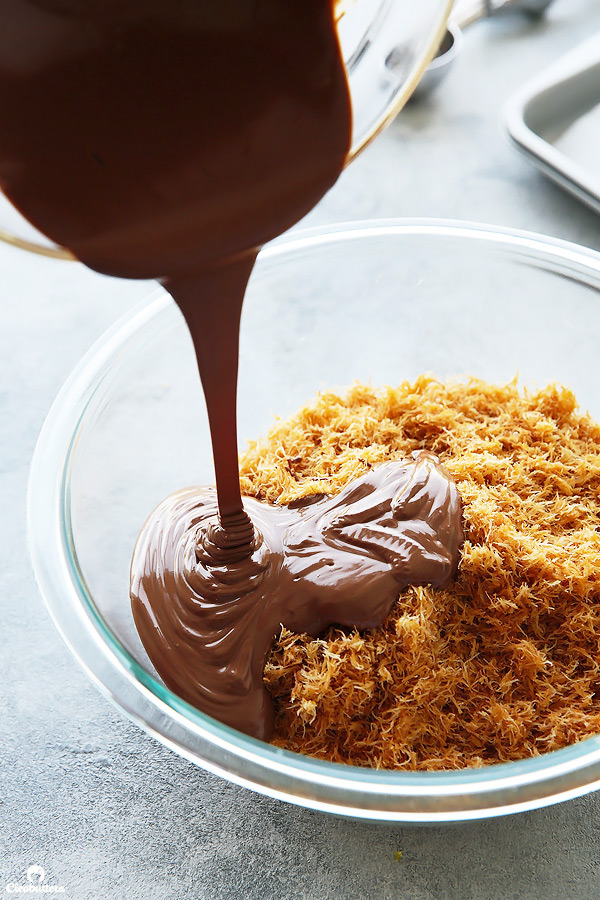
Then melt those Cadbury bars of chocolate and pour it aaaaaaall in. Nope…not in your mouth; over the konafa please. Thank you.
Stir it all up and you job here is practically done my friend.
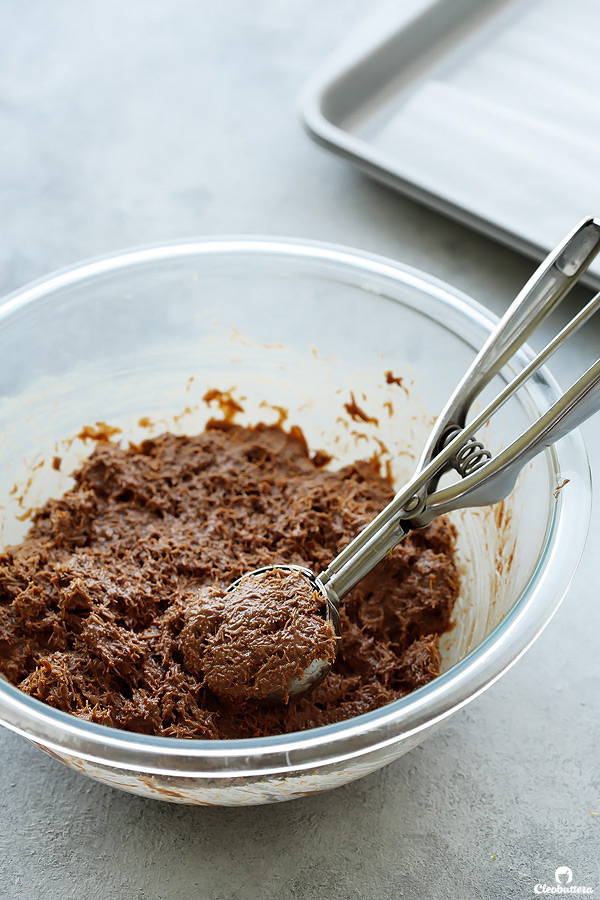
Unless…you wanna fancy it all up with a handful of candied nuts.
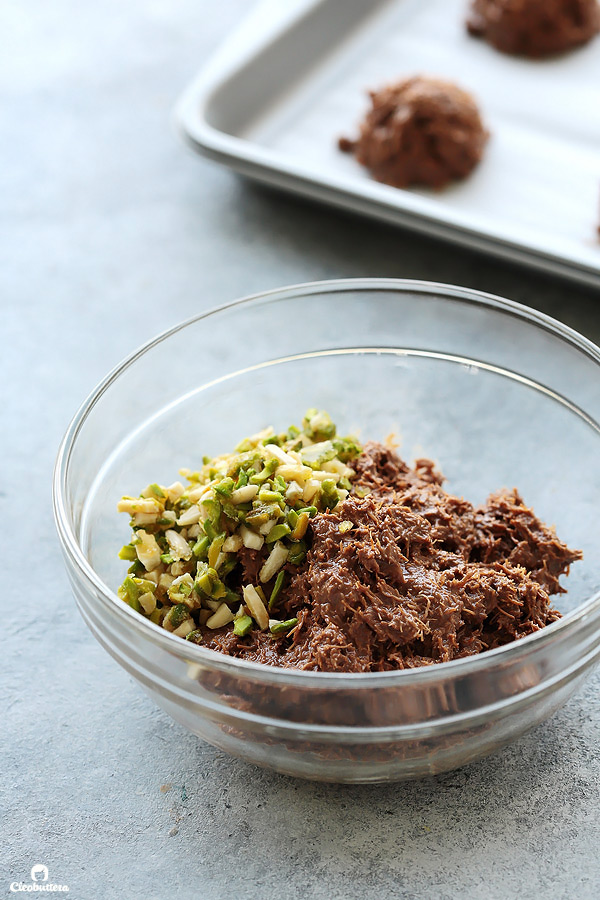
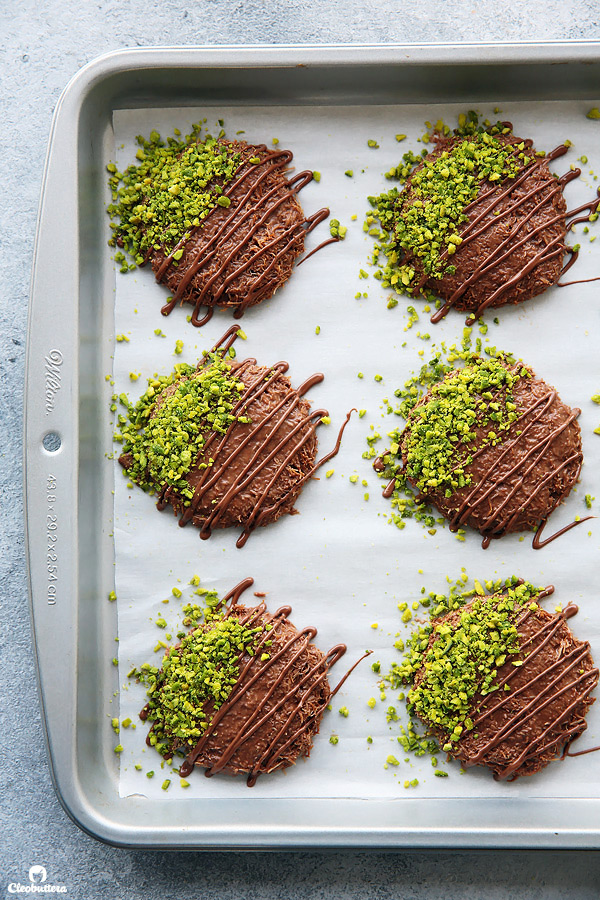
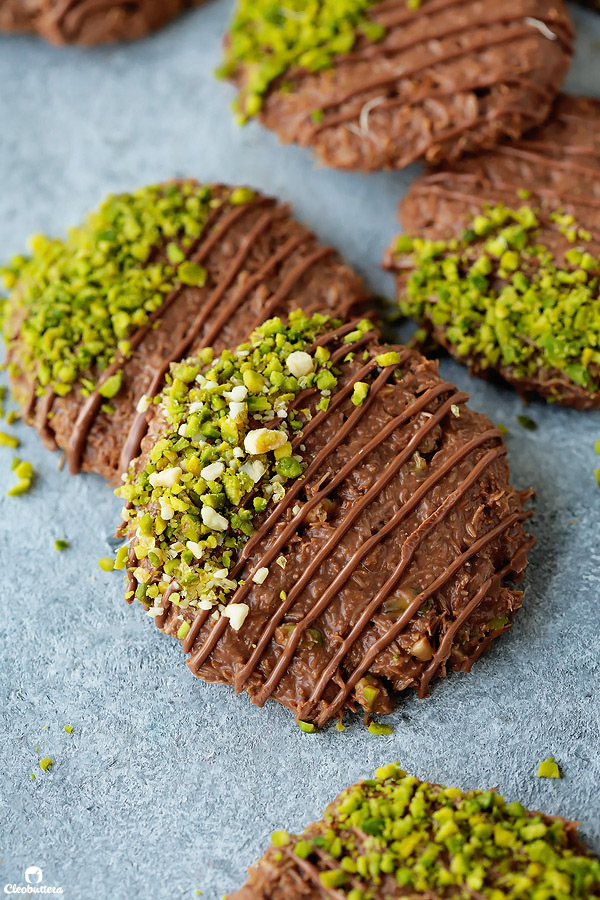
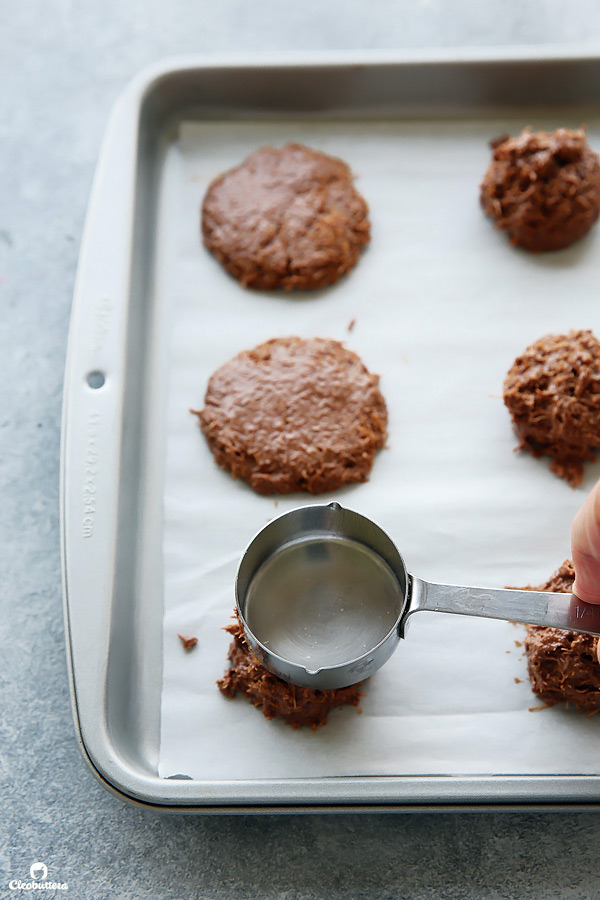
In both cases, you scoop that very tempting-chocolate-konafa-mixture-that-begs-to-be-eaten-straight-from-the-bowl, onto a baking sheet and flatten it with the bottom of a cup.
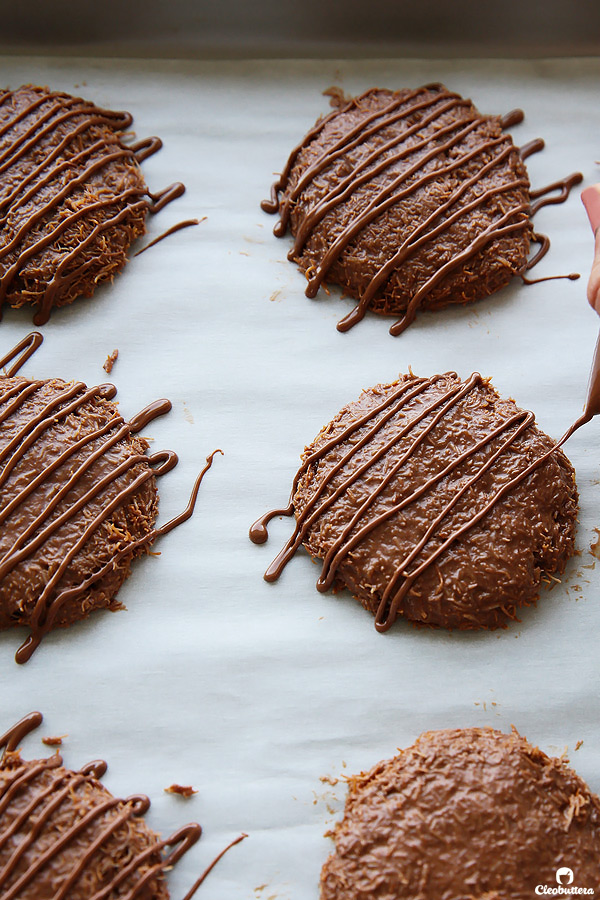
Drizzle on some more chocolate, because seriously…no such thing as too much chocolate. At least in my book.
And sprinkle on some chopped pistachios, because so purty ?
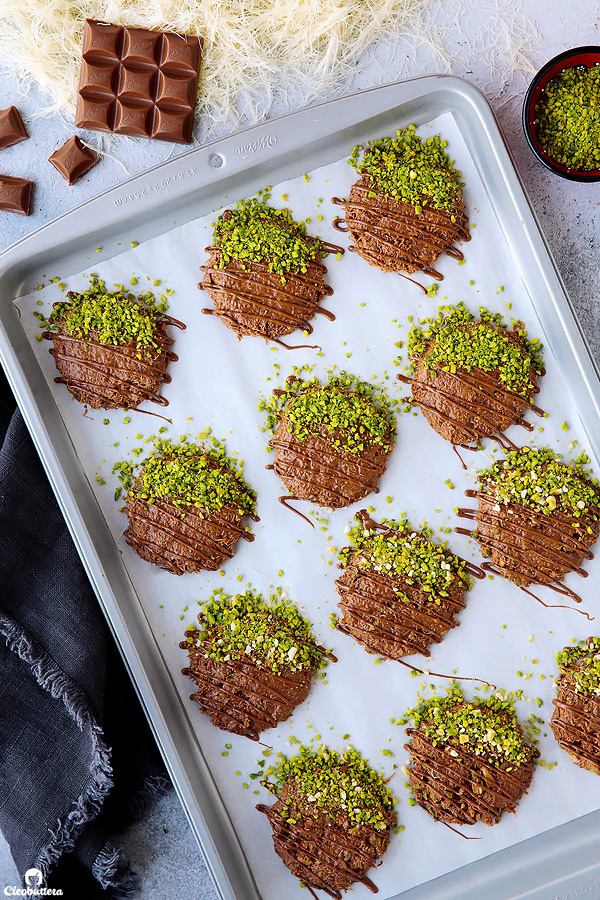
Now get ready to blow everyone’s minds.
They’re so unreal…I want one right now.
And off to the kitchen I go! And you should to. Trust me on this. But before you do, check out this quick video to recap!
Chocolate Kunafa Cookies

Konafa like you've never seen it before! These no-bake Chocolate Konafa Cookies are made from crunchy, buttery konafa crumbs and glorious melted chocolate. Add candied nuts to the mix for an elevated experience or keep them plain and simple. Either way, they will not disappoint! Plus...recipe VIDEO included!
Ingredients
For the Cookie Base:
- 250g konafa or kataifi/kadaifi pastry, fresh or frozen (If using fresh, freeze for an hour for easier cutting. If using frozen, thaw slightly)
- 1/2 cup plus 1 tablespoon (125g) unsalted butter
- 4 (90g each) Cadbury Dairy Milk, plain
For Garnish: (optional; enough for 16 cookies)
- 2 (24g each) Cadbury Dairy Milk, plain, melted
- pistachios, finely chopped
For the Candied Nuts: (optional)
- 1/4 cup (50g) granulated sugar
- 1 tablespoon water
- 1/4 cup (30g) pistachios, sliced or roughly chopped
- 1/4 cup (30g) almonds, sliced or roughly chopped
Instructions
To make the Cookie Base:
- Start by making the candied nuts, if using. Recipe below.
- While the konafa is still semi-frozen, break it between your hands to crumble into small pieces. Konafa shreds easiest when semi-frozen.
- In a large pan (the larger the better) over medium heat, melt the butter. Add in the shredded konafa and stir well until evenly coated with the butter. Sauté the konafa in the butter, stirring constantly, being careful not to get any burn marks, until the konafa is evenly golden brown in color and is very crunchy; about 10 minutes. Transfer the konafa crumbs to a bowl and allow to cool completely before using.
- Grate 1 (90g) bar of chocolate and set aside. In a microwave safe bowl, break the remaining 3 (90g) bars into squares and microwave in 30 second intervals, stopping and stirring in between until mostly melted. Continue to stir the chocolate until it has completely melted and very smooth. Stir in reserved grated chocolate until fully melted. (This process of melting ¾ the amount of chocolate first and then adding in the remaining grated ¼, is a quick way to temper the chocolate, which allows it to set properly without melting to the touch; its optional here but highly recommended).
- Pour the melted chocolate over the cooled konafa crumbs and mix until evenly blended. Stir in the candied nuts (if using).
- Using a 3 tablespoon-measure ice cream scoop, scoop out the chocolate konafa mixture onto a parchment or silicon mate-lined baking sheet, forming 16 equal scoops.
- Using the bottom of a cup, press gently over the chocolate konafa scoops to flatten.
- Using a piping bag or plastic bag with the tip snipped off, drizzle the remaining 2 (24g) melted chocolate over the flattened cookies. Sprinkle the chopped pistachios over one side of the cookies and press lightly to adhere.
- Refrigerate until the cookies have set and firmed up; 30 to 45 minutes. Peel the cookies off of the parchment/silicon mat and serve slightly cold or at room temperature. Leftovers stored in an airtight container at room temperature will keep well for about 4 days and in the fridge for about a week.
To make the Candied Nuts:
- In a medium light-colored skillet, combine together the sugar and water. Bring them to a simmer over medium-high, swirling the pan to dissolve the sugar (avoid whisking). Allow the mixture to boil without whisking, just swirling the skillet occasionally, until it reaches an amber color.
- Remove the saucepan from the heat and immediately add in the pistachio and almonds. Using a rubber spatula, stir them together to evenly coat the nuts.
- Transfer the candied nuts to a silicon mat or parchment paper and spread into an even layer. Allow to cool completely, then break it up into small pieces with your hands, or put in a plastic bag and smash it with a rolling pin.
This post may contain affiliate links.
All images and content are owned by Cleobuttera® and are copyright protected. Please do not use my images without prior permission. If you would like to republish a recipe, please rewrite it in your own words and link back to the recipe page on my site. Original recipes and creations of this site are intended for personal and home use. Commercial replication or media consumption are only allowed with a written consent and agreement with Cleobuttera owners. Otherwise it is considered a violation of intellectual property. Thank you for respecting and appreciating the amount of time and effort that goes into creating free, unique recipes that make people happy.