Apple Pecan Cheesecake (with salted caramel sauce)
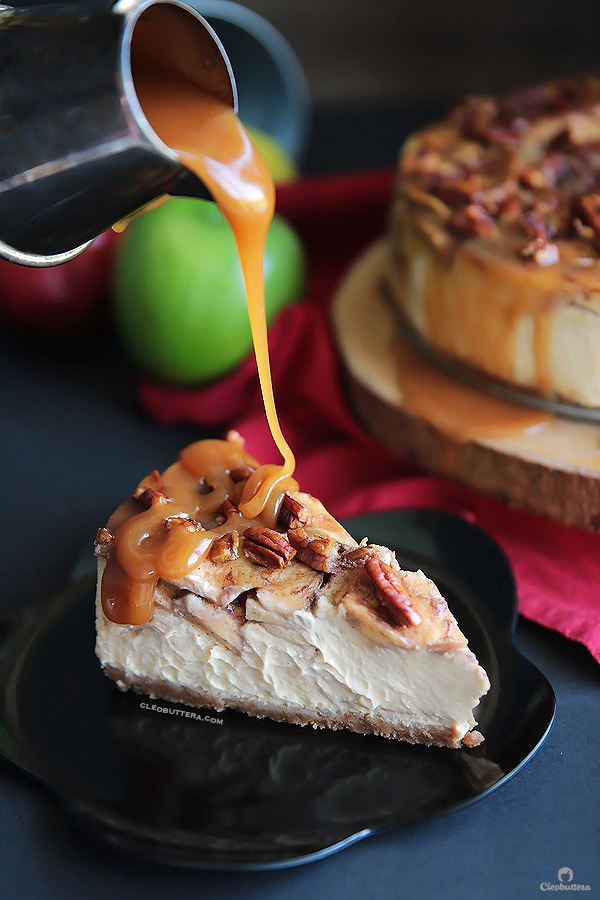
An exceptionally creamy cheesecake with a topping that tastes like a mash up between apple pie and pecan pie. A drizzle of salted caramel sauce takes this dessert from amazing to irresistible!
Here goes…
I don’t LOVE cheesecake!
There…I said it!
I know…Blasphemy!
It’s not that I hate it…because in all honesty there’s not an edible thing that I don’t like. I do like it, but it’s just not something I ever crave or would order at a restaurant. I’ll take a bite or two from my cheesecake-loving husband just to satisfy a sugar craving and that’s it. Which explain its rarity on the blog.
Ironically enough, cheesecakes are one of the very first things I had ever “properly” baked as a teenager. It’s what actually started the whole baking snowball effect. People would rave about them so much, that I kept making more and more till I actually became known for them, and as a result got me interested to explore different types of desserts.
My secret weapon for my cheesecake making lied entirely in a little cheesecake booklet made by Kraft’s Philadelphia Brand Cream Cheese. Back then, I think I baked every variety and flavor the booklet had to offer, from Plain Jane, cookies ‘n cream, cookie dough to white chocolate and Boston Cream pie inspired. They were all a hit with the crowd, but one really stood out and it was this one…
I remember taking it to a family gathering and it was gone in less that 30 minutes!
Not even kidding.
Never had I seen people so hysterically jumping on top of each other trying to steal a bite like that time. It was hilarious! They did’t even wait for it to be sliced and plated! Oh nooooo…they just dug in with their forks straight from the springform pan ?
With all that craziness happening in front of me, I couldn’t help but be curious to what the fuss is all about that apple pecan cheesecake. Quite miraculously I was able to get ahold of a forkful. And with very low expectations in mind, I took it in my mouth and I was seriously blown away.
It was nothing like any cheesecake I’ve ever tried before. It was…crave-able! And for a non-cheesecake fan…that’s HUGE!
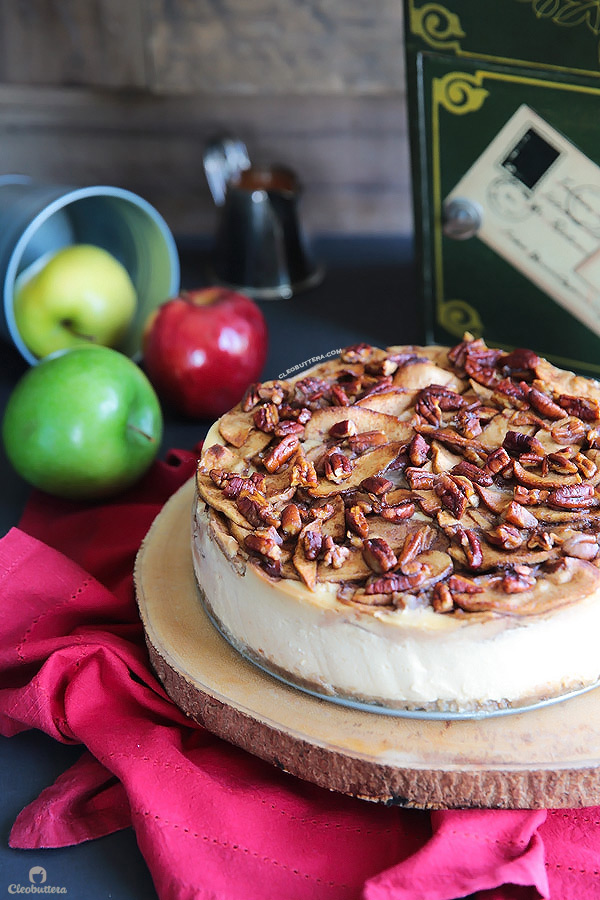
It’s 50% cheesecake, 30% apple pie, 20% pecan pie and 100% delicious!
It is the creamiest cheesecake I’ve ever tasted and that’s probably what hooked me. Non of that tough, crumbly cheesecakes you often see…not this one. The batter itself is sweetened with brown sugar which flavors it with notes of caramel. But then when you top it with apples and cinnamon, as it bakes the juices from the apples seep into the cheesecake batter, flavoring even further and making it even more creamy. The brown sugar coated pecans caramelize while baking, giving the cheesecake some pecan pie soul.
It’s so good, it might just become your favorite cheesecake!
With fall in full swing, I couldn’t think of a better timing to share this scrumptious, highly nostalgic apple dessert with you.
One problem though…I couldn’t find that cheesecake book! Arghhhhh!
But we’re in the 21st century now and a quick search on Kraft Philadelphia’s website found me the recipe!! Or at least the closest one to the original as far as I remember it. Just a quick look at the ratings and rave reviews on their recipe, will show you that I’m not alone into thinking that this cheesecake is nothing short of amazing.
Just note that I made a few modifications to get it to taste and look like the one from my teenage years. Oooooh teenage days, how do I miss thee…
Let me show you how you could make this crowd pleaser at home, and let me begin by telling you, you can’t rush a cheesecake. Cheesecakes are not hard to make at all, but they do require a little TLC and patience between the long baking time and chilling. Also a word of advice…make it a day in advance.
So…
You’ll start by making the crust by mixing together graham cracker (or digestive biscuit) crumbs, brown sugar (hello flavor!), butter and cinnamon.
I like to use the back of a measuring cup to compress the crust; works perfectly. Then you’ll bake the crust for about 10 minutes, until it deepens in color and smells fragrant; like buttery, cracker-y perfume.
While it bakes and cools, you’ll make an easy cheesecake batter, which you’ll notice is darker in color than the classic cheesecake and that because of the brown sugar.
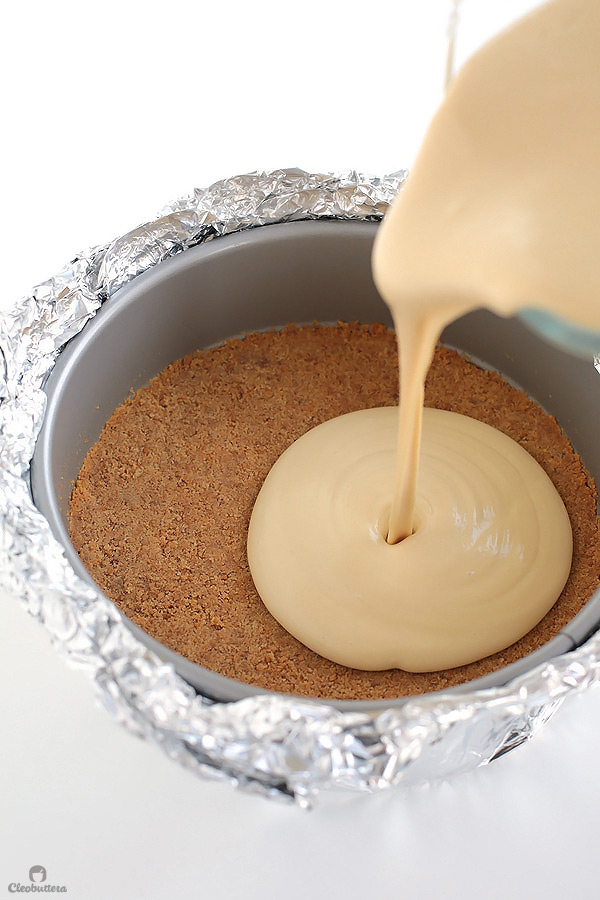
You’ll then wrap the pan in a triple layer of foil because we’re gonna bake the cheesecake in a water bath (don’t freak out). The foil will prevent the water from seeping into the pan, and ruining all your work. After that you’ll pour the batter over the cooled crust.
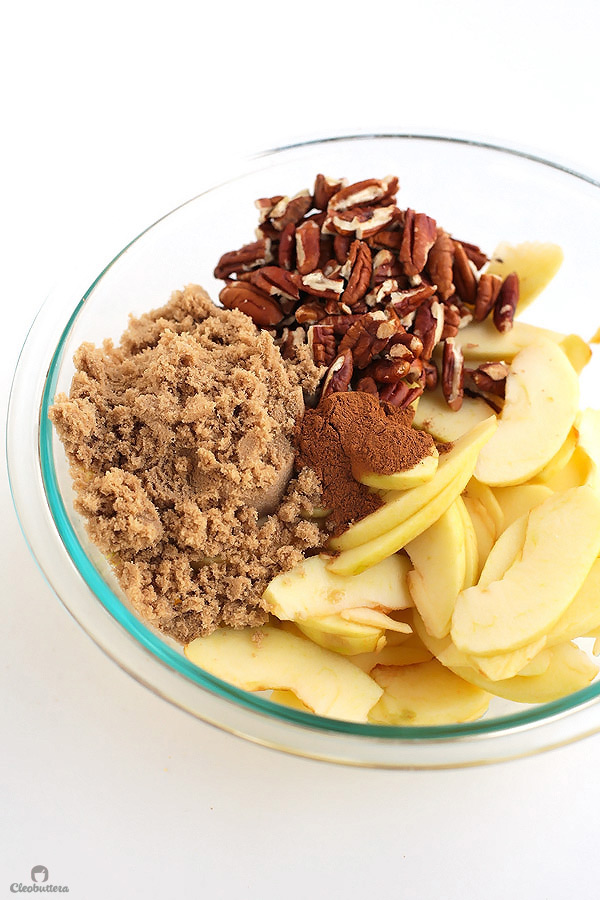
You’ll then prepare the apple pie/pecan pie yummy in my tummy topping. Sliced apples, chopped pecans, brown sugar and cinnamon. What’s not to like?
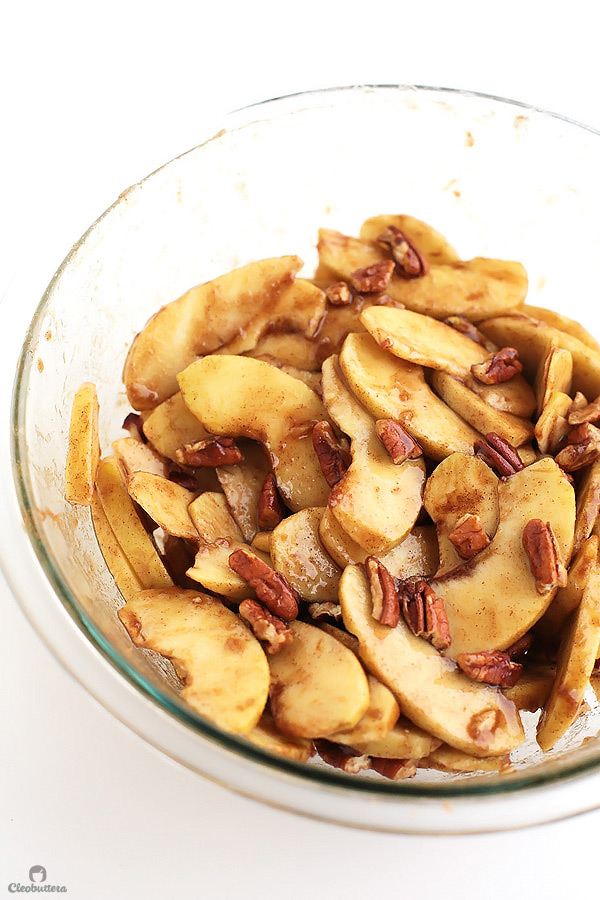
Toss ’em altogther…
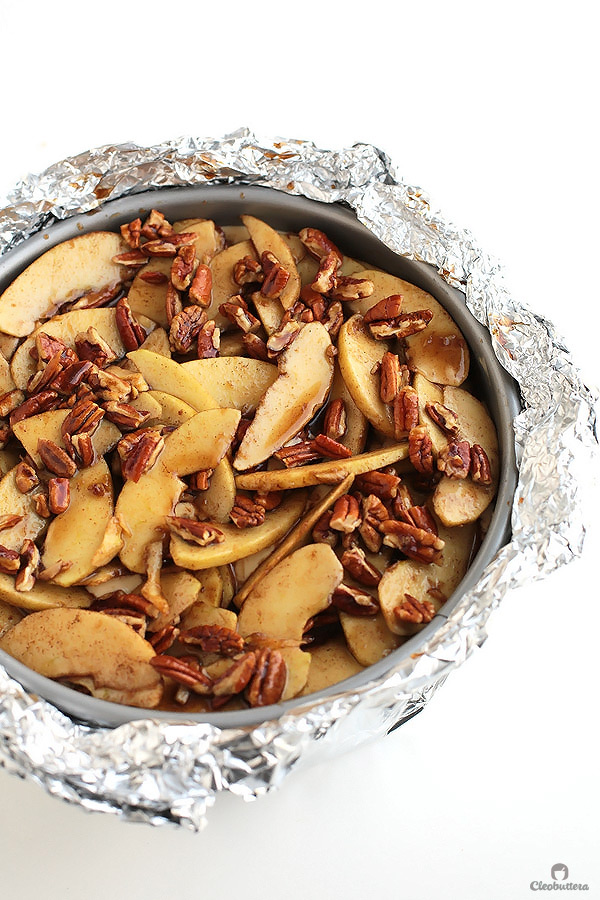
Then gently arrange over your cheesecake filling. The apple topping is quite a lot and so you’ll think that they’ll sink into the batter, but I’m here to tell you that they won’t. Don’t worry…keep the faith.
Now here’s the part that seems to intimidate everyone…the water bath. I say let the water bath know who’s the BOSS! That’s right you’re the BOSS that’s who! There’s nothing to be scared about…as a matter of fact the water bath better watch its back from you!
With that said, if its gonna make you feel better to skip the water bath, then by all means do and your cheesecake will still turn out fabulous. But if you decide to be all gutsy and bake it in the water bath, you’ll be rewarded with the creamiest cheesecake that has ever touched your tongue. The water bath gently bakes the cheesecake avoiding all the bad reputation that cheesecakes are known for. That means NO cracks, NO sad collapsed cake, No curdled filling and NO tough dense cheesecake…just silky smooth bliss.
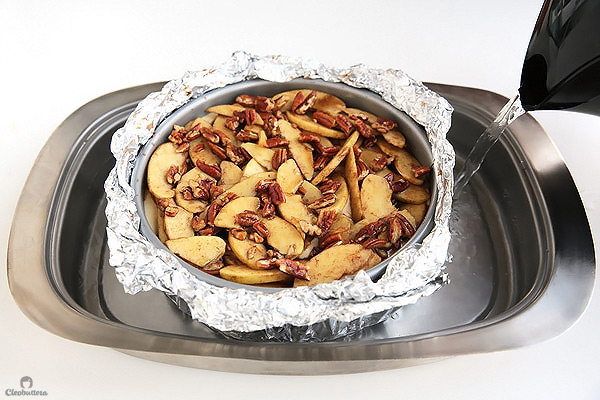
So that’s how its done. You’ll just place your foil-lined springform pan inside a roasting pan or really just anything that fits, then fill the roasting pan with enough boiling water to fill halfway up the sides of the springform pan. That’s it! NO biggie! Then in the oven it goes.
Here’s the thing. This cheesecake bakes for a lot longer time that most other cheesecakes. Almost 2 hours!!! I know! I think it has to do will the juices of the apples exuding on the cheesecake that slows down the baking process. That’s just my assumption but I really see no other reason. So be patient and forget the hope that you’ll eat it on the same day its baked.
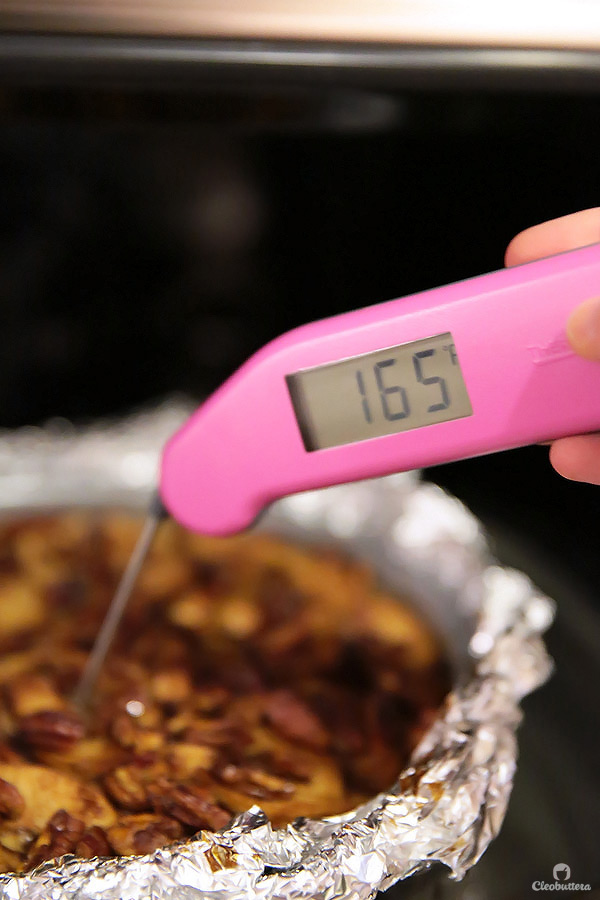
When its done, your house will smell like a fall scented candle, the cheesecake’s outer three inches should look slightly puffed and set, but the inner circle should still jiggle slightly when you gently shake the pan. If you have a thermometer, the internal temperature of the cheesecake’s center should register 165F/74C.
Turn off the oven without opening the door, leave the cheesecake inside and allow the cheesecake to sit in the oven for 1 hour to cool slowly.
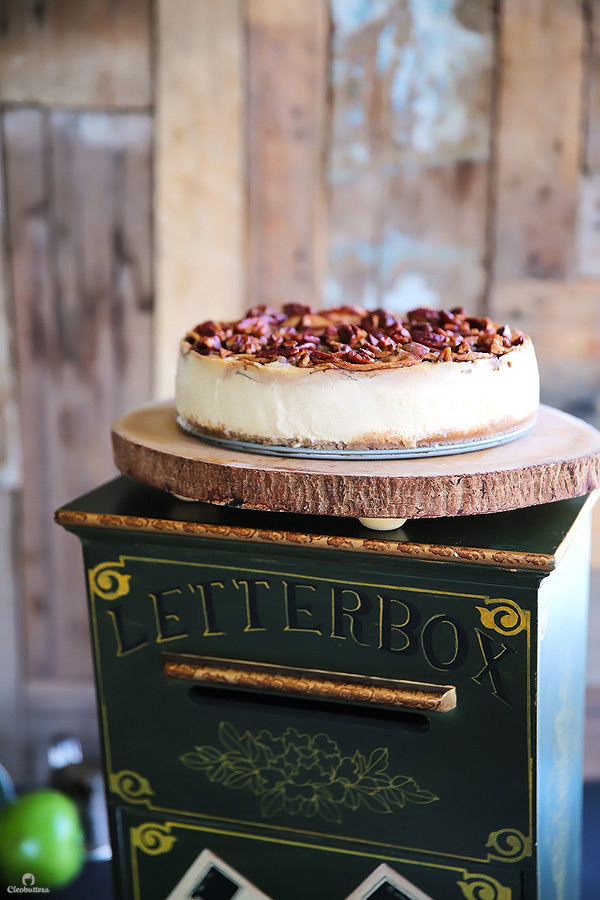
Then take it out of the oven and allow it to cool to room temperature or until warm for another hour or so. Then wrap it in plastic and refrigerate for at least 6 hours or better overnight.
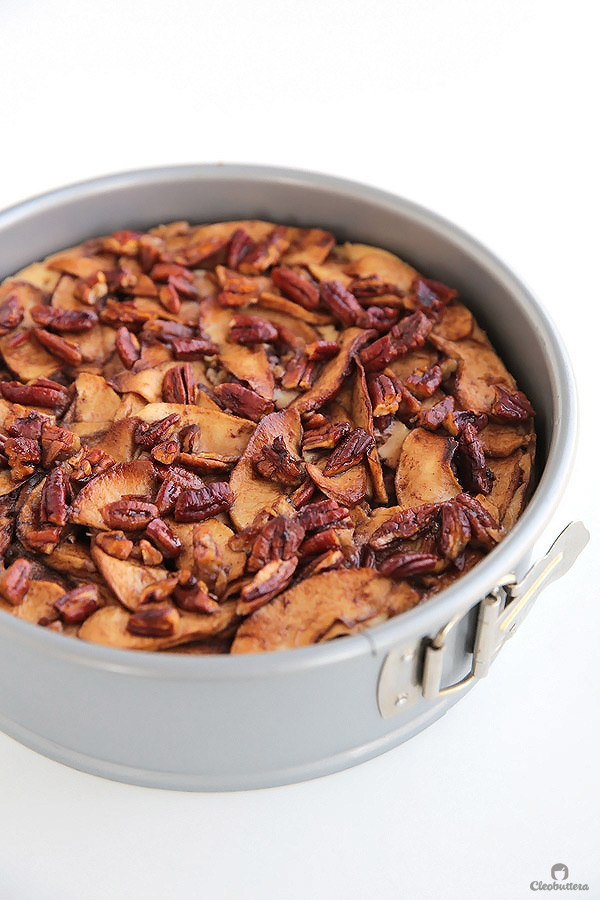
When ready to serve, remove from the refrigerator, and release the sides of the springform pan. Enjoy just like that or even better do this…
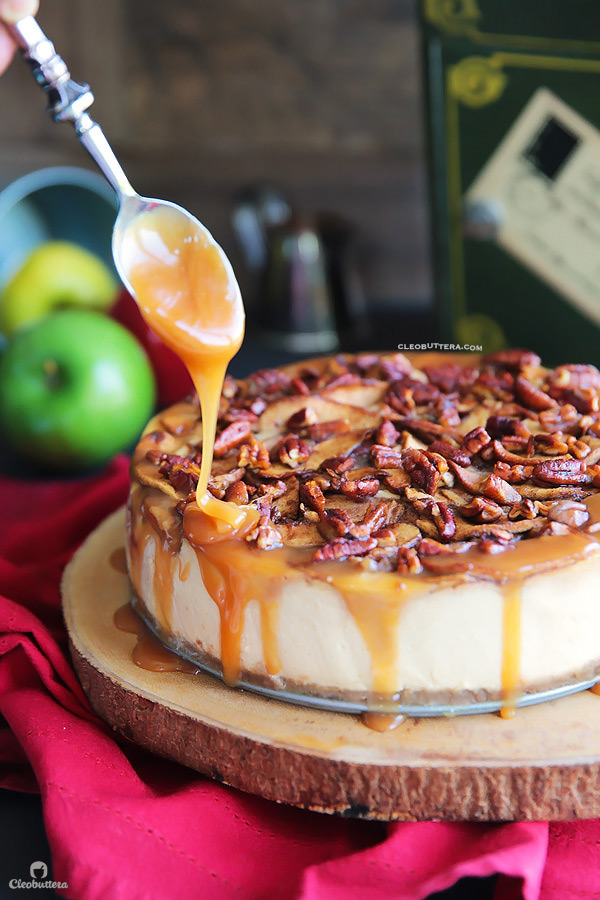
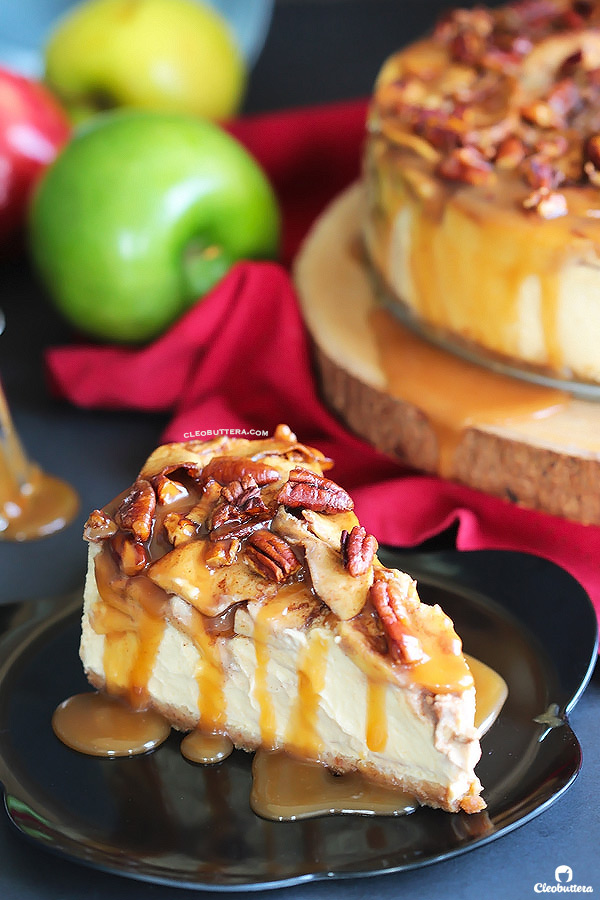
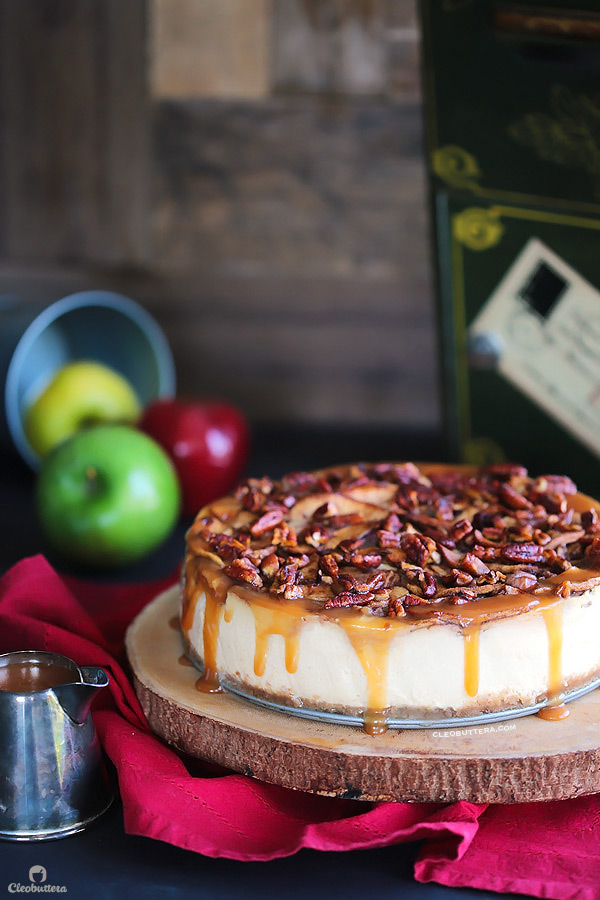
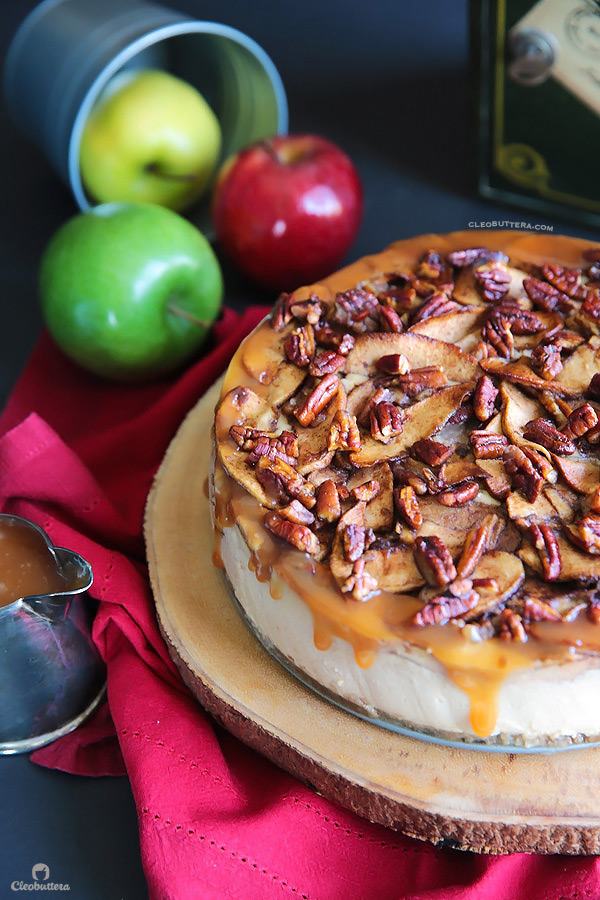
Salted caramel baby! Because apples and caramel belong to each other.
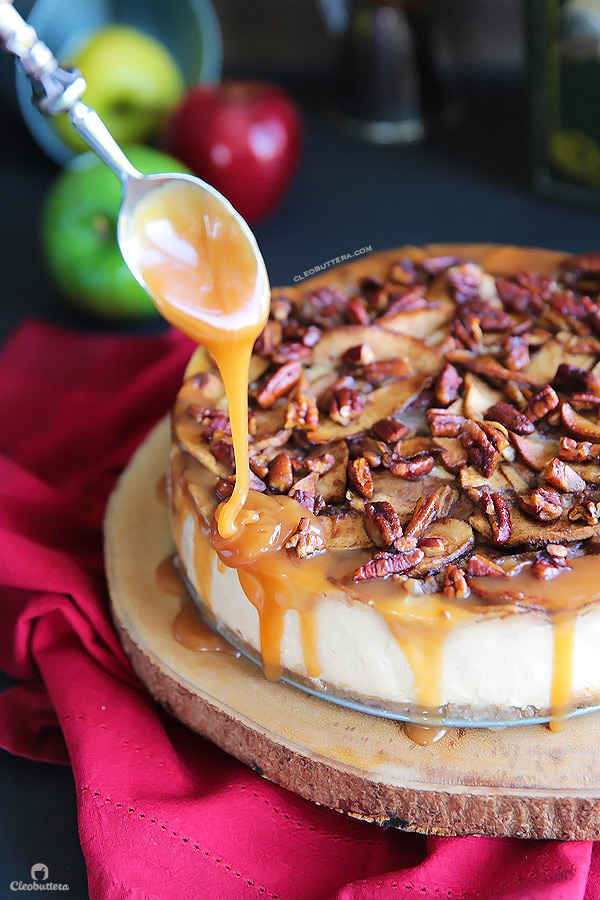
And pecans complete the decadent trio.
Enjoy friends! You’re absolutely gonna love this one (especially if you love apple pie).
And if you don’t love, LOVE cheesecake like I do, you might just change your mind ? #justsayin.
Apple Pecan Cheesecake (with salted caramel sauce)
Please note that this cheesecake takes about 11 hours to make (including chilling), so its recommended that you make it the day before serving.
Ingredients
For the cheesecake crust:
- 1 1/2 cups (6oz/170g) graham cracker or digestive biscuits crumbs
- 1/4 cup (2oz/57g) butter, melted
- 2 tablespoon (1oz/28g) packed light brown sugar
- 1/2 teaspoon cinnamon (optional)
For the cheesecake filling:
- 4 pkg. (8 oz/227g each; a total of 2lb/907g) cream cheese, softened
- 1 1/4 cups (8 3/4oz/248g) packed light brown sugar, (*reduce to 1 cup if you prefer a less sweet cheesecake)
- 1 teaspoon pure vanilla extract (or 2 teaspoons if using imitation vanilla)
- 1 cup (8oz/227g) sour cream, at room temperature
- 4 eggs, at room temperature
For the apple topping:
- 3 firm baking apples like Granny Smith or Fuji, peeled, thinly sliced (*see note)
- 1/2 cup (3 1/2oz/99g) packed light brown sugar
- 3/4 cup coarsely chopped pecans
- 1 teaspoon ground cinnamon
- For the salted caramel sauce (optional): (or substitute with store-bought sauce)
- 1 cup (7oz/199g) granulated sugar
- 1/4 cup + 2 Tbsp water
- 1/4 cup (2oz/57g) salted butter, diced into 1 Tbsp pieces
- 1/2 cup heavy whipping cream, warmed
- 1/2 tsp fine sea salt or 3/4 tsp Maldon, more or less to taste
Instructions
To make the cheesecake crust:
- Adjust oven rack to lower-middle position and heat oven to 325F/160C.
- Spray the bottom of a 9 or 10 inch springform pan with nonstick cooking spray or grease with butter.
- In a medium bowl, prepare the crust by mixing together the graham/biscuit crumbs, melted butter, brown sugar and cinnamon (if using). Transfer to the prepared pan and firmly press onto the bottom of the pan using the back of a measuring cup.
- Bake the crust in the oven until deepens in color and smells fragrant; 10-12 minutes. Allow to cool while preparing cheesecake filling.
To make the cheesecake filling:
- Keep a roasting pan or a baking dish big enough to hold the cheesecake pan nearby to use for water bath. Bring kettle or large saucepan of water to boil. *(This water bath step is optional; see note below)
- In the bowl of a stand mixer fitted with paddle attachment (or in a large bowl and using a hand electric mixer) beat cream cheese on medium speed until smooth and ribbon-like.
- Add in the brown sugar and vanilla and beat together until well blended. Add in the sour cream and mix well. Add the eggs, one at a time, mixing well after each addition. Scrape down the sides and bottom of the bowl, then beat the mixture for a few more seconds until the batter is smooth. If the batter has lots of cream cheese lumps, pour it through a fine mesh strainer to smooth it a out.
- Wrap the pan with the crust with a triple layer of foil around the bottom and up the sides of the pan, to seal it well so the water from the water bath doesn't seep into the pan and ruin the cheesecake.
- Pour the batter over the cooled crust; set aside while you prepare the apple topping.
To make the apple topping:
- In a large bowl, combine together the apples, pecans, cinnamon and brown sugar. Gently spoon over the cheesecake batter in an even layer; don't worry, they won't sink.
To bake the cheesecake:
- Transfer the filled springform pan into the roasting pan. Pour enough boiling water into the roasting pan, taking care not to splash water into the cheesecake pan, to reach halfway up the sides of the pan.
- Transfer the roasting pan to the oven, and bake the cheesecake for 1hr 45mins to 2 hours (*this is a lot longer than an average cheesecake because the juices exuding from the apples slows down the baking process) until the cheesecake's outer three inches look slightly puffed and set, but the inner circle still jiggles slightly when you gently shake the pan and the internal temperature of the cheesecake's center registers 165F/74C. Start checking on the cheesecake after 1 hr and 15mins.
- Turn off the oven without opening the door, leave the cheesecake inside to let it cool gradually. This gentle cooling process prevents the cheesecake from collapsing and helps avoid cracks from happening, ensuring a very creamy filling. Allow the cheesecake to sit in the oven for 1 hour.
- Carefully remove springform pan from the water bath and remove foil. Set on a wire rack to cool to room temperature or slightly warm, about 1 to 2 hours.
- Place a paper towel over the pan with the ends hanging then wrap the cheesecake pan in plastic wrap. The paper towel will absorb any condensation that might form while the cake is chilling. Refrigerate the cheesecake for at least 6 hours, or preferably overnight.
- When ready to serve, remove from the refrigerator, release the sides of the springform pan and place on serving platter. If desired drizzle the sides with warm salted caramel sauce (recipe below) letting it drip down the sides, adding extra with individual slices.
- Leftovers will keep well refrigerated in an airtight container for up to 5 days.
To make the salted caramel sauce: (optional)
- Gather all your ingredients and keep them nearby for immediate use.
- In a light-colored heavy-bottomed 2 - 3 quart saucepan, bring the sugar and water to a simmer over medium-high, swirling the pan to dissolve the sugar (avoid whisking). Cover saucepan for 1 to 2 minutes; the condensation will wash down any sugar crystals that might've gathered on the sides.
- Allow the mixture to boil without whisking, just swirling the saucepan occasionally, until it reaches an amber color.
- Remove the saucepan from the heat and immediately whisk in the butter until it has has melted. Carefully pour in the cream; it will bubble vigorously, then whisk well to combine. Return the saucepan to the heat and continue to whisk until the mixture is completely smooth and hard caramel clumps have dissolved. Stir in the salt. Pour caramel into a bowl to cool. Once cool, store in an airtight container in refrigerator. Warm in the microwave before using.
Recipe Notes
- The apples were I live are not labeled (unless they are imported) and are rather identified by their color. I used very firm greenish yellow apples, which are slightly tart and subtly sweet and they worked great.
- You could skip the water bath baking process if you prefer and your cheesecake will still turn out great. However, water baths produce cheesecakes that are exceptionally creamy. It also prevents cracks and collapsing from happening (which shouldn't be a concern in this recipe because the apple topping will cover up any imperfections). If you won't bake in a water bath, note that your cheesecake will bake in less time.
Cheesecake recipe mostly adapted from Kraft Recipes.
Salted caramel sauce adapted from Cooking Classy.
Measurements Note: All recipes of this site have been developed using weight measurements. Although US volume measurements have been included for your convenience, it is highly encouraged that you weigh your ingredients using a kitchen scale to get the best possible results. Due to the sensitive nature of baking, kitchen scales are proven to yield more accurate and consistent results than measuring cups. Enjoy!
This post may contain affiliate links.
All images and content are owned by Cleobuttera® and are copyright protected. Please do not use my images without prior permission. If you would like to republish a recipe, please rewrite it in your own words and link back to the recipe page on my site. Original recipes and creations of this site are intended for personal and home use. Commercial replication or media consumption are only allowed with a written consent and agreement with Cleobuttera owners. Otherwise it is considered a violation of intellectual property. Thank you for respecting and appreciating the amount of time and effort that goes into creating free, unique recipes that make people happy.
